
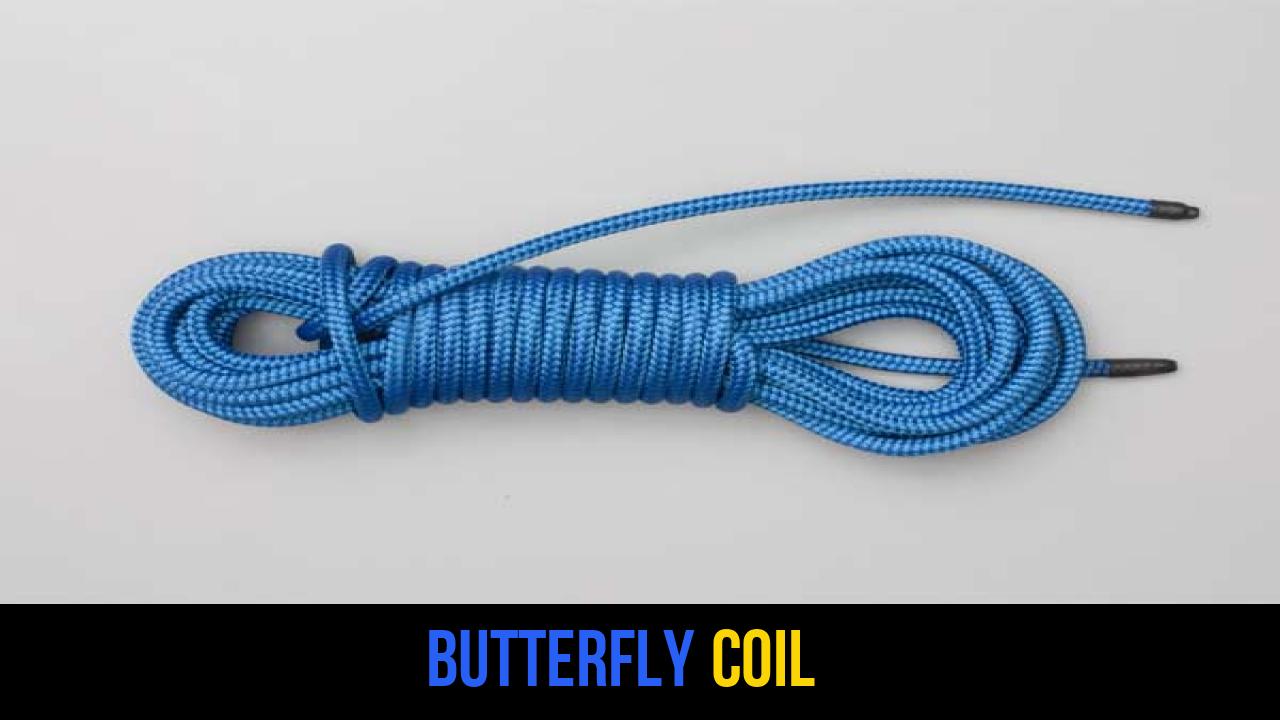
In the world of mountaineering, search and rescue, and professional arboriculture, the way you handle your rope is just as important as how you climb it. A tangled rope is more than just a nuisance; in high-stakes environments, it can be a significant safety hazard. This is where the Butterfly Coil—one of the most respected outdoor rope techniques—comes into play.
Unlike standard circular coiling, which often introduces twists and kinks into the rope’s fibers, the Butterfly Coil knot (or coiling method) ensures that the rope remains "neutral." When it comes time to deploy the line, it flaked out smoothly without snagging. Whether you are preparing for a multi-pitch climb or simply organizing your garage, mastering this technique is a hallmark of a seasoned outdoorsman.
The Butterfly Coil is also known by several other names in the field, including the Mountaineer’s Coil, the Alpine Coil, and sometimes the Backpack Coil (due to how it can be carried).
What Is a Butterfly Coil?
The Butterfly Coil is a specialized method of rope management designed to store a rope in a way that prevents "rope memory" and kinking. Most beginners make the mistake of coiling a rope like an extension cord—looping it over their shoulder in one direction. This adds a half-twist to the rope with every single loop. By the time you reach the end of a 60-meter rope, you have introduced dozens of twists that result in "pigtails" and knots when you try to use it.
The Butterfly Coil solves this by using an "over-under" or "inverted" technique. By alternating the direction of each loop, you neutralize the tension.
Practical Uses:
- Glacier Travel: Climbers often use this coil to shorten the rope between team members while keeping the excess rope neatly stowed on their shoulders.
- Rope Storage: For long-term storage, this method prevents the internal core (kern) of the rope from becoming permanently twisted.
- Transport: The finishing wraps of the Butterfly Coil allow the rope to be worn as a backpack or easily attached to a climbing harness.
- Quick Deployment: When dropped from a height or fed through a belay device, a butterfly-coiled rope is significantly less likely to bird-nest.
Materials and Tools Needed
To practice the Butterfly Coil, you don’t need much, but the type of rope you use will dictate how the coil behaves.
- Rope Types: This technique works best on Dynamic or Static Kernmantle ropes used in climbing and rescue. It can also be applied to three-strand twisted ropes or braided utility cords, though synthetic climbing ropes benefit the most from the torsion-neutralizing loops.
- Length: While you can coil any length, the Butterfly Coil is most effective for ropes between 30 meters (100ft) and 70 meters (230ft).
- Your Hands and Shoulders: Unlike some storage methods that require a peg or hook, the Butterfly Coil is designed to be made "in hand," making it perfect for the field.
- Gloves (Optional): If you are working with dirty or stiff industrial rope, a pair of leather work gloves will protect your hands from friction during the "pull tight" phase.
How to Tie Butterfly Coil?
Following the professional standard for rope management, here are the precise steps to create a perfect Butterfly Coil.
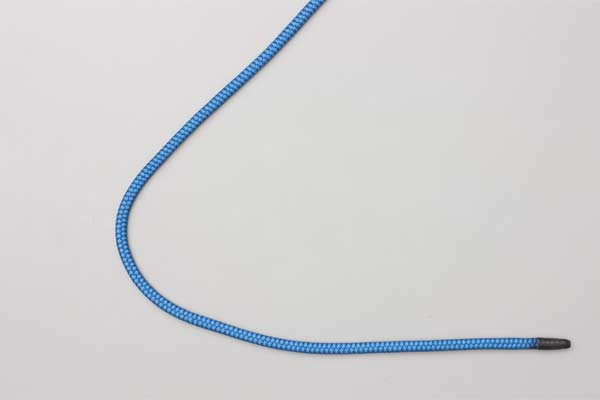
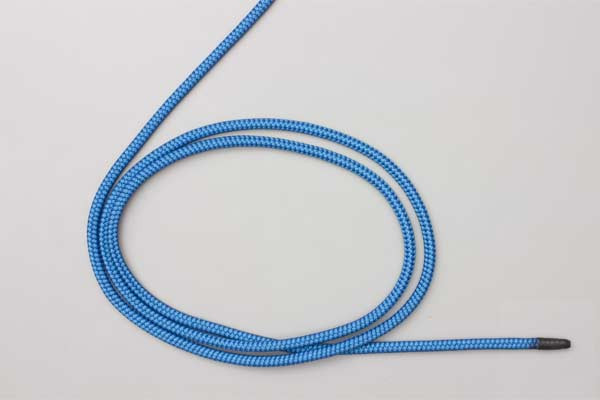
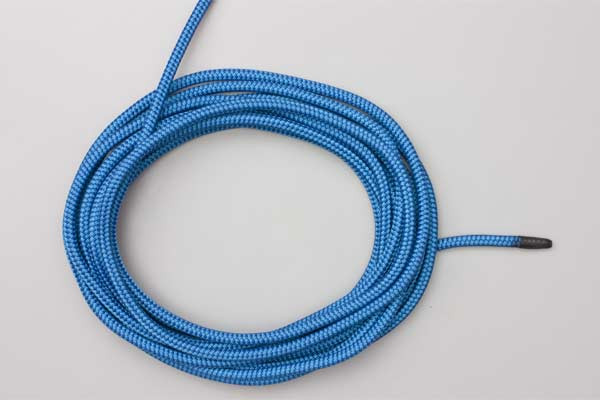
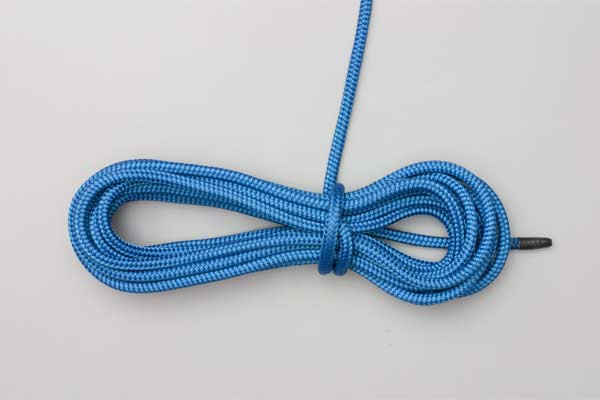
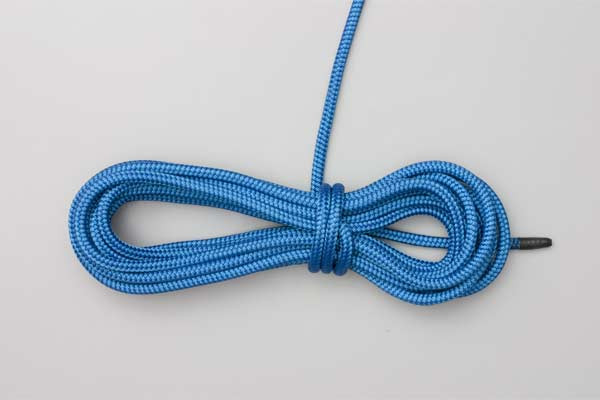
- Start making a coil in your hand.
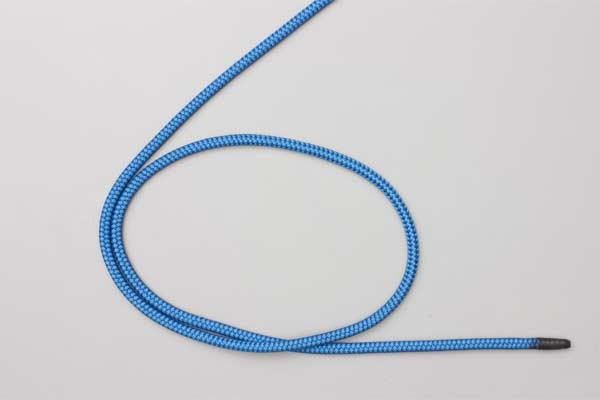
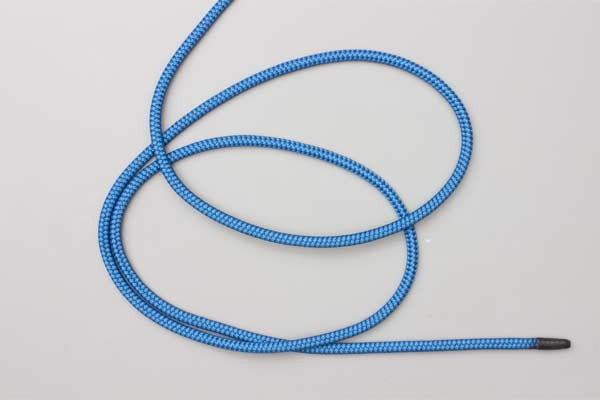
- Each alternate strand is inverted.
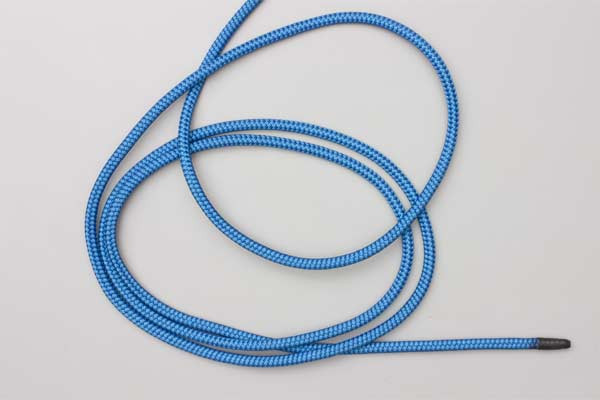
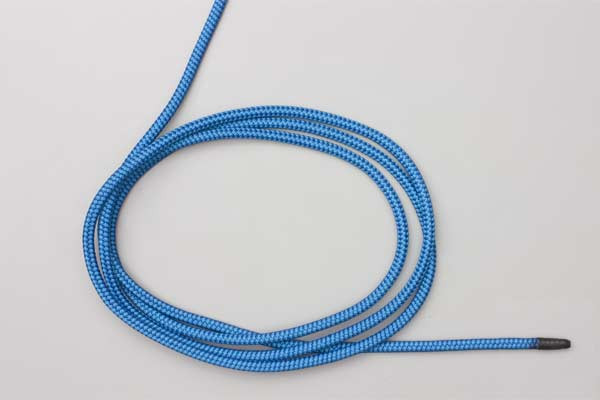
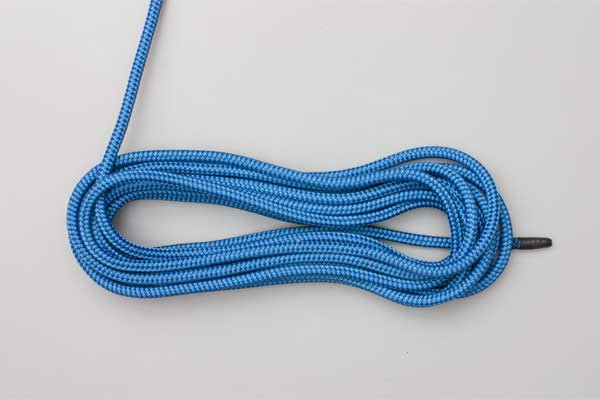
- Continue making loops alternating over and under.
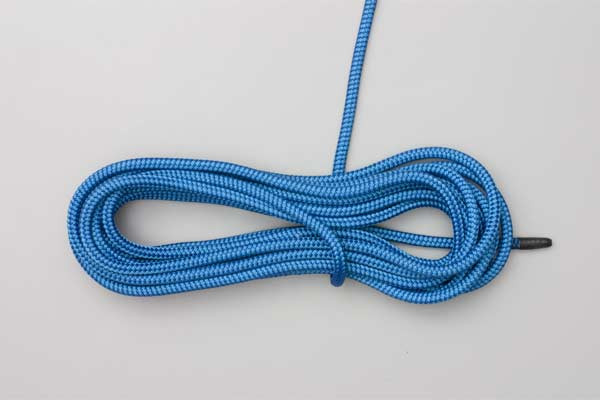
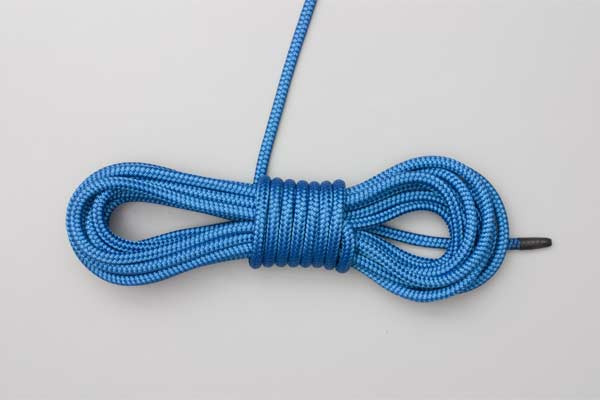
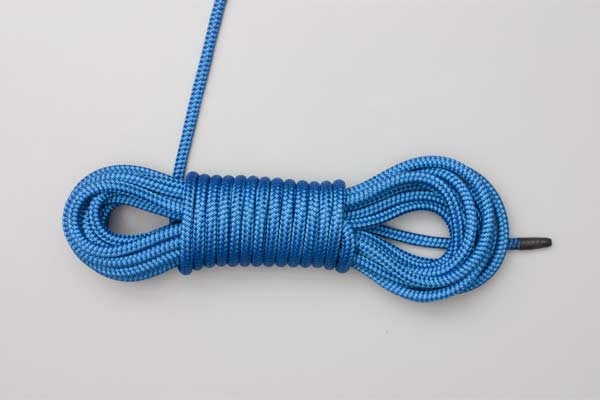
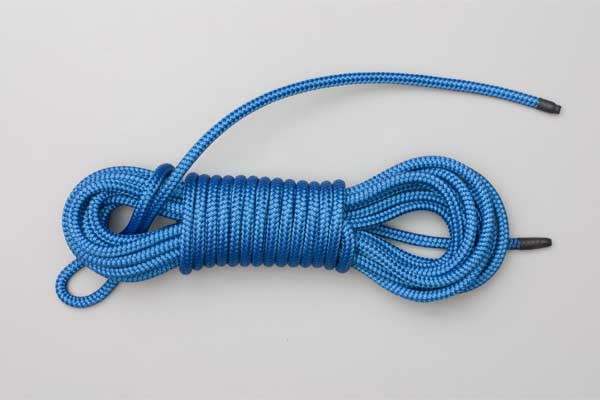
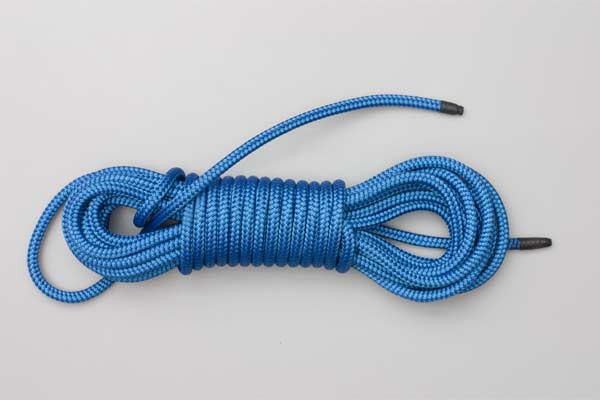
- Wrap the end around the coil several times.
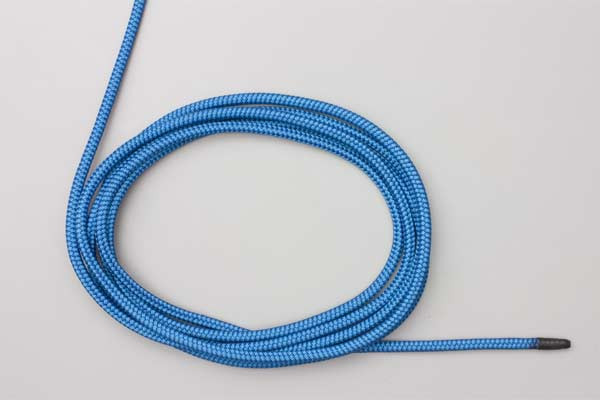
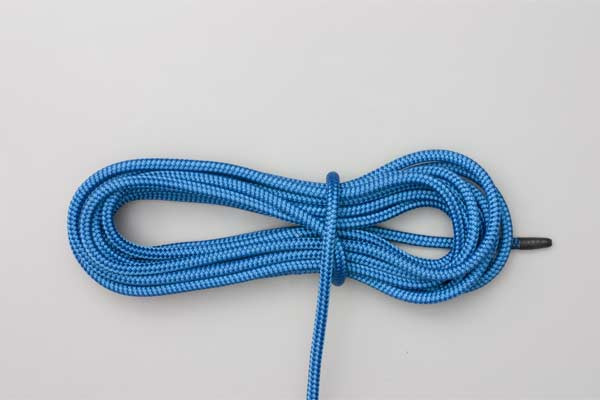
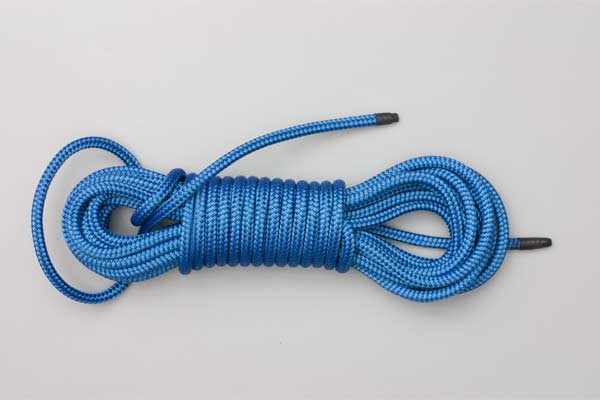
- Pass a bight through the coil.
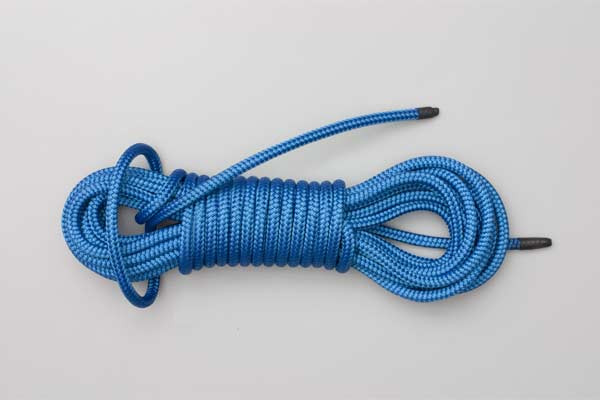
- Spread the bight out and bring it back down over the coil.
- Pull tight.

Common Mistakes to Avoid
Even for those familiar with rope knots, the Butterfly Coil can be tricky to master. Here are the most common pitfalls to watch out for:
1. Forgetting the Inversion
The most critical step is that each alternate strand is inverted. If you simply loop the rope repeatedly in the same direction, you are creating a standard coil, not a Butterfly Coil. This will lead to the very kinks you are trying to avoid.
2. Uneven Loop Lengths
Try to keep your loops consistent in size. If some loops are much longer than others, the coil will become unbalanced, making it difficult to wrap the finishing "bight" or carry it comfortably on your back.
3. Loose Finishing Wraps
When you wrap the end around the coil several times, ensure these wraps are snug. If they are loose, the entire structure can collapse during transport, leading to a "spaghetti" mess of rope in your pack.
4. Incorrect Bight Direction
When you pass a bight through the coil, ensure it goes through the center of all loops. If you miss a few strands, the coil will not be secure and can unravel under its own weight.
Related Knots and Splicing
Understanding the Butterfly Coil is often the gateway to learning other essential outdoor rope techniques. Here are a few related knots you should know:
- Alpine Butterfly Knot: Not to be confused with the coil, this is a fixed loop tied in the middle of a rope. It is incredibly strong and can be loaded from any direction, making it ideal for traverse lines.
- Gasket Coil: A simpler storage coil used for shorter utility cords. It involves wrapping the tail around the loops and tucking it through the top, but it lacks the torsion-neutralizing benefits of the Butterfly Coil.
- Figure-8 Follow-Through: The gold standard for tying into a climbing harness. While the Butterfly Coil manages the rope, the Figure-8 is what keeps the climber secure.
- Clove Hitch: A quick-hitch knot often used to secure a rope to a carabiner or post after it has been uncoiled. It is easy to adjust and highly effective for temporary anchors.
Final Words
The Butterfly Coil is more than just a way to pack away gear; it is a fundamental skill for anyone serious about rope knots and outdoor safety. By mastering the "over-under" rhythm and the secure bight finish, you ensure that your equipment remains in top condition and is ready for immediate use when the situation demands it.
Whether you are a professional rescuer or a weekend hiker, taking the time to properly coil your rope demonstrates a level of craft and care that defines a true technical specialist. Practice these steps until they become muscle memory, and you will never have to deal with the frustration of a tangled rope again.
Summary of Practical Applications:
- Organization: Keeps your gear shed or trunk tidy.
- Longevity: Extends the life of expensive climbing ropes by reducing internal friction.
- Safety: Ensures a clean, fast flake during emergency descents or rescues.
