
In the world of marlinspike seamanship and professional outdoor rope techniques, the ability to secure the end of a line is a fundamental skill. While many beginners rely on simple knots or plastic heat-shrink tubing to prevent a rope from fraying, seasoned professionals turn to the Back Splice.
A Back Splice is more than just a functional termination; it is a blend of engineering and craft. Unlike a standard knot, which can reduce the breaking strength of a rope significantly, a splice utilizes the rope’s own structure to create a permanent, secure, and aesthetically pleasing end. This technique is indispensable for anyone working in maritime environments, arboriculture, or heavy-duty rigging.
By weaving the strands of a rope back into themselves, you create a thickened end that provides an excellent grip and ensures the rope will never unlay, even under extreme tension. Whether you are a sailor, a climber, or a DIY enthusiast, mastering the Back Splice knot is a rite of passage into advanced rope work.
Alternative Names: Crown Splice, End Splice, Blind Splice.
What Is a Back Splice?
A Back Splice is a method of finishing the end of a multi-strand rope (typically three-strand laid rope) to prevent it from unravelling. It is characterized by a "Crown Knot" at the very tip, followed by several "tucks" where the individual strands are woven back into the standing part of the rope.
Practical Uses and Benefits
- Permanent Fray Prevention: Unlike whipping or taping, a back splice cannot fall off or wear away easily.
- Improved Grip: The splice increases the diameter of the rope end, making it easier to hold onto when pulling a line.
- Durability: It is highly resistant to abrasion and environmental wear, making it ideal for outdoor rope techniques.
- No Hardware Required: You don’t need ferrules or heat-shrinking tools; the rope provides its own security through friction.
Note: Because the Back Splice increases the diameter of the rope, it should not be used on lines that need to pass through blocks, pulleys, or narrow fairleads.
Materials and Tools Needed
Before you begin, ensure you have the correct materials. Splicing is most effective on three-strand twisted rope.
Rope Selection
- Synthetic Ropes: Nylon, Polyester (Dacron), and Polypropylene are common. Synthetic strands can be slippery, so they may require additional tucks for security.
- Natural Fibers: Manila, Sisal, or Hemp. These have excellent "grip" and hold a splice very well, though they are prone to rot if not treated.
Essential Tools
- Marlinspike or Fid: A tapered tool used to open the lay of the rope to allow strands to pass through.
- Tape or Twine: Used temporarily to prevent the strands from unravelling too far while you work.
- Sharp Knife: For cutting the rope and trimming the ends of the strands.
- Heat Source (Lighter/Torch): Only for synthetic ropes, used to seal the very tips of the strands before you begin.
How to Tie a Back Splice?
To achieve a professional-grade finish, follow these instructions precisely. Ensure your tension is even throughout the process to maintain the structural integrity of the Back Splice knot.
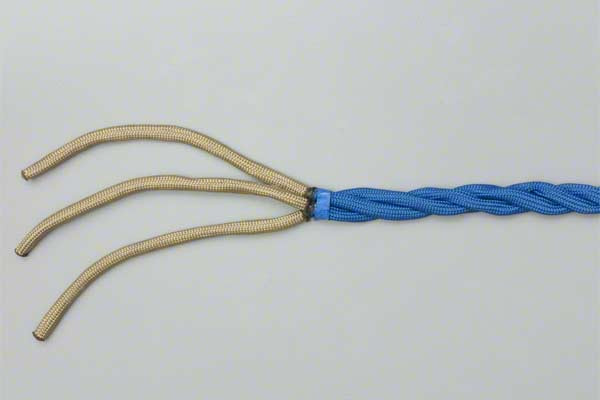
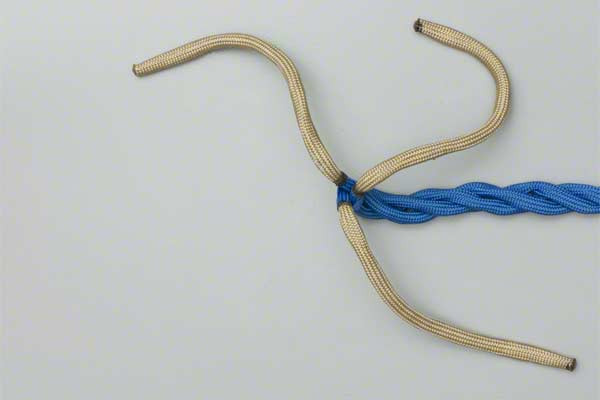
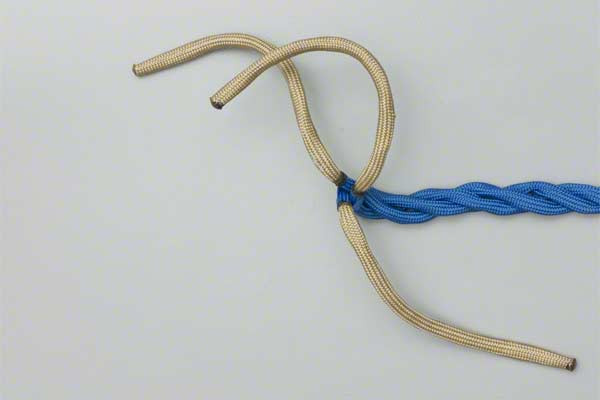
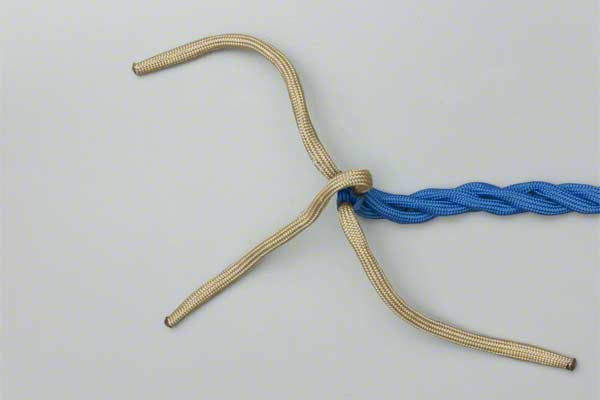
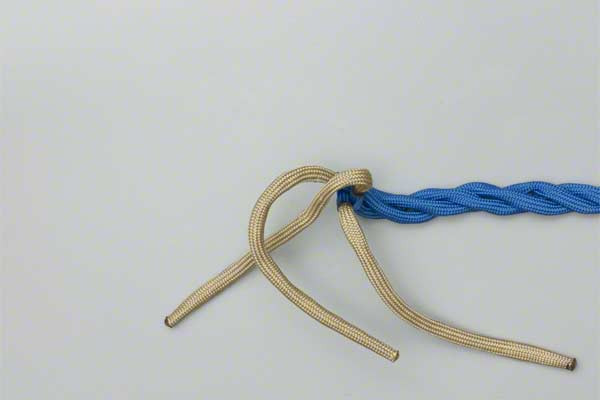
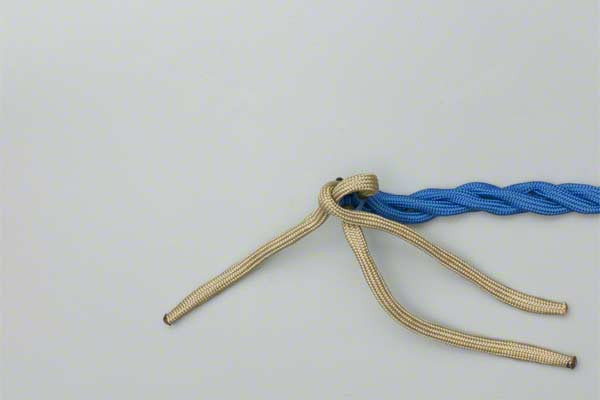
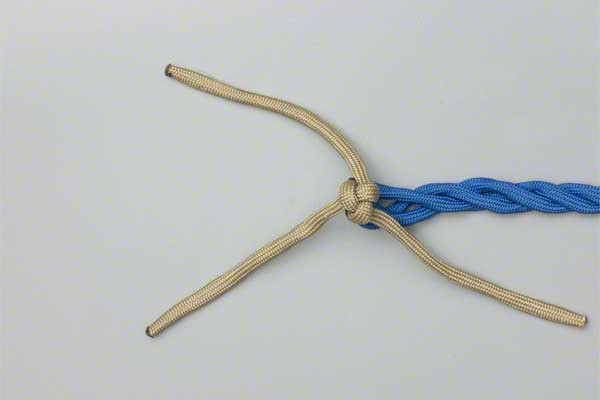
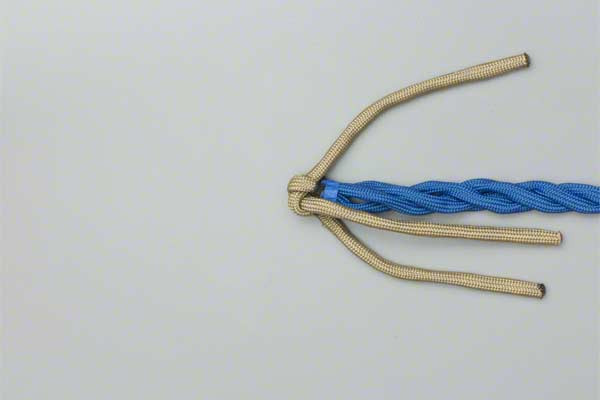
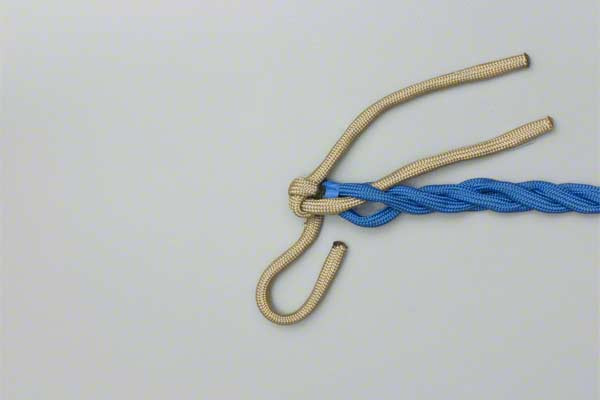
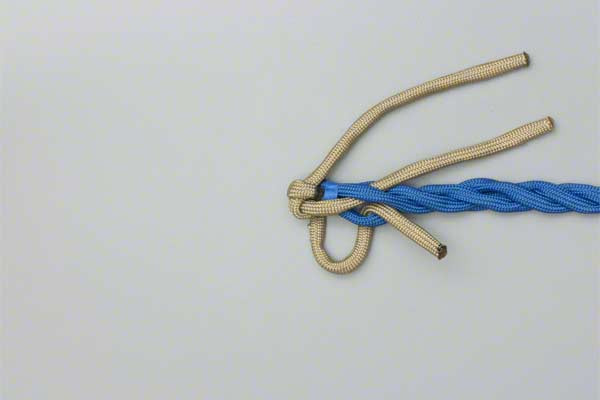
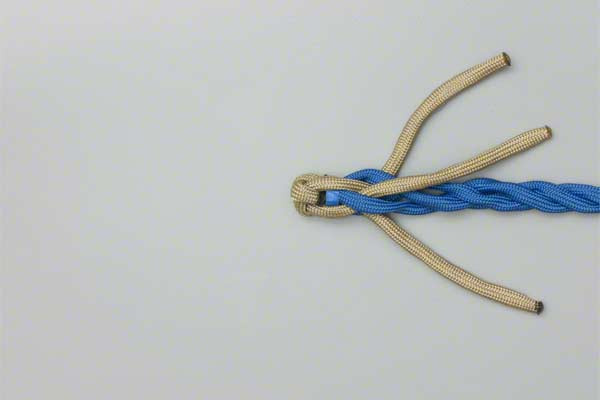
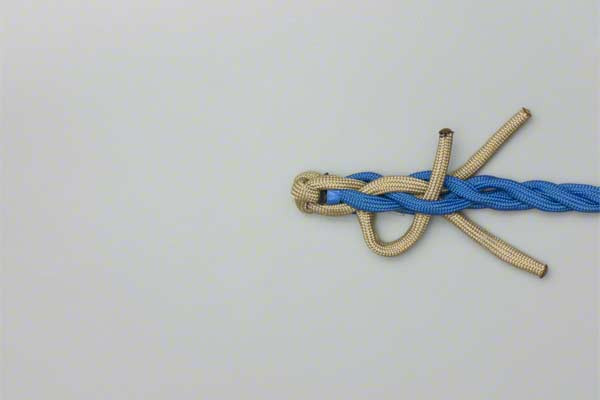
- Form a Crown Knot by passing each strand over its neighbor and then tighten the knot.
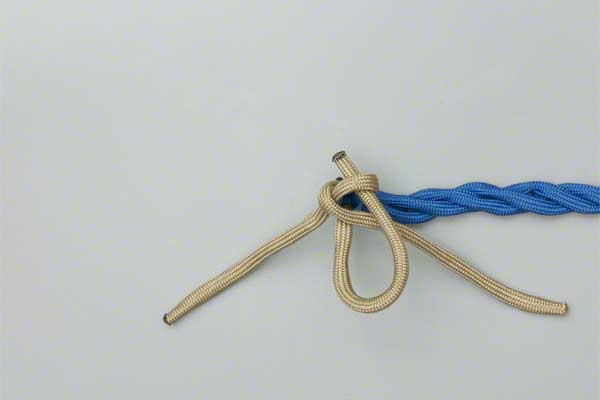
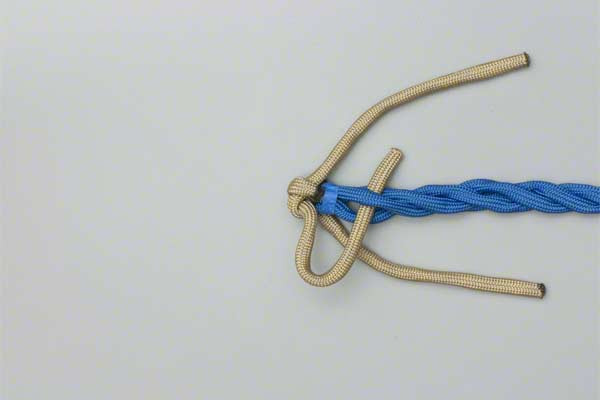
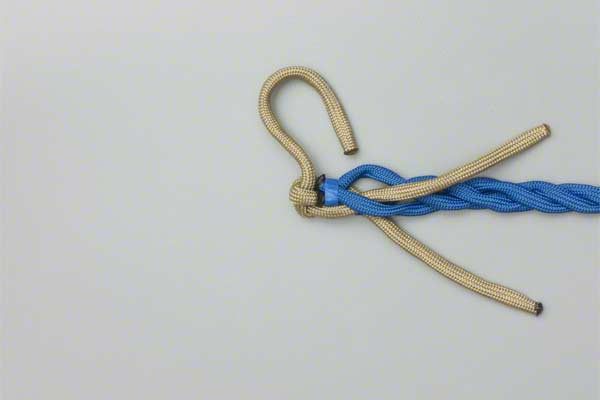
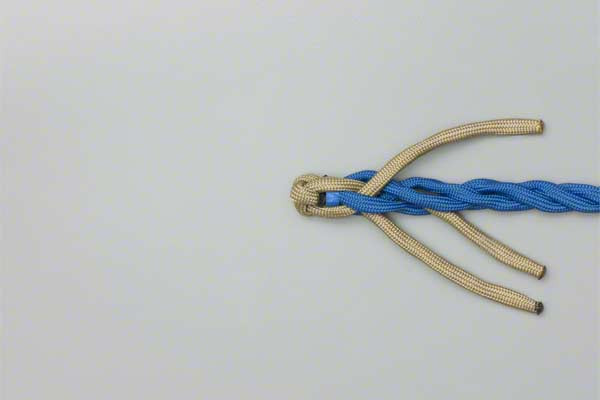
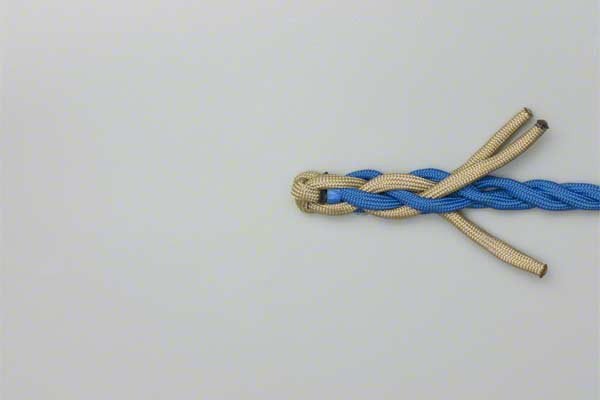
- Splice each strand into the rope by passing it over and under alternate strands in the standing end.
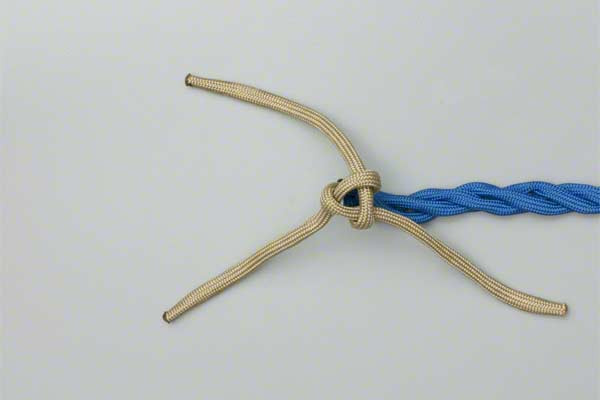
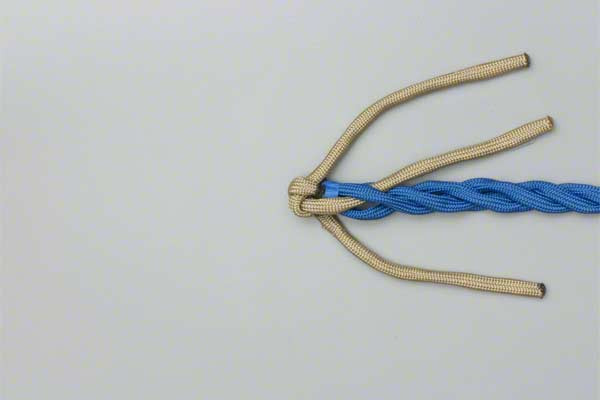
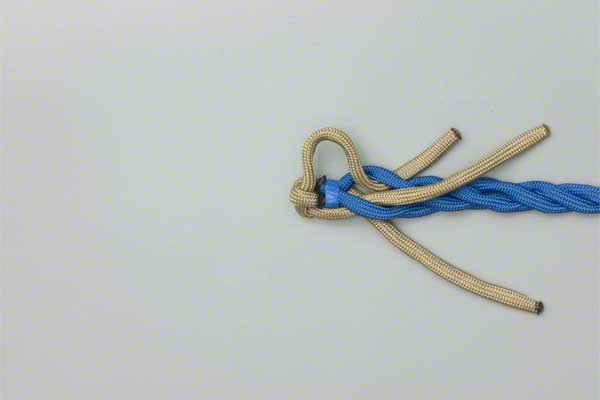
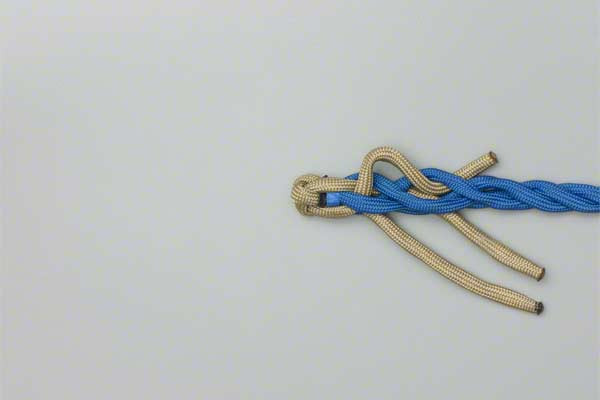
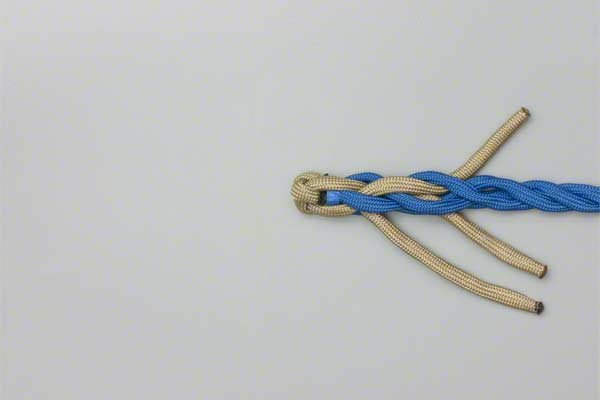
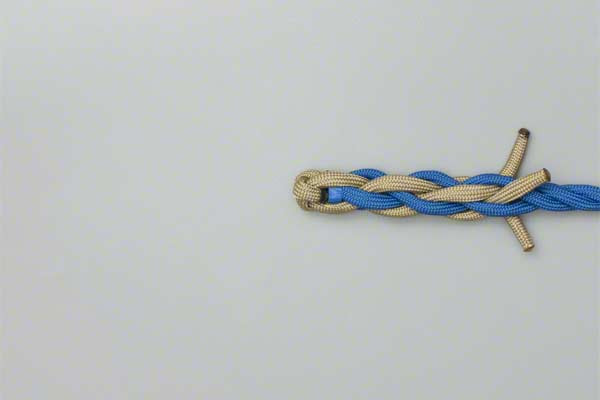
- Complete a second and a third set of tucks to complete the back splice.
Deep Dive: Mastering the Technique
While the steps above provide the core framework, understanding the nuances of rope knots will help you achieve a cleaner result.
The Importance of the Crown Knot
The Crown Knot serves as the "anchor" of the splice. It redirects the strands 180 degrees so they face back toward the standing part of the rope. When tightening the crown, ensure that the strands are tucked neatly and that the knot sits square on the end of the rope. If the crown is loose, the entire splice may lose its tension over time.
The "Over and Under" Rhythm
When you splice each strand into the rope, you are utilizing friction. By going over one strand of the standing end and under the next, you create a locking mechanism. As tension is applied to the rope, the standing strands actually "squeeze" the spliced strands tighter. This is why a properly executed splice is so reliable.
Finishing the Tucks
Completing a second and third set of tucks is the industry standard for natural fiber ropes. However, for modern, slippery synthetic ropes (like high-grade nylon), many professionals prefer to perform five or even six tucks to ensure the strands don’t "creep" out under heavy loads.


Common Mistakes to Avoid
Even experienced riggers can make errors when performing outdoor rope techniques. Avoid these common pitfalls:
- Tucking with the Lay: Always tuck against the lay of the rope. If you tuck in the same direction the strands are twisted, the splice will simply unroll and fail.
- Uneven Tension: If one strand is tighter than the others, the load will not be distributed evenly, leading to a "lumpy" splice that may fail prematurely.
- Insufficient Tucks: Forgetting to complete a second and a third set of tucks leaves the splice vulnerable to unravelling.
- Incorrect Crown Direction: Ensure the Crown Knot is tied so the strands point back toward the rope body. If they point outward, you have tied a Wall Knot instead.
- Ignoring the Taper: For a professional look, some riggers thin out the strands (by removing some fibers) before the final tuck. While not strictly necessary for strength, it prevents a blunt, ugly end.
Related Knots and Splicing
Understanding how the Back Splice relates to other rope knots will expand your technical repertoire.
- Eye Splice: This technique creates a permanent loop at the end of a rope, using the same "over and under" tucking method as the back splice.
- Short Splice: Used to join two separate pieces of three-strand rope together, creating a strong but thickened connection.
- Common Whipping: A method of binding the end of a rope with thin twine; unlike a splice, it does not increase the rope’s diameter significantly.
- Wall and Crown Knot: Often used for decorative lanyard ends, this combination creates a large "button" knot at the end of a line.
Final Words: Safety and Practical Applications
The Back Splice remains one of the most vital outdoor rope techniques because of its reliability and permanence. Whether you are securing a dock line, creating a custom lead for livestock, or simply practicing your rope knots, the back splice provides a level of security that a simple plastic cap never can.
Remember that while a splice is incredibly strong, you should regularly inspect your rope for signs of wear, UV damage, or "tuck creep." In critical safety applications, always ensure you have performed enough tucks for the specific material you are using. With practice, your Back Splice knot will not only be a functional tool but a testament to your skill as a rigger.
Mastering these steps—forming the crown, weaving the strands, and completing the tucks—will ensure your ropes are always prepared for the rigors of the great outdoors.