
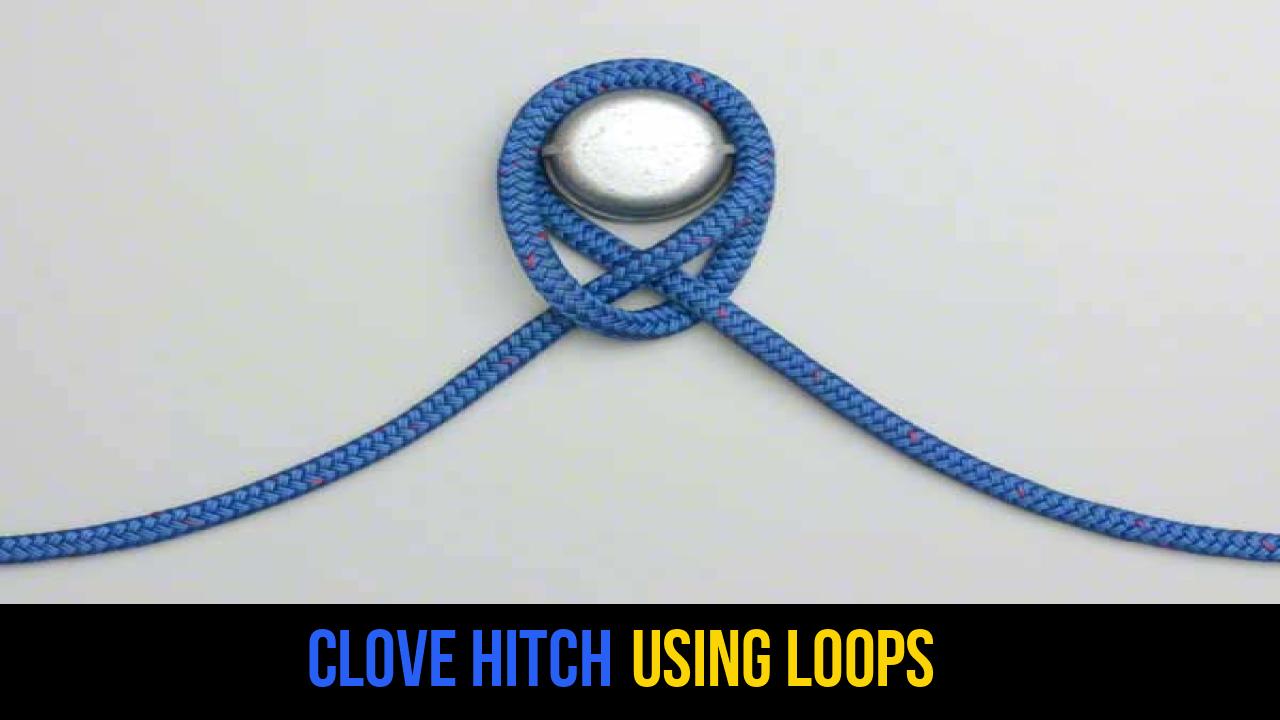
In the world of outdoor rope techniques, few knots are as fundamental or as frequently utilized as the Clove Hitch. Whether you are a seasoned sailor, an expert climber, or a weekend camping enthusiast, mastering the Clove Hitch knot is a prerequisite for efficiency and safety in the field. This knot is classified as a "binding knot," specifically designed to secure a rope to a cylindrical object like a post, pole, or spar.
The beauty of the Clove Hitch using Loops—often referred to as the "in-the-bight" method—is its speed and simplicity. Unlike the traditional method where you must pass the end of the rope around a post, the loop method allows you to form the knot in your hands and simply drop it over the top of a post. This makes it an essential skill for rapid deployments, such as securing boat fenders or setting up temporary campsite structures.
As a technical outdoor gear specialist, I have seen how a properly executed hitch can streamline complex tasks. In this guide, we will delve deep into the mechanics of this knot, the materials best suited for its application, and provide the definitive steps to tying it correctly every time.
Alternative Names: Double Hitch, Builder’s Knot, Waterman’s Knot, Peg Knot.
What Is a Clove Hitch using Loops?
The Clove Hitch using Loops is a variation of the standard Clove Hitch that is tied without using the working ends of the rope. In technical terms, it is tied "in the bight." This means that as long as you have access to the top of a post or pole, you can create the knot in the middle of a long rope without pulling the entire length through.
Practical Uses and Applications
- Boating and Maritime: It is most commonly used for securing fenders to rails. Because it is easy to adjust, sailors can quickly change the height of the fender as the tide or dock height changes.
- Pioneering and Camping: In scouting and bushcraft, the Clove Hitch knot is the starting and ending point for most lashings (such as square or shear lashings).
- Climbing: While not used as a primary life-support knot in modern climbing without backup, it is frequently used by climbers to secure themselves to an anchor at a belay station because it allows for easy adjustment of the rope length.
- Agriculture and General Utility: From tying up livestock to securing a load on a trailer, the Clove Hitch is a versatile tool for any manual labor task.
Materials and Tools Needed
To practice and master rope knots, you must understand the interaction between the rope’s texture and the surface of the post. Not all ropes are created equal, and the Clove Hitch using Loops behaves differently depending on the material used.
Rope Types
- Nylon: Highly durable and slightly elastic. It provides excellent grip for a Clove Hitch, but be aware that nylon can shrink when wet.
- Polypropylene: Often used in marine environments because it floats. However, it is quite "slick," meaning the Clove Hitch may slip if the post is also smooth.
- Polyester: Low stretch and high UV resistance. This is an excellent choice for permanent outdoor setups.
- Natural Fibers (Manila/Hemp): These offer the best "bite" or friction, making the knot very secure, though they are prone to rot if not treated.
Essential Considerations
- Diameter: The rope diameter should be proportional to the post. A very thick rope on a very thin post will not "bite" effectively and may unroll.
- Surface Friction: If you are using a very smooth metal pole, consider adding a "Round Turn" before the hitch to increase friction.
- Safety: Never use a Clove Hitch as a standalone knot for critical loads where the rope might rotate or where safety is at risk, as it can work itself loose under certain conditions.
How to Tie Clove Hitch using Loops?
To ensure the highest level of accuracy, follow these instructions exactly as provided. This method is the fastest way to create the hitch when you have an open-ended post.
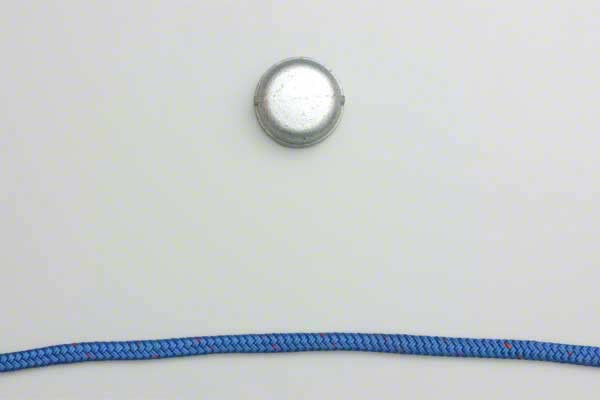
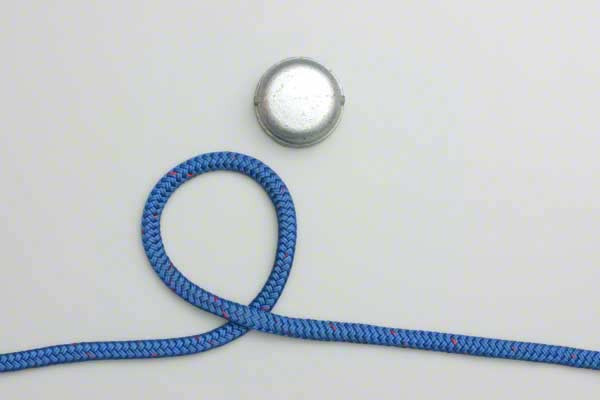
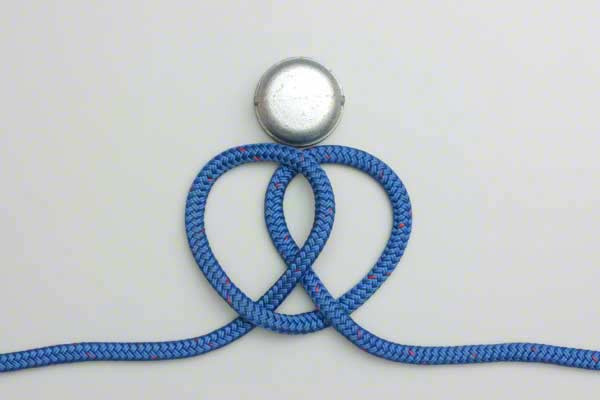
- Form a loop in the rope.
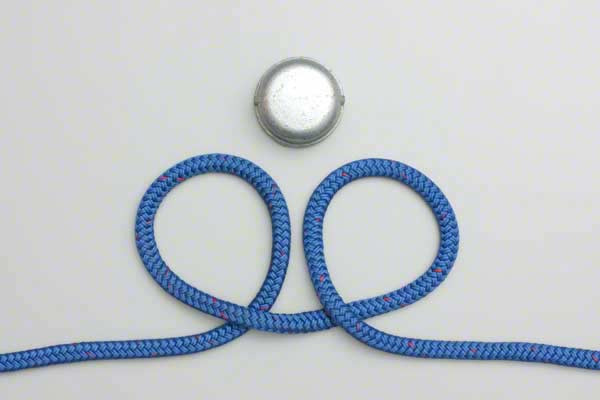
- Then form a second one – "the same way up".
- Both loops should be identical.
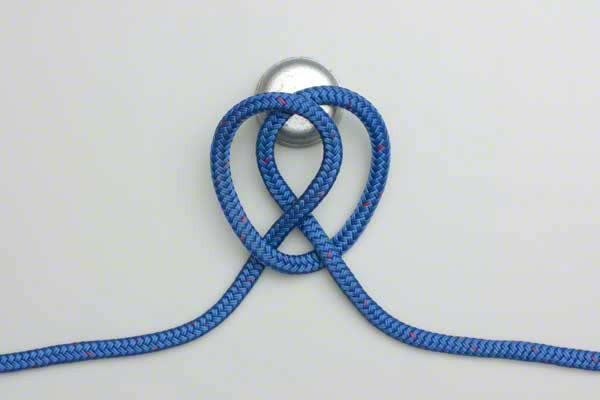
- Cross the loops one above the other so they form a knot – instead of just two loops stacked on each other.
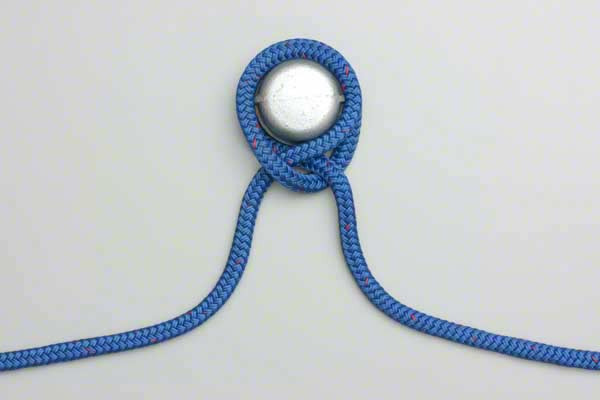
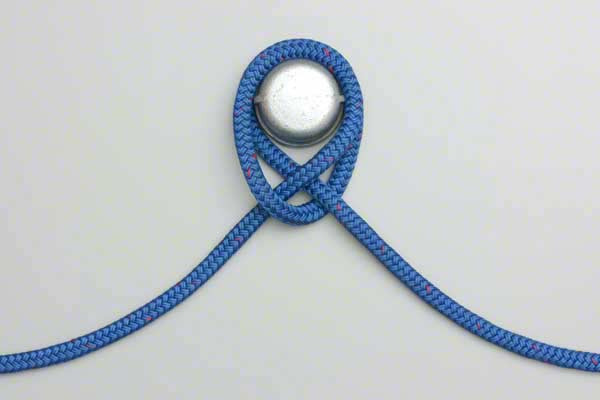
- Place the knot over the post.
The Physics of the Clove Hitch: Why It Works
Understanding the mechanics of outdoor rope techniques helps you predict when a knot might fail. The Clove Hitch works on the principle of friction and "binding." When tension is applied to both ends of the rope, the two loops press against each other and the post. The harder you pull, the tighter the loops squeeze the post.
However, the Clove Hitch is unique because it relies on tension from both directions to remain completely stable. If tension is only applied to one end (the "standing part") and the other end (the "working end") is left loose, the knot can potentially "creep" or slip, especially with synthetic ropes like polypropylene. This is why, in high-stakes environments, professionals often add a "Half Hitch" as a stopper to the working end for added security.
Common Mistakes to Avoid
Even experienced outdoorsmen can make mistakes when tying the Clove Hitch knot. Here are the most common pitfalls:
- Mirroring the Loops: In Step 2, the instructions emphasize forming the second loop "the same way up." A common error is to twist the second loop in the opposite direction. If you do this, you will end up with a Lark’s Head (Cow Hitch) instead of a Clove Hitch. While the Lark’s Head is useful, it does not have the same binding strength as a Clove Hitch.
- Stacking without Crossing: In Step 4, if you simply stack the loops without crossing them correctly, the rope will simply uncoil when placed over the post. The "cross" is what creates the internal friction necessary for the knot to hold.
- Using on Square Posts: The Clove Hitch is designed for cylindrical objects. Using it on a square or rectangular timber can lead to uneven tension, which may cause the knot to fail or the rope to fray at the corners.
- Lack of Tension: A Clove Hitch needs to be "dressed" (tightened and straightened) before it is trusted. Always pull both ends firmly once it is placed over the post.
Related Knots and Splicing
Expanding your knowledge of rope knots allows you to choose the right tool for every specific job. Here are some knots related to the Clove Hitch:
- Bowline: Known as the "King of Knots," it creates a fixed, secure loop at the end of a rope that will not slip or bind under load.
- Figure-Eight Knot: A vital stopper knot used in climbing and sailing to prevent the rope from sliding through pulleys or belay devices.
- Round Turn and Two Half Hitches: A heavy-duty hitch that is more secure than the Clove Hitch for long-term mooring or heavy loads.
- Sheet Bend: The standard knot for joining two ropes of different diameters together securely without slipping.
- Constrictor Knot: A much more permanent and tighter version of the Clove Hitch that is nearly impossible to untie once weighted.
Final Words
The Clove Hitch using Loops is an indispensable skill for anyone involved in outdoor activities. Its efficiency in the "in-the-bight" form allows for rapid adjustments and quick setups that traditional hitches simply cannot match. By following the steps provided—forming identical loops, crossing them correctly, and securing them over a post—you ensure a reliable hold for your gear.
Remember, the key to mastery is practice. Take a length of rope and a vertical post and repeat the process until it becomes muscle memory. Whether you are securing a boat, building a shelter, or simply organizing gear in your garage, the Clove Hitch will undoubtedly become one of your most-used outdoor rope techniques. Stay safe, check your knots twice, and enjoy the confidence that comes with technical expertise.
