
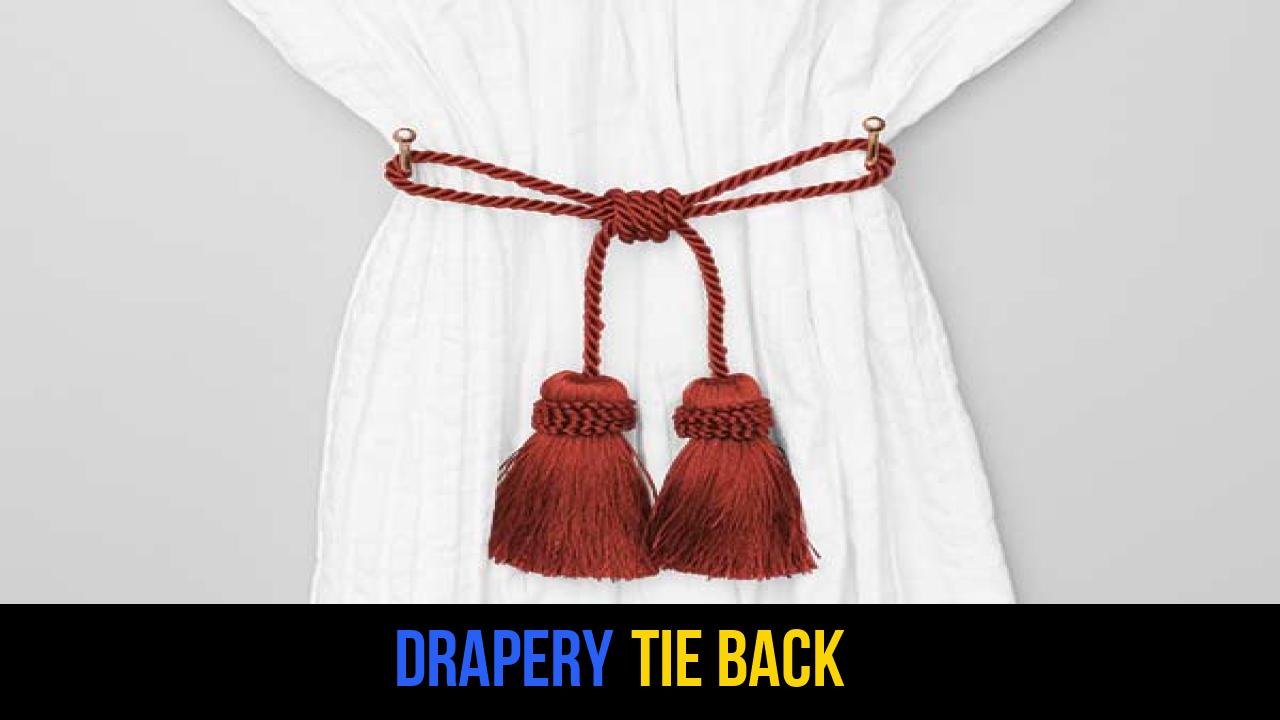
In the world of rope knots and functional cordage, few techniques bridge the gap between aesthetic elegance and mechanical utility as effectively as the Drapery Tie Back. While often associated with interior design and home decor, the structure of this knot draws heavily from traditional maritime and outdoor rope techniques. Whether you are looking to secure heavy velvet curtains in a living room or organize bundles of gear in a basecamp setting, mastering this specific coil-based knot is a valuable skill for any enthusiast.
Knot-tying is an ancient art form that serves as the backbone of various industries, from sailing and climbing to arboriculture and search-and-rescue. The Drapery Tie Back is a variation of a "shortening" or "decorative stopper" knot, designed to create two symmetrical loops that can be anchored to a fixed point. This ensures that the material being held—whether fabric or rope—is gathered neatly and securely.
Understanding the physics of how a coil grips a central core is essential for anyone interested in advanced rope knots. Throughout this guide, we will explore the nuances of this knot, the best materials to use, and how to ensure your loops are perfectly balanced for both beauty and strength.
Alternative Names: Curtain Loop Knot, Decorative Coil Hitch, Window Stay Knot, P drapery Cinch.
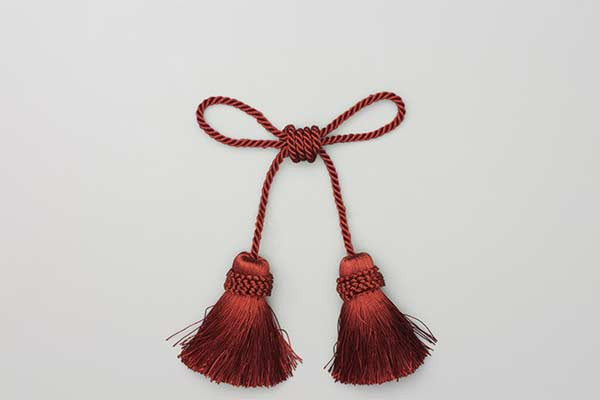
What Is a Drapery Tie Back?
The Drapery Tie Back is a functional loop-forming knot used primarily to hold fabric away from an opening, such as a window or a doorway. However, its definition in the context of outdoor rope techniques extends to any scenario where a cord needs to be cinched around a bundle and secured to two external hooks or carabiners.
Practical Uses
While its name implies a singular domestic use, the mechanical structure of the Drapery Tie Back is surprisingly versatile:
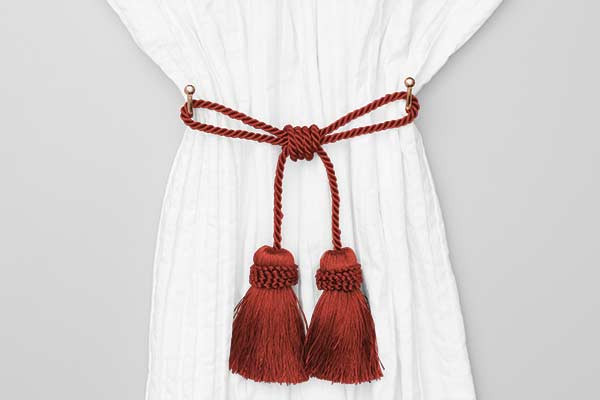
- Interior Design: The most common use is for holding curtains. It allows for a clean, professional look that can be easily adjusted.
- Outdoor Gear Organization: This knot can be used to bundle sleeping pads, tripods, or rolled-up canvas tarps, with the two end loops acting as attachment points for a backpack.
- Nautical Decor: In maritime settings, similar knots are used for "fancy work," where functional ropes are finished with decorative coils to prevent fraying and provide a grip.
- Workshops: Professionals often use variations of this knot to hang extension cords or air hoses, keeping them coiled tightly while providing a double-loop hanging point.
The beauty of the Drapery Tie Back lies in its symmetry. Unlike a simple overhand loop, this knot utilizes a series of wraps—a "coil"—that provides friction. This friction ensures that the loops do not slip or change size once the knot is tightened.
Materials and Tools Needed
To achieve a professional-grade Drapery Tie Back, the choice of material is paramount. Not all ropes are created equal, and the material you choose will dictate the knot’s security and visual appeal.
Rope Types
- Cotton or Silk Cord: Ideal for traditional drapery. These natural fibers have high surface friction, which helps the "four or five wraps" stay in place.
- Paracord (550 Cord): For outdoor rope techniques, paracord is the gold standard. It is durable, weather-resistant, and thin enough to create a tight, compact coil.
- Nylon Braided Rope: Offers a high-gloss finish and great strength. However, nylon can be "slippery," so you may need to pull the coil extra tight to prevent the bight from sliding.
- Manila or Hemp: Best for a rustic, nautical look. These ropes are stiff, which makes the balancing of the lengths slightly more challenging but results in a very rugged knot.
Essential Tools
- Wall Hooks or Anchors: These are necessary to secure the two loops. In an outdoor setting, these could be carabiners or tree branches.
- Measuring Tape: To ensure the "balance" of the lengths is precise.
- Sharp Scissors or a Knife: For trimming excess cordage (ensure you sear the ends of synthetic ropes with a lighter to prevent unraveling).
How to Tie Drapery Tie Back?
Tying this knot requires a steady hand and attention to the tension of the wraps. Follow these instructions precisely to ensure a secure and balanced result.
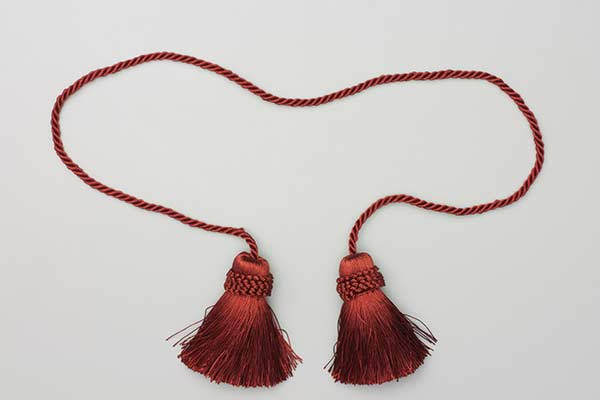
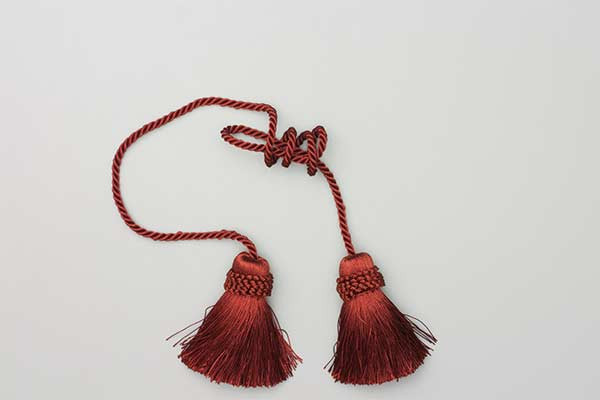
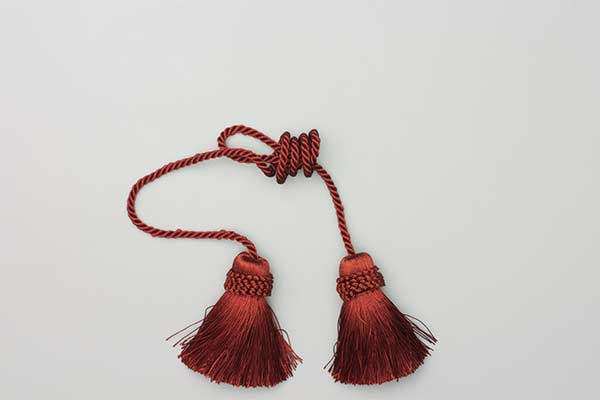
- Make a loop in one end and wrap it with the other end four or five times.
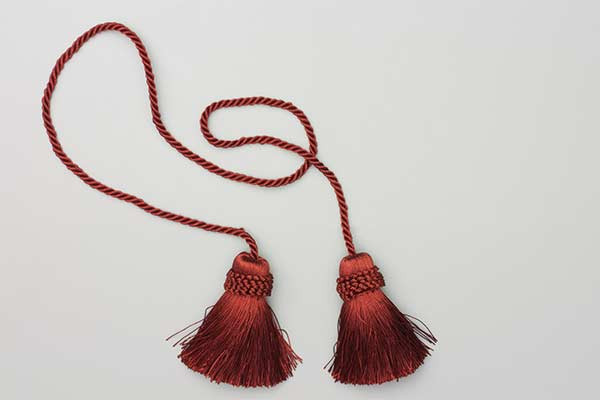
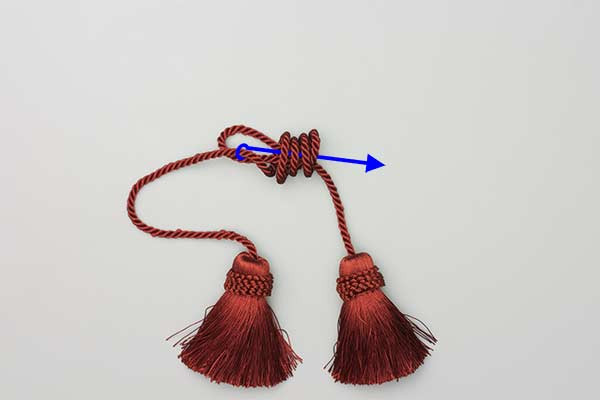
- Make a bight in this second end and pass it through the coil.
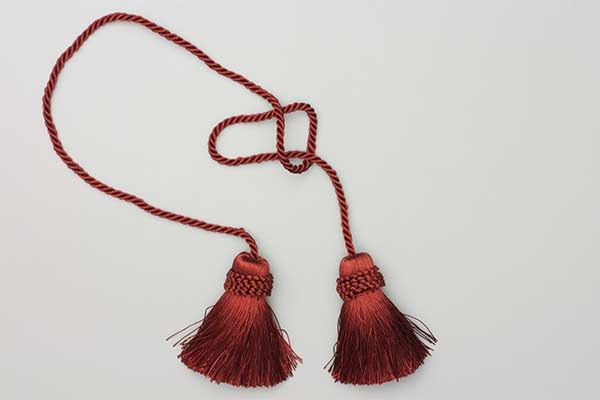
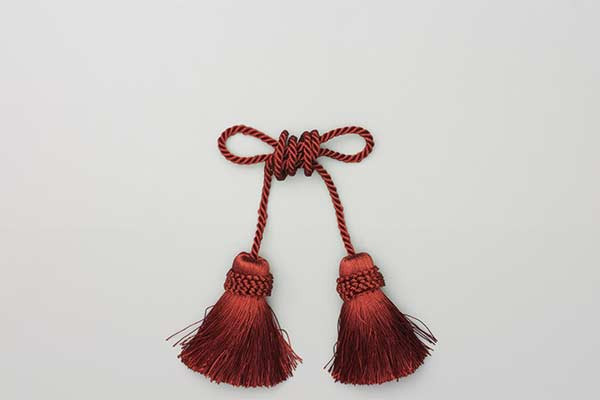
- Balance the lengths and pull the coil tight.
- Secure the two loops to the wall hooks.
Common Mistakes to Avoid
Even seasoned experts in rope knots can encounter issues with the Drapery Tie Back if they rush the process. Here are the most common pitfalls:
1. Insufficient Wraps
The instructions specify wrapping the end "four or five times." Beginners often stop at two or three. Without enough wraps, the friction is insufficient to hold the bight in place, causing the knot to collapse under the weight of heavy curtains or gear.
2. Overlapping the Coil
When wrapping the second end around the initial loop, the wraps should sit neatly side-by-side. If the wraps overlap or cross over each other, the knot becomes bulky and the tension becomes uneven, making it difficult to balance the lengths.
3. Misunderstanding the "Bight"
A bight is simply a U-shaped curve in the rope that does not cross itself. If you accidentally cross the rope and create a loop before passing it through the coil, you may inadvertently create a different, more complex knot that is harder to adjust or untie.
4. Poor Tensioning
The step "pull the coil tight" is the most critical for safety and longevity. If the coil is loose, the loops can shift, leading to an unbalanced appearance or, in outdoor applications, the potential for the load to slip.
Related Knots and Splicing
To further your mastery of outdoor rope techniques, it is helpful to understand knots that share similar structural DNA with the Drapery Tie Back.
- Heaving Line Knot: A weighted knot used to add mass to the end of a rope for throwing; it uses a similar multiple-wrap coil structure.
- Monkey’s Fist: A complex decorative knot often used in maritime history as a weight at the end of a line or as a decorative doorstop.
- Bowline Knot: Known as the "King of Knots," it creates a fixed loop at the end of a rope that will not slip or bind under load.
- Buntline Hitch: A secure knot used to fasten a line to a ring or bar, involving a series of wraps that cinch down on themselves for maximum security.
- Sheepshank: A knot used to shorten a length of rope without cutting it, utilizing multiple bights and hitches.
Final Words
The Drapery Tie Back is more than just a tool for interior decorators; it is a fundamental example of how rope knots utilize friction and symmetry to create functional loops. By mastering the art of the coil and the bight, you gain a deeper understanding of outdoor rope techniques that can be applied to camping, sailing, and general utility tasks.
Whether you are working with delicate silk cords or rugged 550 paracord, the principles remain the same: precision in the wraps, balance in the loops, and firmness in the final set. Practice this knot with different materials to see how "bite" and friction change, and you will soon find it to be an indispensable part of your knot-tying repertoire. Always remember to check your wall hooks or anchors for stability, ensuring your Drapery Tie Back remains secure for years to come.
