
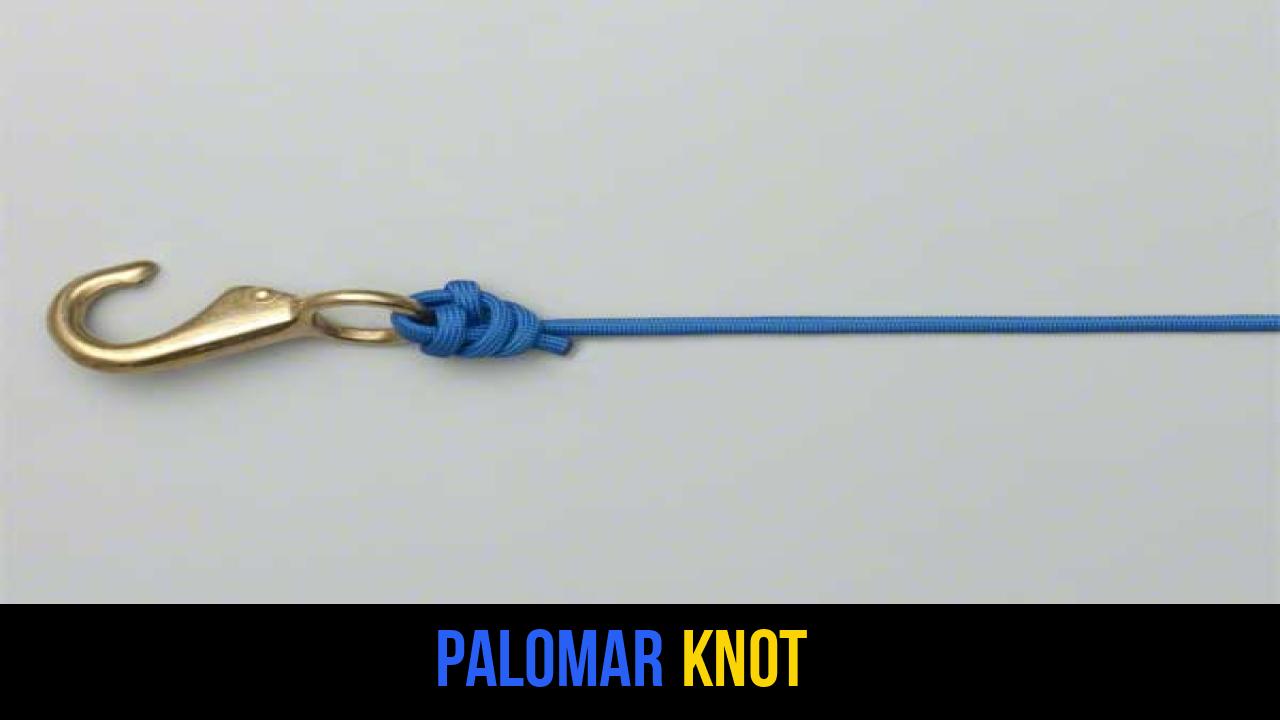
In the world of angling and technical outdoor rope techniques, few connections are as revered as the Palomar Knot. Known for its incredible strength, simplicity, and reliability, it is often cited by professional anglers and outdoor enthusiasts as the "gold standard" for securing a line to a terminal tackle. Whether you are battling a trophy bass or securing a critical component in a lightweight rigging setup, the integrity of your knot is the only thing standing between success and a lost opportunity.
The Palomar Knot is unique because it doubles the line as it passes through the eye of the hook or swivel. This distribution of stress ensures that the knot maintains nearly 100% of the original line’s breaking strength. While many rope knots suffer from internal friction that can "burn" or weaken the material, the Palomar’s geometry provides a robust buffer, making it particularly effective with modern synthetic lines like fluorocarbon and multi-filament braids.
Beyond the water, understanding the mechanics of this knot provides a foundation for broader outdoor rope techniques. Its design principles—utilizing a bight to create a secure loop—are mirrored in several high-strength utility knots used in camping and survival scenarios.
Alternative names for the Palomar Knot include: The P-Knot, the Double-Line Hook Knot, and the Braided Line Essential Knot.
What Is a Palomar Knot?
The Palomar Knot is a terminal tackle knot used primarily to attach a fishing line to a hook, lure, or swivel. It is classified as a "hitch" style knot because it relies on the object it is tied around to maintain its structure and security.
Why It Stands Out
What sets the Palomar Knot apart from other rope knots like the Clinch or the Uni knot is its efficiency. In laboratory break tests, the Palomar consistently outperforms its peers. Because the line passes through the eye of the hook twice, the load is spread across two strands of material rather than one. This prevents the "guillotine effect" where a single strand of line cuts through itself under high tension.
Practical Uses
While its primary home is in the fishing industry, the Palomar is an essential part of any outdoor rope techniques toolkit. It is used for:
- Fishing: Securing hooks, swivels, and lures to monofilament, fluorocarbon, and braided lines.
- Light Rigging: Attaching small rings or carabiners to paracord for gear organization.
- Crafting: Creating secure attachments for lanyards or decorative cordage where a non-slip loop is required.
- Survival Scenarios: Utilizing small-diameter cordage to create snares or secure tool heads.
Materials and Tools Needed
To tie a perfect Palomar Knot, you need the right materials and a few basic tools to ensure the knot is seated correctly and safely.
1. The Line
The type of line you use significantly impacts how the knot behaves:
- Monofilament: Highly flexible and easy to tie. The Palomar seats beautifully in "mono."
- Fluorocarbon: This line is denser and more prone to heat damage from friction. Lubrication is mandatory here.
- Braided Line: These lines are slippery. The Palomar is one of the few knots that will not slip when used with high-tech braids.
- Utility Cord: For practice or non-fishing outdoor uses, 550 paracord or bank line works well.
2. The Hardware
The Palomar requires an "eye" or a ring to function. This could be:
- A fishing hook.
- A barrel swivel or snap.
- A small metal O-ring or D-ring for gear rigging.
3. Essential Tools
- Line Cutters/Scissors: To trim the tag end cleanly.
- Lubricant: Typically water or saliva is used to reduce friction during the tightening process.
- Pulling Tool: For heavier lines, a knot-pulling tool or a pair of pliers can help seat the knot without straining your hands.
How to Tie Palomar Knot?
To ensure maximum strength and reliability, follow these instructions precisely. The beauty of this knot lies in its lack of complexity, but each step must be performed in the correct order to maintain the integrity of the line.
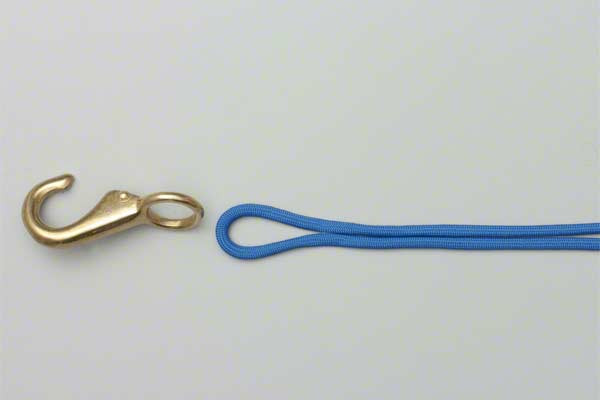
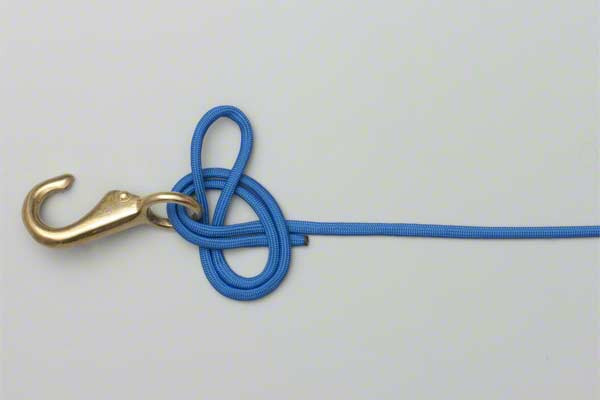
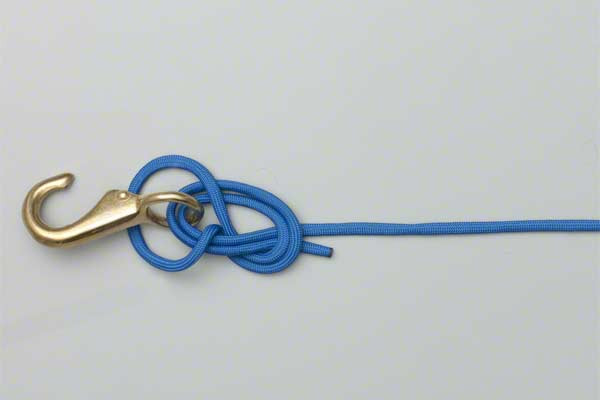
- Form a bight in the end of the line.
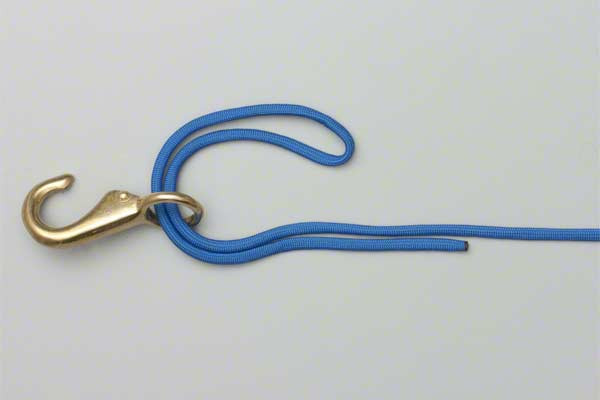
- Pass the bight through the eye of the hook.
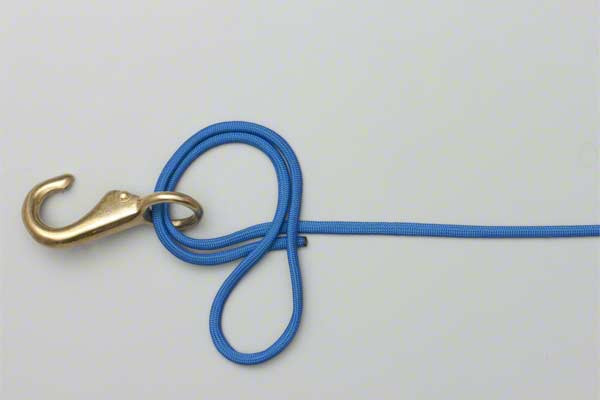
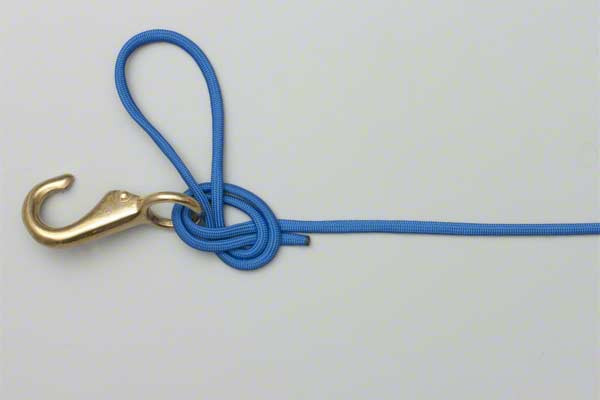
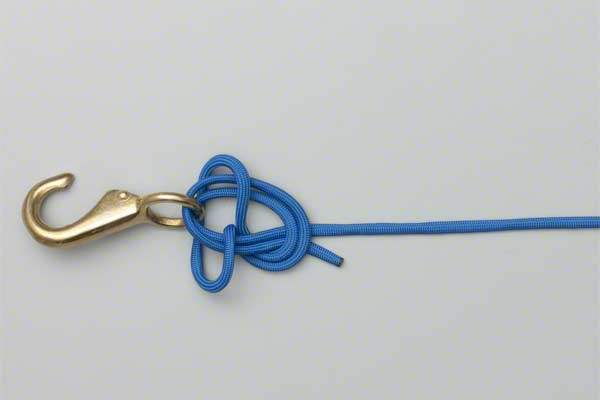
- With the bight, tie an overhand knot.
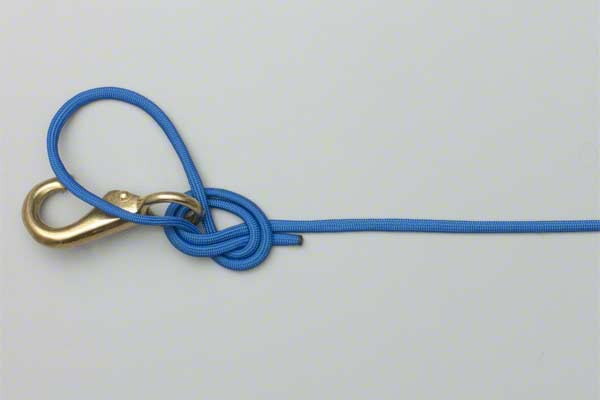
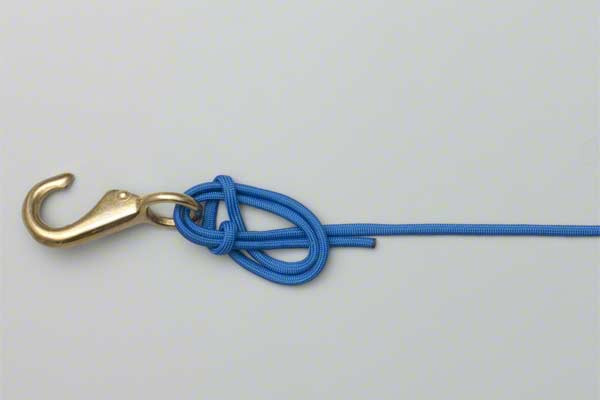
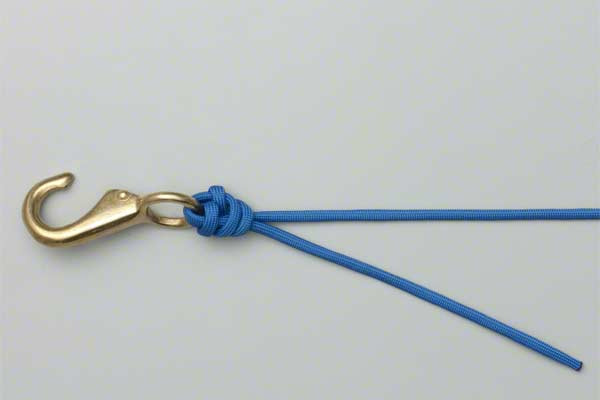
- Pass the bight over the hook and down around the knot.
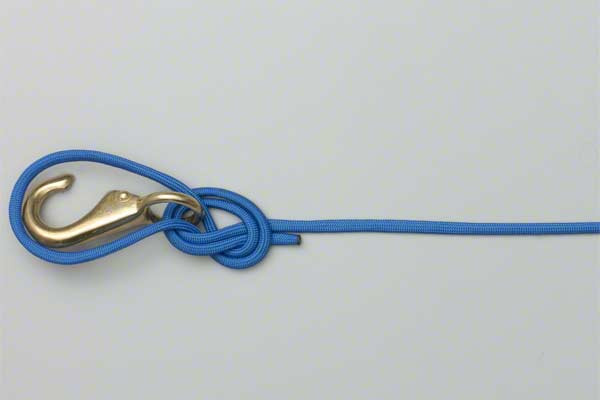
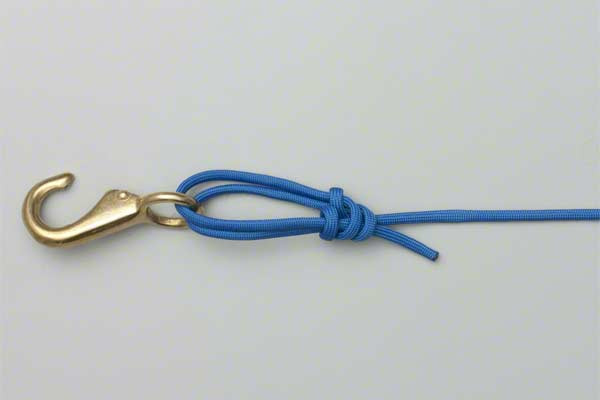
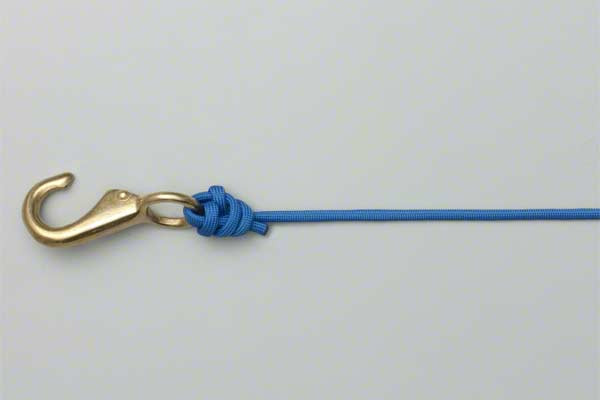
- Lubricate and pull the standing and tag ends to tighten the knot.
- Trim the tag end.
Common Mistakes to Avoid
Even the strongest rope knots can fail if they are tied incorrectly. When mastering the Palomar Knot, keep an eye out for these common errors:
1. Failing to Lubricate
This is the most frequent cause of knot failure. As you pull the standing and tag ends, the line rubs against itself. This friction generates heat, which can "burn" the line, causing it to become brittle and snap under half its rated load. Always use water or saliva to keep the material cool.
2. Crossing the Lines in the Eye
When you pass the bight through the eye, ensure the two strands of the line lie side-by-side rather than crossing over each other. If they cross inside the eye, one strand may crush the other when a heavy load is applied.
3. Not Passing the Entire Hook Through the Bight
In step 4, the entire hook (or lure) must pass through the loop. If the loop gets caught on the eye of the hook or a barb, the knot will not seat correctly, and it will unravel the moment tension is applied.
4. Improper Tightening
Ensure you are pulling both the tag end and the standing line simultaneously. If you only pull the standing line, the knot may not "stack" correctly, leading to a bulky, weak connection.
5. Over-trimming the Tag End
While you want a clean look, trimming the tag end too close to the knot (less than 1/8th of an inch) can be dangerous. Under extreme pressure, some lines may "settle" slightly; leaving a small amount of tag end prevents the knot from pulling through itself.
Related Knots and Splicing
Expanding your knowledge of outdoor rope techniques involves understanding how different knots compare. Here are a few related connections:
- Improved Clinch Knot: A classic fishing knot that involves wrapping the tag end around the standing line; it is reliable but generally weaker than the Palomar.
- Uni Knot: A highly versatile knot that can be used for terminal tackle or joining lines; it is excellent for monofilament-to-braid connections.
- Blood Knot: Used specifically for splicing two sections of line together; it is the preferred choice for fly fishing leaders due to its slim profile.
- Non-Slip Loop Knot: Used when you want the hook or lure to move freely within a fixed loop, providing more action in the water.
- Orvis Knot: A small, efficient terminal knot developed to be faster to tie than the Clinch while maintaining high breaking strength.
Final Words
The Palomar Knot remains a fundamental skill for anyone serious about fishing or outdoor rope techniques. Its legendary strength-to-simplicity ratio makes it an indispensable tool in your repertoire. By doubling the line through the eye and utilizing a simple overhand structure, it provides a level of security that few other rope knots can match.
Whether you are a beginner learning your first connection or a professional refining your gear, the Palomar offers peace of mind. Remember to always check your knots by giving them a firm tug before use, and never skip the lubrication step. With practice, tying the Palomar Knot will become second nature, ensuring your equipment stays connected when it matters most. Practice with different line diameters to see how the knot seats, and you will quickly understand why it is widely considered the best knot in the world for terminal tackle.
