
In the world of bushcraft, maritime operations, and general utility, the ability to secure an object quickly and efficiently is a hallmark of a seasoned outdoorsman. Among the vast library of rope knots, few are as recognizable yet misunderstood as the Noose Knot. Often categorized under the broader family of sliding loops or slip knots, this particular configuration is prized for its ability to tighten under tension, making it an indispensable tool for securing loads, creating temporary hitches, and managing gear in the field.
Understanding outdoor rope techniques requires more than just memorizing a pattern; it requires an appreciation for the physics of friction and the structural integrity of different cordage types. Whether you are a scout learning the basics of pioneering or a professional arborist looking to refine your rigging, mastering the Noose Knot provides a foundational skill that can be adapted to countless scenarios.
This guide serves as a technical deep dive into the mechanics, applications, and proper execution of the knot, ensuring you can deploy it safely and effectively in any environment.
Alternative Names: Running Noose, Sliding Loop, Slip Knot (variant), Hangman’s Knot (complex variant), Simple Noose.
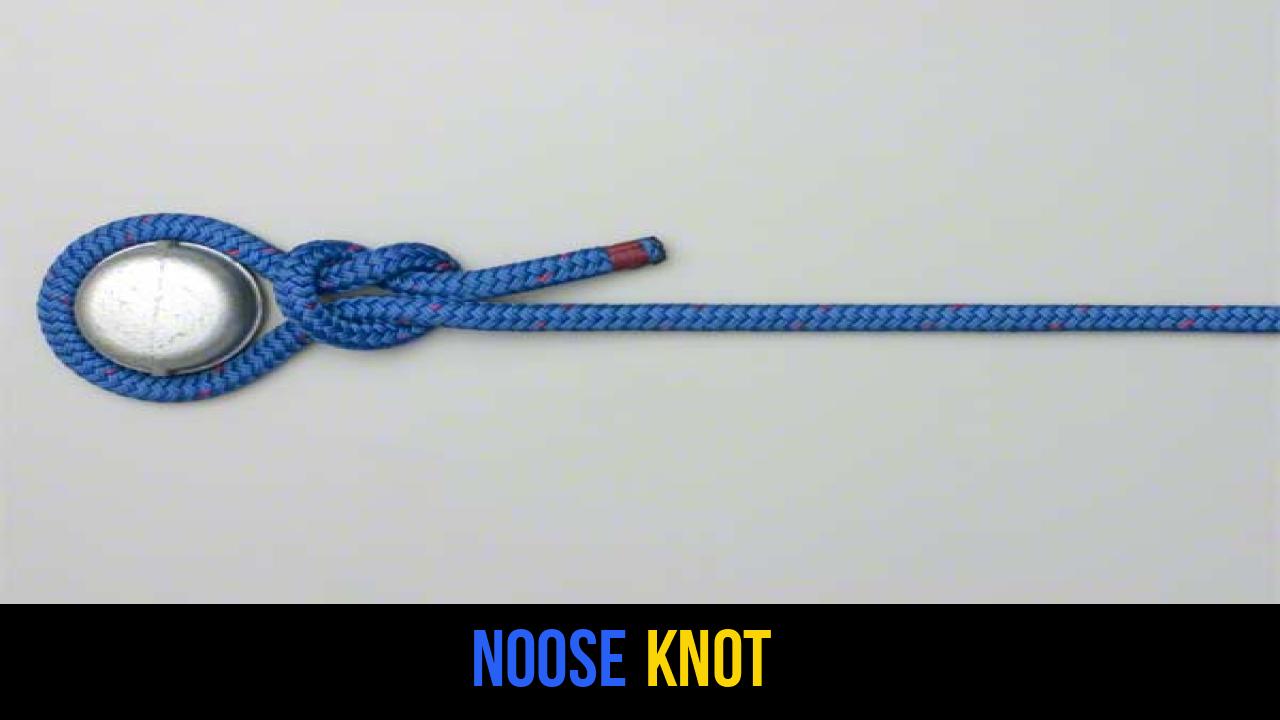
What Is a Noose Knot?
The Noose Knot is a type of sliding loop that is designed to tighten around an object as tension is applied to the standing part of the rope. Unlike a fixed loop—such as the Bowline—which maintains its diameter regardless of the load, the Noose Knot is dynamic. It functions as a "hitch" that can be cast over a post, a branch, or a heavy piece of equipment to provide a snug, adjustable grip.
Practical Uses in the Great Outdoors
In practical outdoor rope techniques, the utility of this knot is extensive:
- Securing Loads: It is frequently used to cinch down bundles of firewood or to secure gear to a roof rack.
- Mooring: In light boating, a quick noose can be thrown over a piling for a temporary hold.
- Bushcraft Trapping: Historically, variations of this knot were used in traditional snare-making for survival food procurement.
- Arboriculture: Climbers and arborists use sliding loops to pull tools up into the canopy or to redirect lines.
- General Utility: It is excellent for hanging lanterns, suspending food bags away from bears, or creating a makeshift clothesline tensioner.
The primary advantage of the Noose Knot is its simplicity. It can be tied with one hand in some variations and is easily adjustable even after the initial loop is formed.
Materials and Tools Needed
To master the Noose Knot, you must understand the interaction between the knot and the material used. Not all ropes are created equal, and the performance of a sliding loop depends heavily on the "hand" (flexibility) and "grab" (friction) of the cordage.
Recommended Rope Types
- Paracord (550 Cord): Excellent for practice and small-scale utility. Its nylon sheath provides a good balance of slide and grip.
- Static Kernmantle Rope: Preferred for heavy-duty hauling. The low-stretch nature of static rope ensures the noose stays tight once set.
- Natural Fibers (Manila or Cotton): These offer high internal friction, which prevents the knot from slipping prematurely, though they are more susceptible to weather degradation.
- Synthetic Polypropylene: Often used in marine environments. While slippery, a well-tied Noose Knot can still function if the tail is secured properly.
Tools for Success
While no specialized tools are required to tie the knot, having a sharp knife or multitool is essential for trimming excess rope or melting the ends of synthetic lines to prevent fraying. Additionally, using a marlin spike can help in dressing the knot—straightening the wraps so they lay flat and perform predictably.
How to Tie a Noose Knot?
Following the proper sequence is vital to ensuring the knot functions as intended. The following instructions provide the standard method for forming a reliable sliding loop.
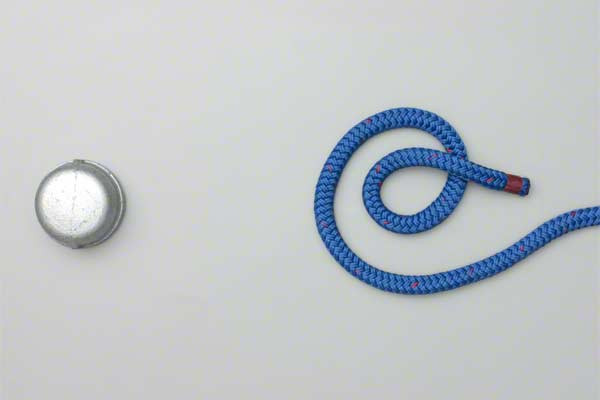
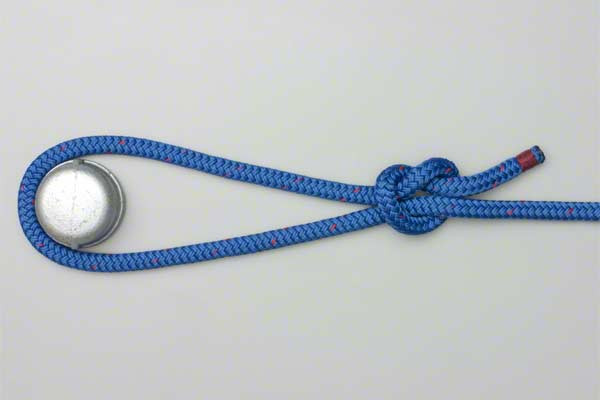
- Form a loop in the end of the rope.
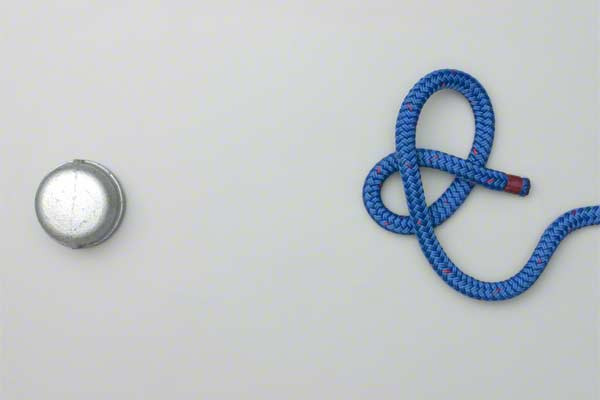
- Tuck a bight of the standing end through the loop.
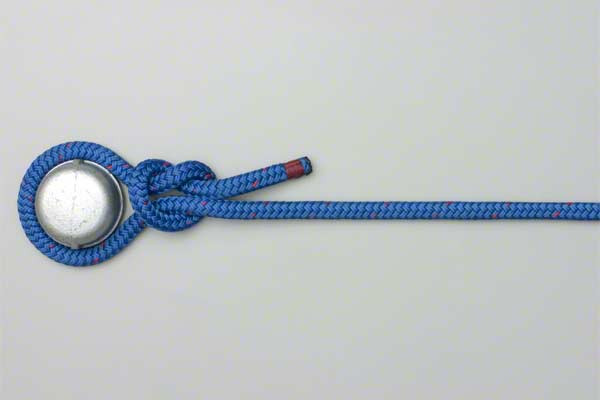
- Make the bight larger and pass it around the object.
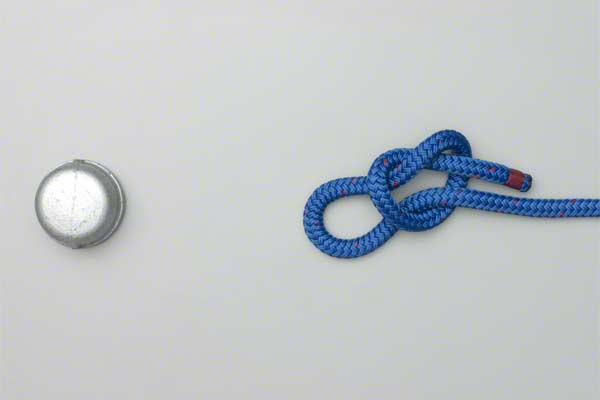
- Pull on the standing end to tighten the noose.
Once these steps are completed, the knot should slide freely along the standing part until it encounters the object, at which point it will cinch tight.


Common Mistakes to Avoid
Even a simple knot can fail if executed poorly. When practicing rope knots, pay close attention to these common pitfalls:
1. Dressing the Knot Poorly
"Dressing" refers to the process of tidying the knot so the strands are parallel and not crossing over each other unnecessarily. A messy Noose Knot can jam or, conversely, slip when you need it to hold. Always pull each end of the rope to ensure the internal "overhand" structure is snug before applying a heavy load.
2. Insufficient Tail Length
Always leave a generous "tail" (the bitter end of the rope). If the tail is too short, the tension of the sliding loop can pull the end back through the knot, causing it to untie completely. A good rule of thumb is to leave a tail at least four to five times the diameter of the rope.
3. Using the Wrong Material for the Task
In very slick, high-tech ropes like Dyneema or Spectra, a simple Noose Knot may not provide enough friction to hold. In these cases, the knot can "creep." Always test your knot under a light load before trusting it with valuable gear.
4. Safety Warning
The Noose Knot is a tool for utility and education. It should never be used in any application involving the human body, such as climbing harnesses or safety restraints, unless you are using a specific, life-safety rated variant like the Triple Fisherman’s Loop. Always adhere to local safety regulations and professional standards.
Related Knots and Splicing
Expanding your repertoire of outdoor rope techniques involves learning how the Noose Knot relates to other essential hitches and loops.
- The Slip Knot: Often confused with the noose, the slip knot is essentially the same structure but tied so that pulling the tail collapses the knot. It is a "quick-release" version.
- The Bowline: Known as the "King of Knots," it creates a fixed loop that does not slip or tighten. It is the safer alternative for rescue scenarios.
- The Clove Hitch: A fundamental binding knot used to secure a rope to a cylindrical object. Unlike the noose, it does not involve a sliding loop.
- The Figure-Eight Loop: A very strong, non-moving loop used primarily in rock climbing and search and rescue due to its high breaking strength retention.
- The Poacher’s Knot: A more secure version of the noose that uses a double overhand structure to create a sliding loop that is much harder to accidentally undo.
Final Words
The Noose Knot remains a staple of rope knots due to its sheer simplicity and mechanical efficiency. By following the four-step process of forming a loop, tucking a bight, enlarging the loop, and tightening the standing end, you can master a tool that has been used for centuries in maritime and wilderness settings.
Whether you are cinching down a tarp in a rainstorm or organizing gear in your garage, the Noose Knot offers a reliable solution for any task requiring an adjustable, tightening loop. Remember to practice with different materials, always dress your knots properly, and respect the power and utility of well-maintained cordage. With these outdoor rope techniques in your skill set, you are better prepared for the challenges of the trail and the sea.
