
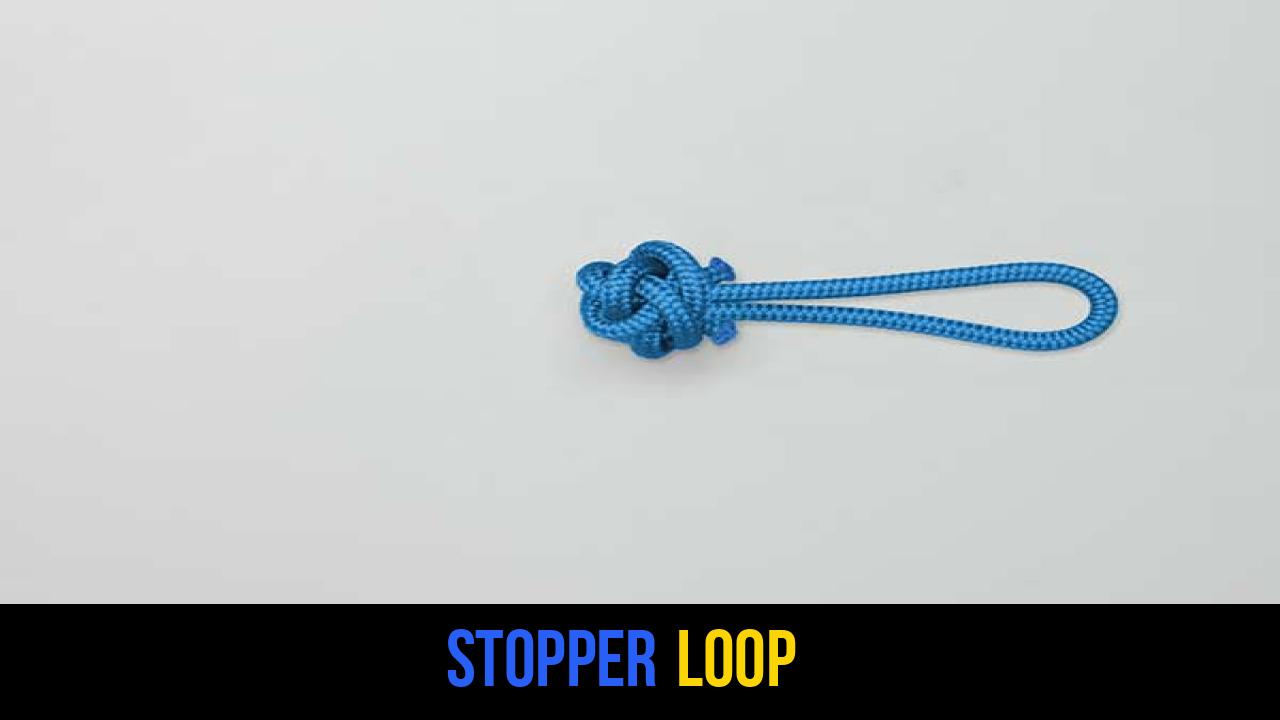
In the world of wilderness survival, maritime operations, and technical outdoor sports, the ability to manipulate cordage is more than just a craft—it is a fundamental safety skill. Among the vast library of rope knots, the Stopper Loop knot stands out as a specialized technique used to create a fixed, secure eye that often serves as the foundation for more complex decorative and functional "button" knots.
Whether you are a seasoned sailor, an avid camper, or a professional rigger, understanding the nuances of the Stopper Loop is essential. This knot combines the incredible gripping power of the Constrictor Knot with the utility of a fixed loop, ensuring that your lines remain secure even under significant tension. In this guide, we will explore the mechanical advantages, practical applications, and the exact methodology required to master this knot.
Alternative names for the Stopper Loop include: Button Loop, Constrictor Stopper, and the Picket Loop.
What Is a Stopper Loop?
The Stopper Loop is a functional configuration designed to provide a fixed point of attachment or a "stop" in a line. Unlike a simple overhand loop, the Stopper Loop utilizes a secondary knot—traditionally the Constrictor Knot—to seize the base of the loop. This ensures that the loop size remains constant and does not slip or "creep" when the rope is subjected to a load.
Practical Uses in the Field
- Lanyard Construction: It is frequently used to create the attachment point for knife lanyards or gear tethers.
- Tent and Tarp Rigging: The loop can act as a fixed eye for guy lines, allowing for quick tensioning without the knot collapsing.
- Decorative Knotting: It serves as the preliminary step for the Chinese Button Knot or the Celtic Button Knot, providing the necessary structure for the "button" to be tied around.
- Sailing and Marine Use: In light rigging, a stopper loop can prevent a line from running through a block or fairlead while providing a handle for manual pulling.
Materials and Tools Needed
To tie a secure and effective Stopper Loop, the choice of material is paramount. Different fibers react differently to the binding force of the internal knots.
Recommended Rope Types
- Paracord (550 Cord): Excellent for practice and light-duty utility. Its nylon sheath provides enough friction for the constrictor element to bite effectively.
- Static Climbing Rope: For heavy-duty outdoor applications, a thin static cord (3mm to 5mm) is ideal as it does not stretch, maintaining the loop’s integrity.
- Natural Fiber Rope: Cotton or hemp ropes are excellent for decorative purposes, though they require more care to prevent rot.
Necessary Tools
- A Sharp Blade: For cutting the rope to the desired length.
- A Lighter or Heat Source: To sear the ends of synthetic ropes (preventing fraying).
- A Fid or Marlinspike: Useful for dressed-up knots or if you need to untie a heavily tightened constrictor.
How to Tie Stopper Loop?
Tying the Stopper Loop requires precision during the initial setup. Follow these steps exactly as outlined to ensure the knot is structurally sound.
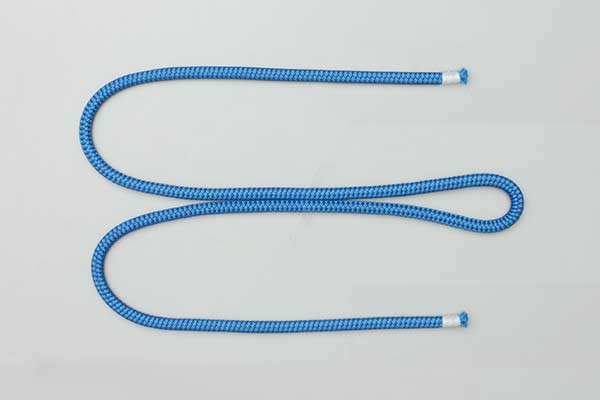
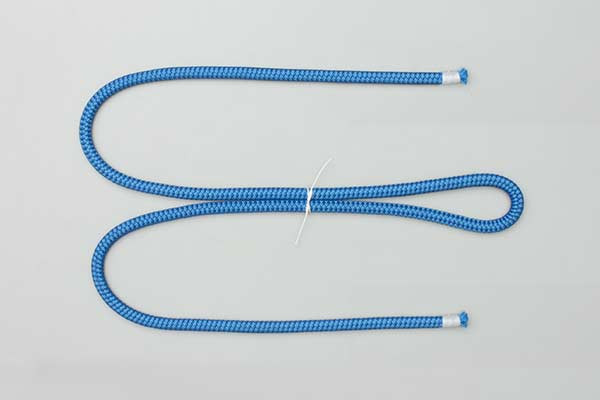
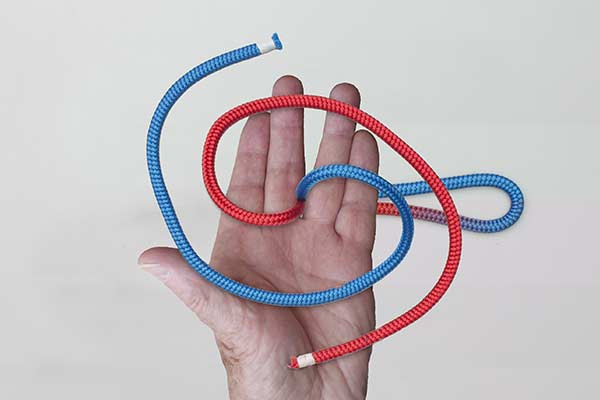
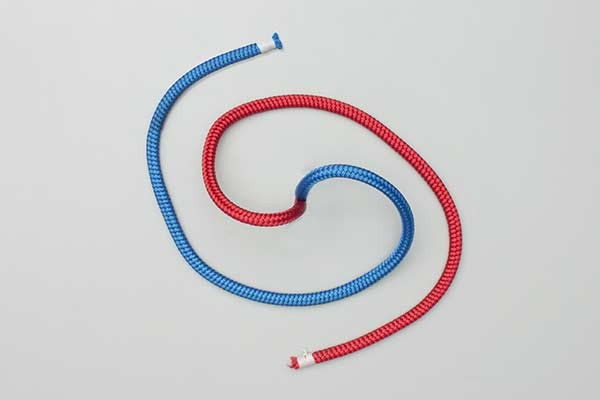
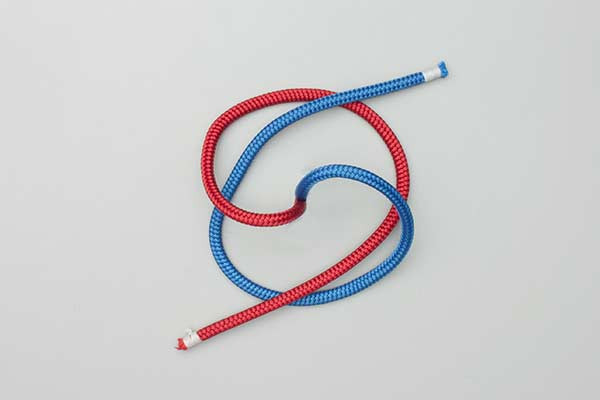
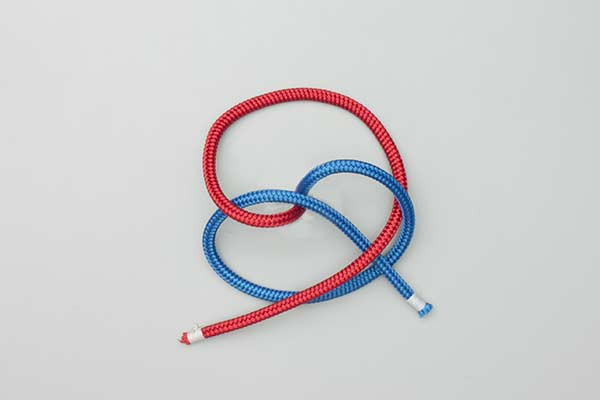
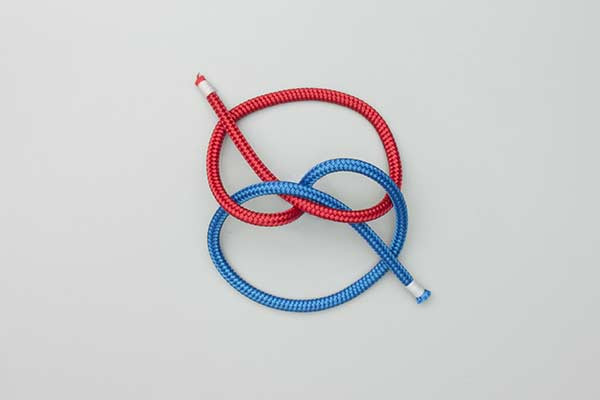
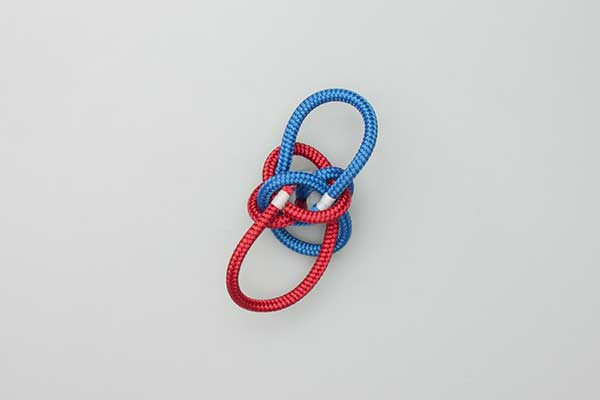
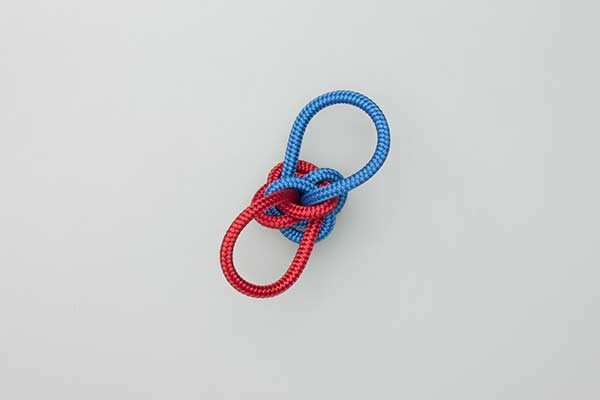
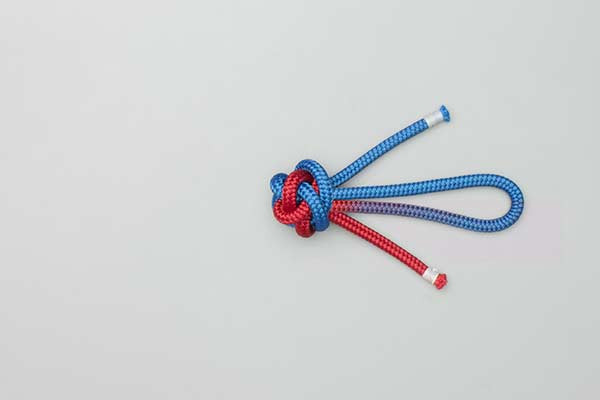
- Form a loop in the middle of the rope and tie a Constrictor Knot to mark the size of the loop.
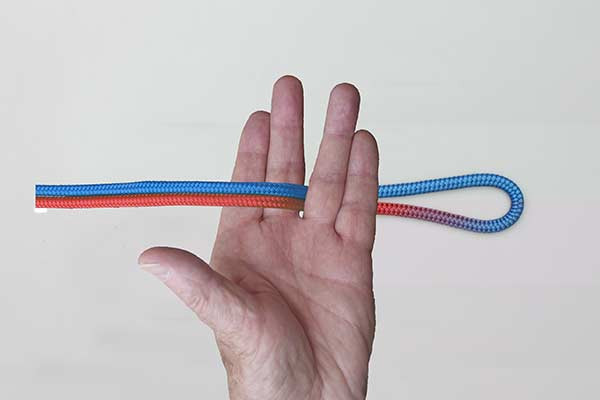
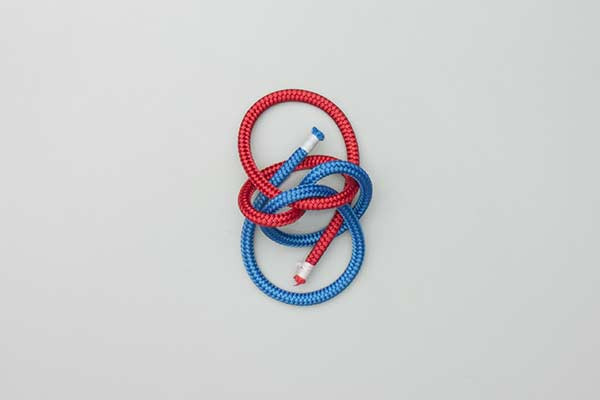
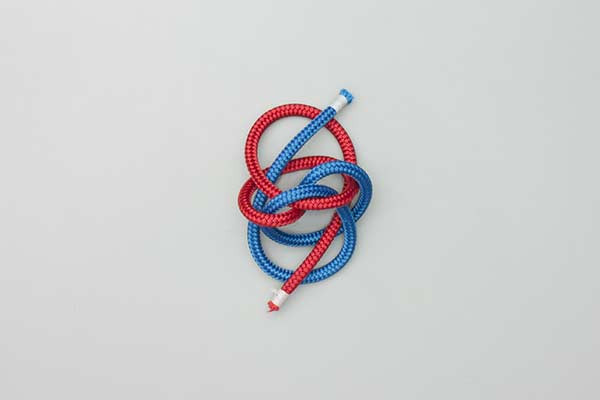
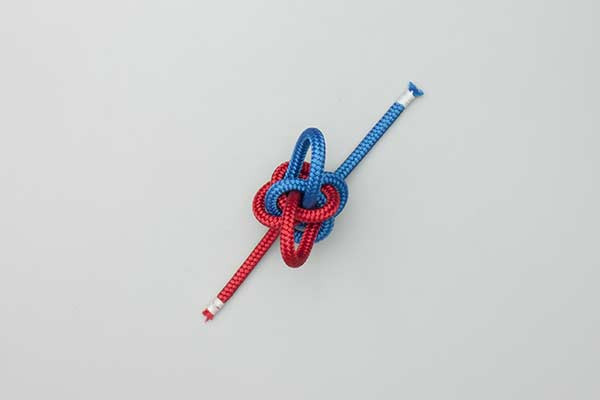
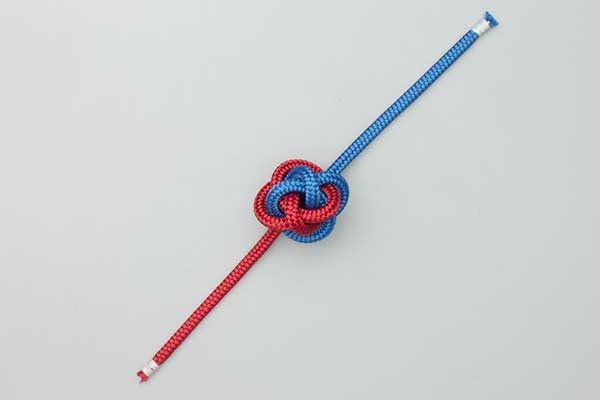
- Lay the ends in your hand for tying the button.
Technical Breakdown of the Steps
To ensure success for beginners, let’s look at the mechanics of these specific instructions:
- Step 1 Analysis: When you form a loop in the middle of the rope, you are determining the working diameter of the eye. By applying a Constrictor Knot at the base, you are utilizing one of the most secure binding knots in existence. This "marks" the size, meaning the loop will not get smaller or larger once the constrictor is tightened.
- Step 2 Analysis: By laying the ends in your hand, you are preparing the "tails" or "working ends" of the rope. This orientation is critical if you intend to continue the process into a "button" knot, which provides the "stopper" bulk required for various outdoor rope techniques.


Common Mistakes to Avoid
Even experienced outdoorsmen can encounter issues with the Stopper Loop knot if they rush the process.
1. Improper Dressing of the Constrictor Knot
The Constrictor Knot is the heart of the Stopper Loop. If the turns of the constrictor are crossed incorrectly, the knot may fail to bind. Always ensure the "X" shape of the constrictor is visible and that the ends exit from under the crossing turn.
2. Choosing the Wrong Rope Diameter
If the rope is too thick, the "button" portion of the knot may become overly bulky and difficult to tighten. Conversely, if the rope is too thin, the constrictor may not have enough surface area to grip, leading to slippage.
3. Neglecting "Safety Tails"
When tying a loop that will be under load, always leave enough length in the ends. Short tails can be pulled into the knot under extreme tension, leading to total failure.
4. Over-Tightening Before Finishing
If you are using the Stopper Loop as a base for a button knot, do not fully cinch the constrictor until the entire structure is complete. This allows for minor adjustments in loop size.
Related Knots and Splicing
Understanding the Stopper Loop is often a gateway to learning other essential rope knots. Here are a few related techniques:
- The Constrictor Knot: A powerful binding knot that is virtually impossible to untie once tightened; it forms the "choke" of the Stopper Loop.
- The Figure-Eight Loop: A very strong and secure loop knot that is easier to inspect and untie than many stopper-based loops.
- The Chinese Button Knot: A decorative and functional stopper knot that uses the Stopper Loop as its structural foundation.
- The Bowline: Known as the "King of Knots," it creates a fixed loop at the end of a rope but lacks the "stopper" bulk of the Stopper Loop.
- Eye Splice: A permanent way to create a loop in the end of a multi-strand rope by weaving the strands back into the standing part.
Maintenance and Care for Your Gear
Using outdoor rope techniques effectively also means taking care of the cordage itself. A knot is only as strong as the rope it is tied in.
- Inspect for Abrasion: Before tying a Stopper Loop knot, check the section of the rope for "furring" or internal strand damage.
- Keep it Clean: Dirt and grit can act as an abrasive inside the knot, cutting the fibers from the inside out when the knot is tightened.
- Storage: Never store your ropes with knots tied in them for long periods. This can create "memory" in the fibers, weakening the rope at the bend points.
Final Words
The Stopper Loop is a testament to the elegance of functional knot-tying. By combining the simplicity of a loop with the unyielding grip of the Constrictor Knot, it provides a versatile solution for both utility and decorative applications.
Mastering this knot is a vital step for anyone looking to improve their proficiency in outdoor rope techniques. It requires patience to dress the knot correctly, but the result is a secure, reliable, and professional-grade connection. Practice with different materials—from paracord to heavy utility line—to feel how the knot behaves under different conditions. With these skills in your repertoire, you are better prepared for the challenges of the great outdoors.
