
In the world of maritime tradition and professional rope management, few techniques are as visually satisfying and practically debated as the Flemish Flake Coil. Whether you are standing on the deck of a classic schooner or organizing high-end climbing utility lines in a gear room, the way you handle your rope speaks volumes about your expertise. The Flemish Flake Coil is more than just a storage method; it is a statement of order, safety, and respect for the equipment that keeps us secure in the great outdoors.
Properly managing rope knots and coils is a fundamental skill for any outdoorsman. While many modern synthetic ropes are designed to be stuffed into bags, the traditional "flake" or "coil" remains a staple for lines that need to remain flat, accessible, and free of internal hockles (kinks). This article will dive deep into the technical specifications, historical context, and practical application of this specific coil, ensuring you have the knowledge to execute it perfectly every time.
Alternative Names: Flemish Coil, Cheesed Coil, Spiral Coil, Flat Coil, or simply "Flemishing" a line.
What Is a Flemish Flake Coil?
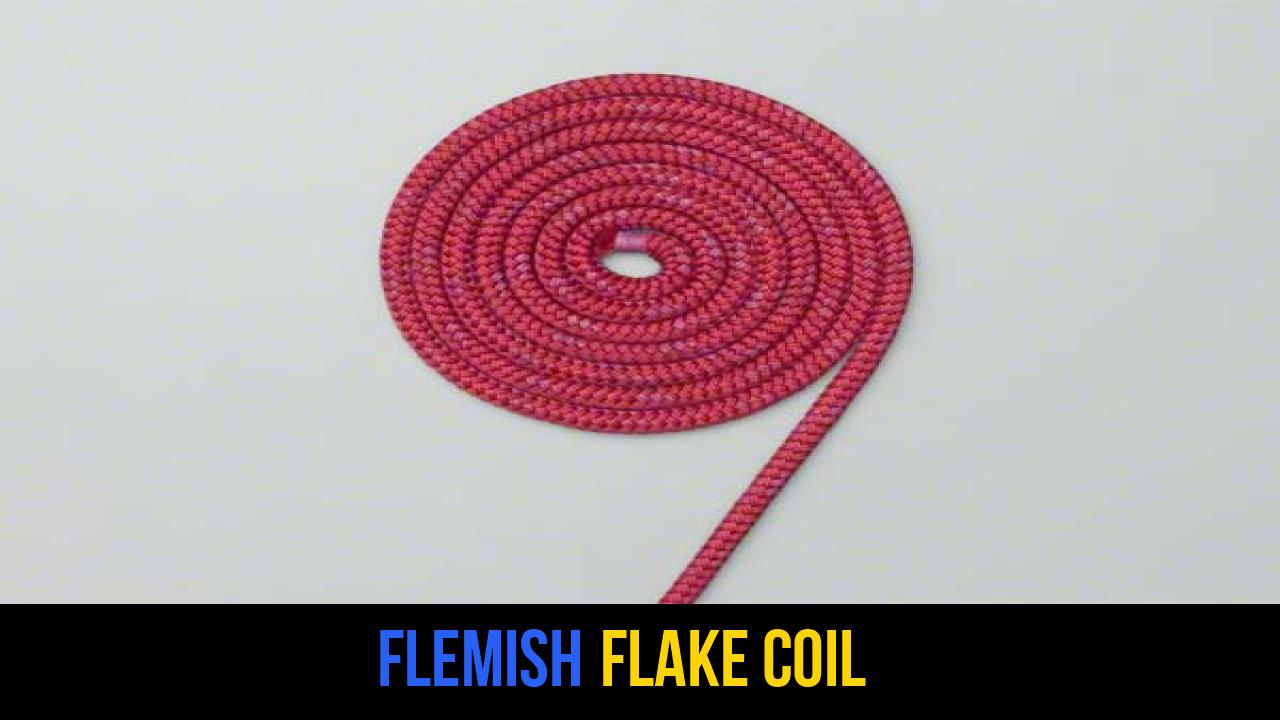
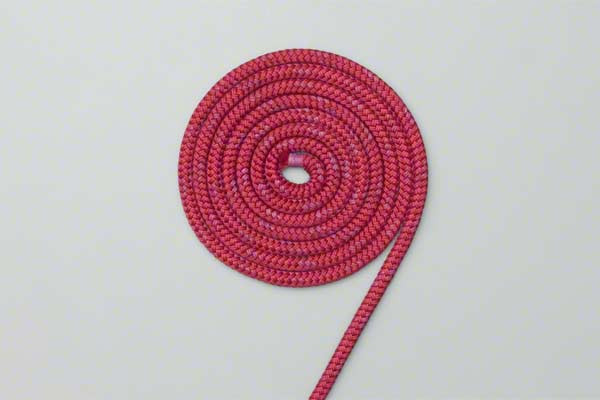
The Flemish Flake Coil is a method of laying a rope flat on a surface (usually a deck or a dock) in a tight, concentric spiral. Unlike a standard "hanging" coil where loops are gathered in the hand and secured with a wrap, the Flemish Flake lies entirely flat.
Practical Uses
Historically, its primary use was in the maritime industry. On a sailing vessel, excess line from a halyard or sheet could become a significant tripping hazard. By "Flemishing" the tail of the rope, sailors could keep the deck clear and organized.
In modern outdoor rope techniques, the Flemish Flake is used for:
- Aesthetics: It provides a clean, professional look for displays or organized campsites.
- Space Management: Keeping long tails of rope flat on a platform or inside a vehicle prevents tangles.
- Rope Health: Allowing a rope to lie flat can help remove some of the "memory" or twists that develop from being stored on a spool or in tight loops.
- Quick Drying: By spreading the surface area of the rope against a flat plane, it can sometimes dry faster than a bunched-up coil, provided the surface is breathable.
Materials and Tools Needed
To create a perfect Flemish Flake Coil, you don’t need complex hardware, but the type of rope you choose will significantly impact the final result.
1. Rope Selection
- Three-Strand Twisted Rope: This is the traditional choice. Natural fibers like manila or hemp hold a Flemish coil beautifully due to their friction. Synthetic three-strand (like twisted nylon) also works well.
- Double-Braid Rope: Modern yachting lines are often double-braid. These can be "Flemished," but they tend to be "springier" and may require more coaxing to stay flat.
- Kernmantle Rope: Used in climbing and rescue, these ropes are very supple. While they can be laid in a flake, they lack the structural stiffness of twisted rope, making the coil prone to shifting if stepped on.
2. The Surface
The surface should be flat and clean. In a marine environment, this is usually the deck. In an outdoor or camping scenario, a flat rock, a wooden platform, or a heavy-duty groundsheet is ideal.
3. Considerations
- Length: The Flemish Flake Coil is best suited for the "tail" or the working end of a rope that is already secured to something (like a cleat).
- Moisture: Avoid Flemishing a wet rope on a wooden surface for long periods, as it can trap moisture and lead to rot or deck staining.
How to Tie Flemish Flake Coil?
The following instructions describe the traditional method of forming the coil. While it can be started from the outside-in, most professionals prefer the center-out approach for a tighter finish.
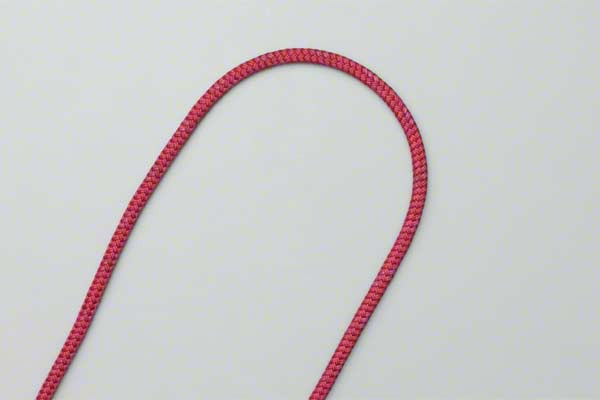
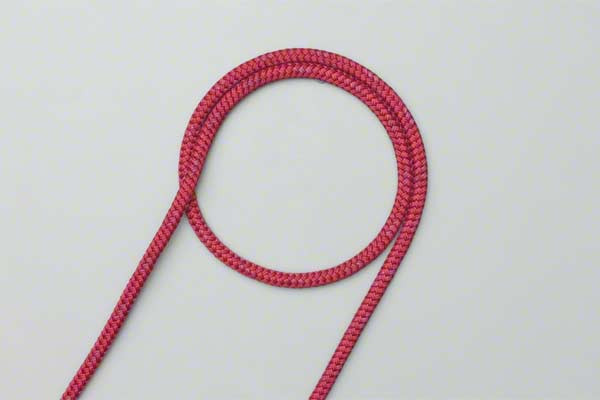
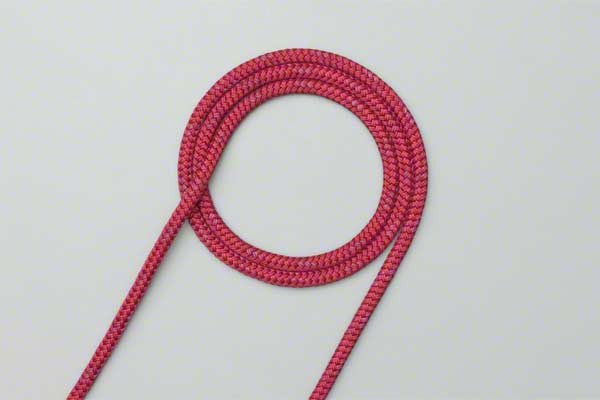
- Form a circle of about the right size and lay the rope neatly inside the circle.
- In practice, the coil may be started at the center – see text.
Detailed Execution Tips:
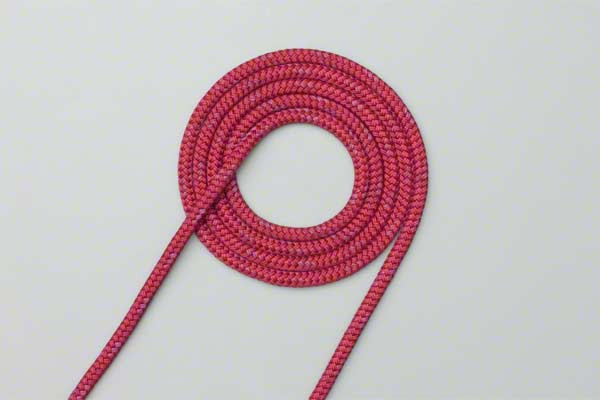
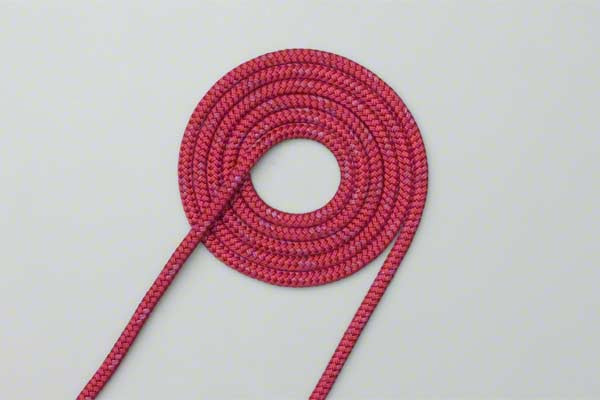
- The Center-Start Method: Take the very end of the rope (the bitter end) and make a tiny, tight circle. Continue wrapping the rope around this center point, ensuring each successive layer is flush against the previous one.
- Tension: Use your hand to "pat" the rope down as you go. This removes any air gaps and ensures the coil remains flat.
- Clockwise vs. Counter-Clockwise: If using three-strand "right-hand lay" rope, you should generally coil the rope clockwise to follow the natural lay of the fibers and prevent kinking.

Common Mistakes to Avoid
Even seasoned experts can encounter issues when performing this outdoor rope technique. Watch out for these common pitfalls:
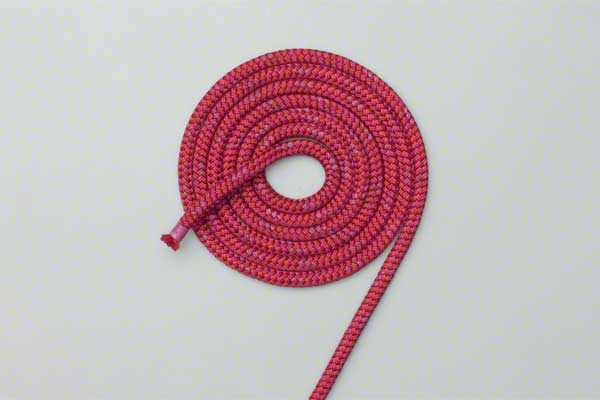
- Over-Tightening: If you pull the rope too tight as you spiral outward, the center may begin to "pop" up, creating a cone shape rather than a flat disc.
- Inconsistent Lay: Ensure the rope is not twisted as you lay it down. If the rope has "memory" from being on a spool, you may need to run the length of the rope through your hands to "milk" the twists out before starting the flake.
- Tripping Hazard: While the coil is meant to be neat, a Flemish Flake Coil can be slippery when wet, especially if made with synthetic rope. Never place a coil in a high-traffic "swing" area where someone might lose their footing.
- Using for High-Speed Deployment: Warning: A Flemish coil is not for ropes that need to run out at high speeds (like an anchor line being dropped). Because the rope is laid in a spiral, it will almost certainly kink and "bird-nest" if pulled rapidly from the center. For high-speed use, a "regular flake" (back and forth in a pile) is safer.
Related Knots and Splicing
Understanding the Flemish Flake Coil is often a gateway to broader rope proficiency. Here are a few related knots and techniques:
- The Bowline Knot: Often called the "King of Knots," the Bowline creates a fixed loop at the end of a rope that is easy to untie after being under a heavy load.
- The Figure Eight Knot: A fundamental stopper knot used in climbing and sailing to prevent a rope from slipping through a pulley or fairlead.
- The Clove Hitch: A quick-binding knot used to secure a rope to a spar or post; it is often the starting point for many lashings.
- Eye Splice: A permanent way to create a loop in the end of a three-strand rope by weaving the strands back into the standing part.
- Common Whipping: A technique using small twine to bind the end of a rope, preventing it from fraying or unravelling over time.
Final Words
The Flemish Flake Coil is a hallmark of the disciplined outdoorsman and sailor. While it serves a practical purpose in keeping decks and campsites organized, it also represents a high level of rope craft. By mastering the art of laying a line neatly, you ensure your gear lasts longer, your environment remains safe, and your technical skills remain sharp.
Remember, the key to a perfect Flemish coil is patience and the right rope. Whether you are preparing for a weekend sailing trip or simply organizing your utility ropes in the garage, take the time to "Flemish" your lines. It is a small detail that makes a massive difference in the longevity and presentation of your equipment.
Practice your rope knots regularly, stay safe on the water or the trail, and always respect the power and utility of a well-maintained line. Happy knotting!
