
In the world of rope knots, few structures are as fundamental or as frequently utilized as the Half Hitch. Whether you are a seasoned sailor, an expert arborist, or a weekend camping enthusiast, understanding the mechanics of the Half Hitch knot is essential. It is often described not as a complete knot in its own right, but as a building block—a "component" that forms the basis for more complex and secure hitches.
Despite its simplicity, the Half Hitch serves as a vital tool for securing lines under light tension or as a finishing touch to prevent other knots from slipping. It is the very first lesson in most outdoor rope techniques curricula because it teaches the basic principles of friction, tension, and the relationship between the "working end" and the "standing end" of a rope.
In this comprehensive guide, we will explore the history, mechanics, and practical applications of this versatile knot, ensuring you have the technical knowledge to apply it safely in any environment.
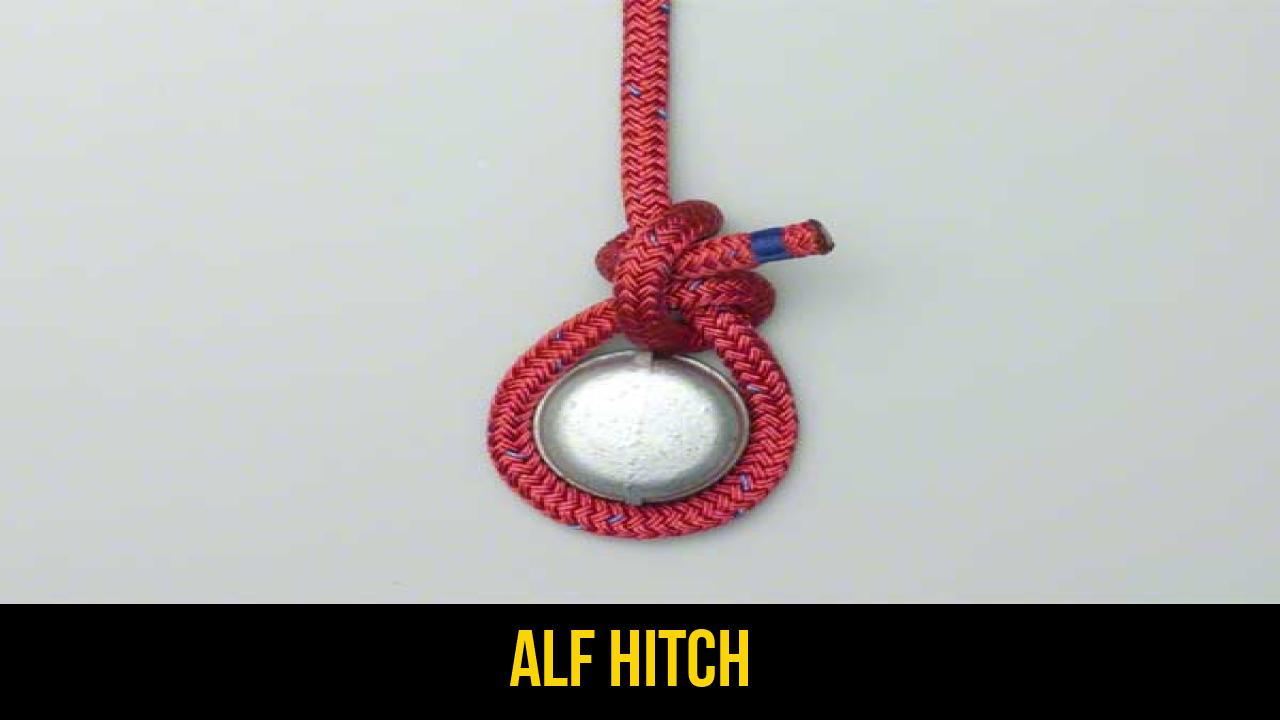
Alternative Names: Single Hitch, Simple Hitch, Overhand Hitch.
What Is a Half Hitch?
The Half Hitch knot is technically a "simple overhand knot" tied around an object or around the standing part of a rope. Its primary function is to secure a rope to a cylindrical object, such as a post, a ring, or another rope.
While the Half Hitch is incredibly easy to tie and untie, it is important to note that it is not considered a "secure" knot when used in isolation for heavy or critical loads. In the field of outdoor rope techniques, it is most commonly used in pairs (the "Two Half Hitches") or as a means of "dressing" a more complex knot to ensure the tail doesn’t slip through the main structure.
Practical Uses:
- Temporary Fastening: Perfect for quickly securing a rope to a light object when you don’t expect significant shifting or heavy tension.
- Finishing More Complex Knots: It is frequently used to "lock" knots like the Clove Hitch or a Timber Hitch.
- Light Load Management: Used in gardening, basic crafts, and organizing gear where the "load" is minimal.
- Scouting and Education: It serves as the primary teaching tool for beginners to understand how a rope wraps and bites into itself.
Materials and Tools Needed
To practice and master the Half Hitch, you don’t need specialized equipment, but choosing the right materials will help you understand how friction affects knot security.
Rope Types
- Nylon Rope: Excellent for learning because it has some "stretch," but it can be slippery. You will notice how the Half Hitch requires tension to stay in place on synthetic fibers.
- Polyester/Dacron: This is a standard in marine environments. It offers better UV resistance and less stretch than nylon.
- Paracord (550 Cord): A favorite in outdoor rope techniques for its portability. The Half Hitch is very common in paracord "survival" bracelets and gear wraps.
- Natural Fibers (Manila or Cotton): These ropes have high natural friction, making the Half Hitch feel much more secure than on synthetic lines.
Tools and Considerations
- A Fixed Object: To tie a hitch, you need something to tie to. A smooth wooden dowel, a metal ring, or a tree branch is ideal.
- Rope Diameter: For practice, a rope between 6mm and 10mm is easiest to handle.
- The "Load" (Arrow): As noted in technical diagrams, the direction of the pull (the load) is crucial for the Half Hitch to function. Ensure your "standing end" is long enough to simulate a load.
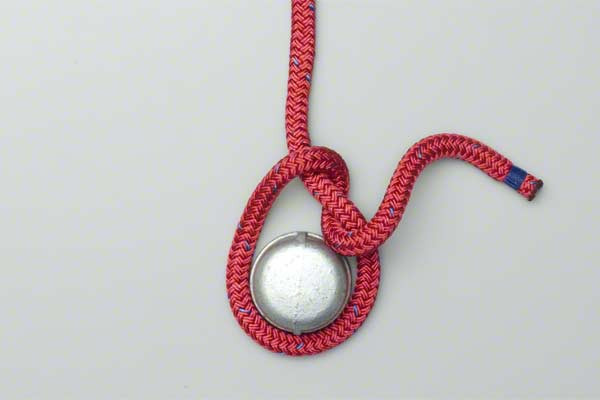
How to Tie Half Hitch?
Following the technical standards for outdoor education, here is the precise method for executing this knot.
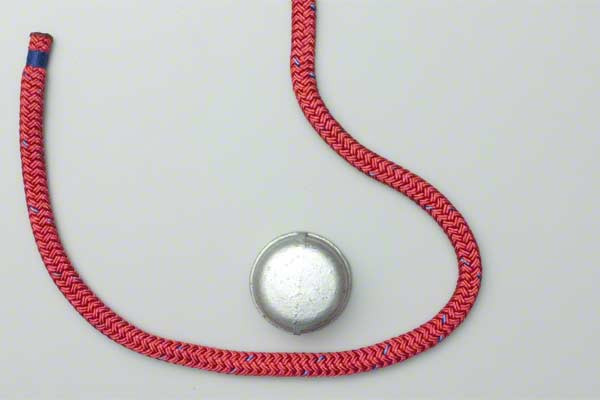
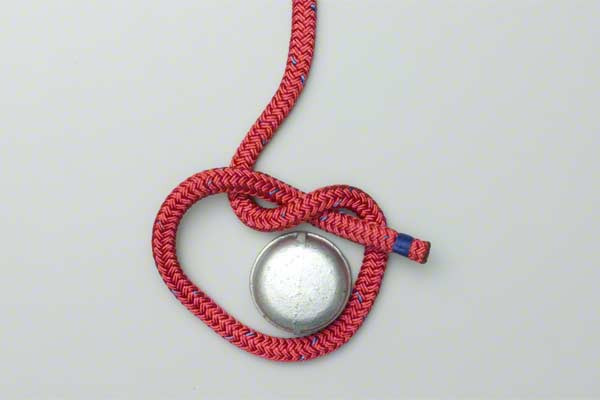
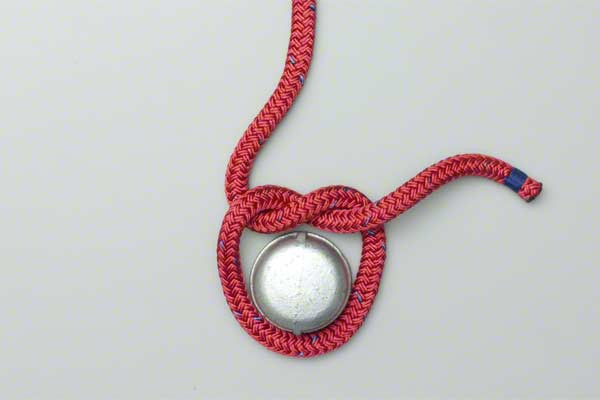
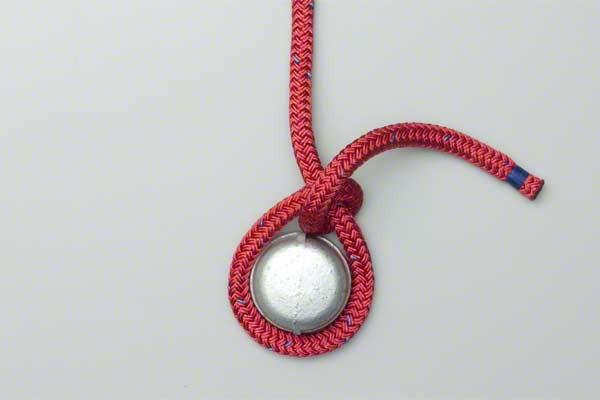
- Form a loop around the object.
- Pass the end around the standing end and through the loop.
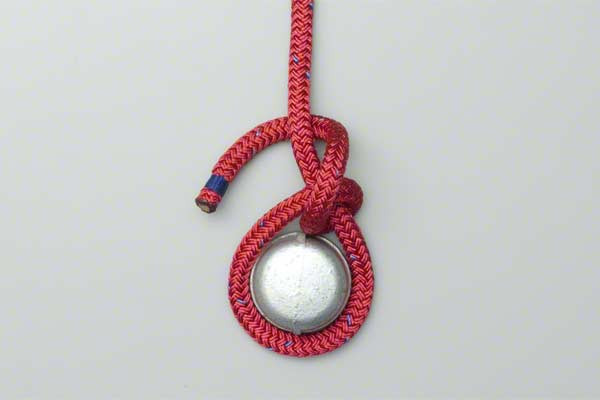
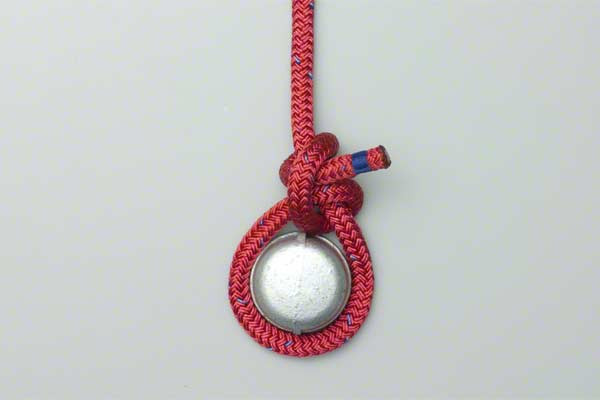
- Tighten into a Half Hitch which is designed to take a load (Arrow) on the standing end.
Why the "Standing End" Load Matters
In the instructions above, the mention of the load (Arrow) on the standing end is the most critical technical detail. Unlike a stopper knot (like the Figure-Eight), a hitch relies entirely on the tension provided by the standing part of the rope.
When you pull the standing end, the "loop" you formed around the object is pressed tightly against the "working end" that you passed through. This creates friction. If there is no load on the standing end, the Half Hitch will simply fall apart or slide down the object. This is why, in professional outdoor rope techniques, we emphasize that hitches are "load-dependent" structures.


Common Mistakes to Avoid
Even a knot as simple as the Half Hitch can be performed incorrectly, leading to equipment failure or safety risks.
1. Using it as a Standalone Safety Knot
The most common mistake is over-reliance. Never use a single Half Hitch to secure a load that could cause injury or property damage if it fails. It is prone to slipping if the rope is shaken or if the tension is intermittent.
2. Tying it "Against" the Load
If you pass the end through the loop in the wrong direction, the knot may not "bite" correctly. Always ensure the wrap follows the direction of the tension so that the rope pinches itself against the object.
3. Insufficient Tail Length
Always leave a "tail" (the working end) that is at least five to seven times the diameter of the rope. This ensures that if the knot settles or shifts under load, the end doesn’t get sucked back through the loop.
4. Ignoring Rope Texture
If you are using a very slick, high-tech rope (like Dyneema or Spectra), a Half Hitch will almost certainly slip. These ropes require more complex knots or multiple wraps to generate enough friction.
Related Knots and Splicing
To truly master rope knots, you must understand how the Half Hitch evolves into more secure configurations.
Two Half Hitches
This is the most common evolution. By adding a second Half Hitch behind the first, you create a much more reliable knot that is widely used for mooring boats or tying a clothesline. It is essentially a Clove Hitch tied around the standing part of the rope.
The Clove Hitch
The Clove Hitch consists of two successive Half Hitches tied around a post. It is a classic in outdoor rope techniques for starting and finishing lashings, though it can slip if the post rotates or if tension is not constant on both ends.
The Timber Hitch
Used for dragging heavy logs, the Timber Hitch starts with a Half Hitch and then wraps the tail around itself several times. The pressure of the log against the rope keeps the knot secure while in motion.
The Taut-Line Hitch
An adjustable friction hitch used in camping to tension tent guy-lines. It utilizes a series of Half Hitches (specifically a rolling hitch structure) tied around the standing part to allow the loop to slide when loose but grip when under tension.
Buntline Hitch
A very secure hitch used to attach a rope to a ring or shackle. It is essentially a Half Hitch followed by another that is "tucked" inside, making it much harder to accidentally undo, especially when the rope is subjected to jerking motions.
Final Words on the Half Hitch
The Half Hitch may be the simplest of all rope knots, but its importance cannot be overstated. It is the fundamental "handshake" between a rope and an object. By mastering the ability to form a loop, pass the end around, and tighten under load, you develop the foundational muscle memory required for all advanced outdoor rope techniques.
Whether you are securing a tarp for a night under the stars or simply bundling firewood, the Half Hitch is a tool that belongs in every adventurer’s mental toolkit. Remember: simplicity is the soul of efficiency, but safety is the product of knowing when a simple knot needs the reinforcement of its more complex cousins. Practice often, use the right materials, and always respect the "load" on your standing end.
