Celtic Knot Tying
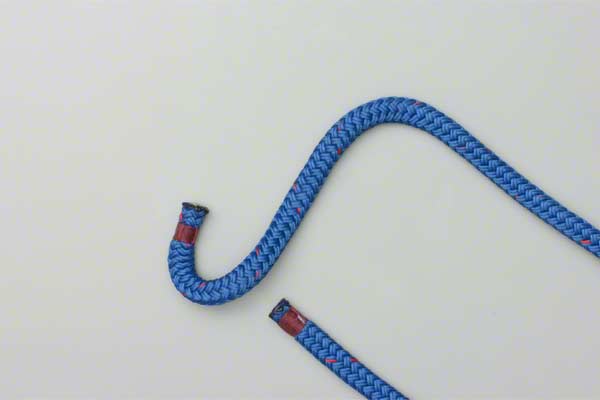
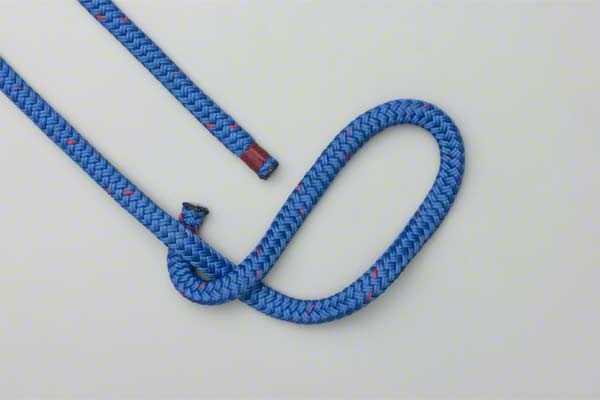
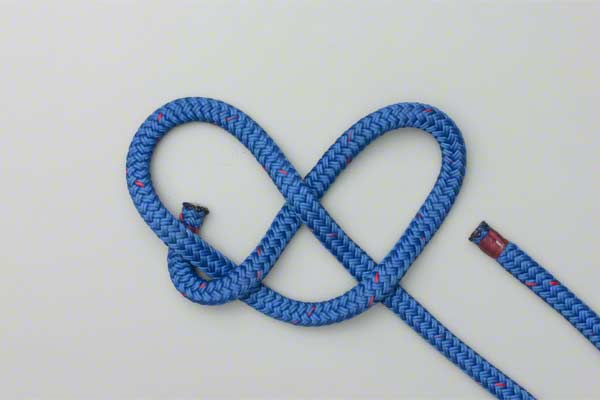
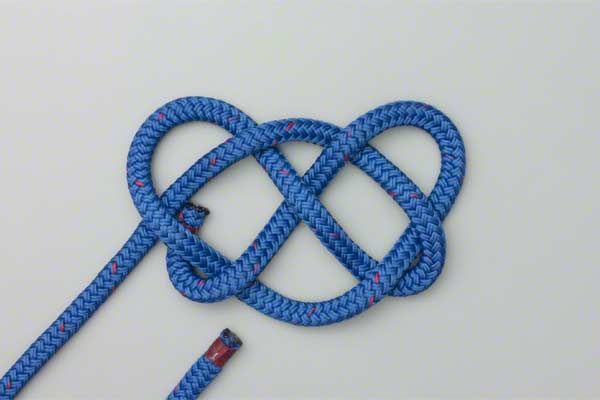
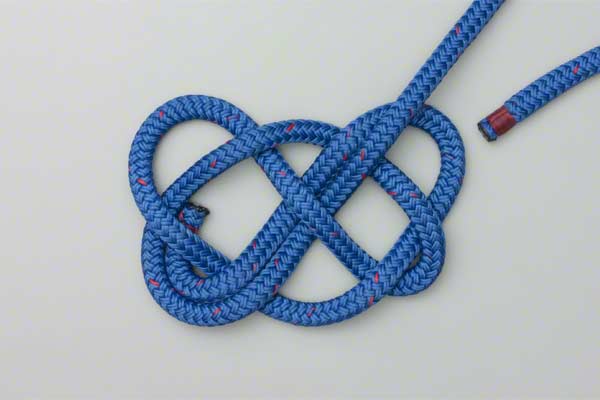
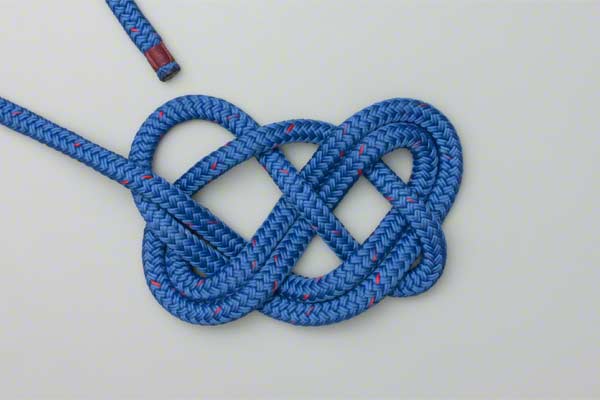
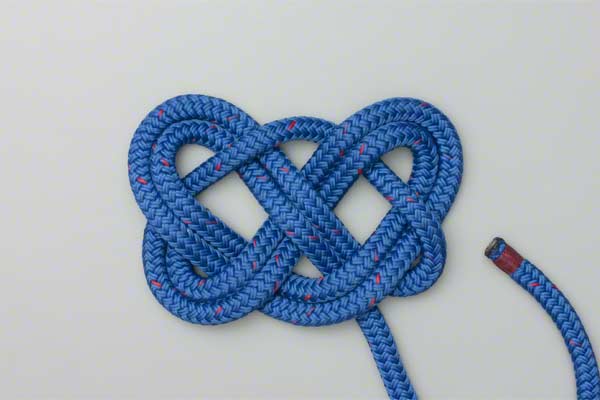
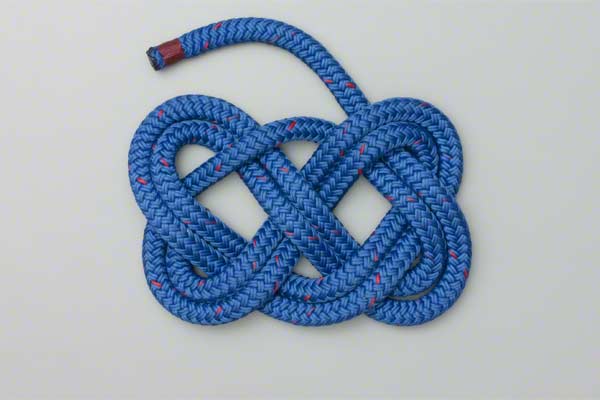
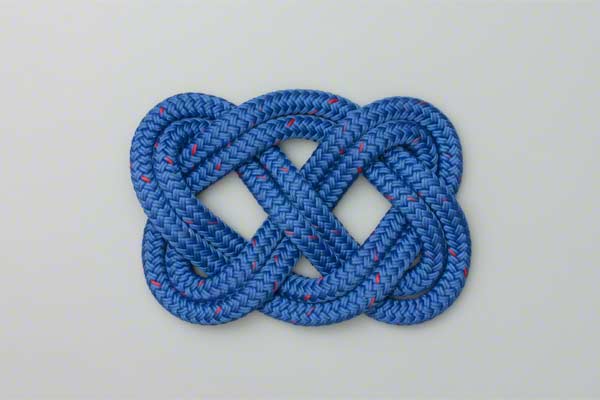
Use a strict under and over sequence to tie a simple Celtic Knot. Then follow the first strand round the same path to finish at the original starting position.


Celtic Knot Details
Origin: Our simple example of a Celtic Knot appears to be identical to the starting layout for Ashley's Six-Stranded Platted Mat (ABOK # 2256, p 365), except that we used his starting position and followed the pattern round a second time whereas Ashley shows it as the basis for a more complicated mat.
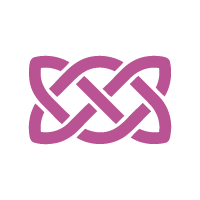
Celtic Knots: Many different patterns and designs claim to be Celtic Knots. They vary in size and complexity with shapes that include rectangles, squares, triangles and circles. We included this simple example here because one writer asked us why we had selected it as the icon for our decorative knots section but failed to show how to tie it!
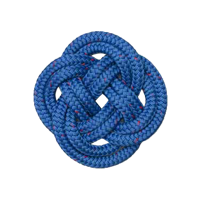
Additional Turns: Only two complete turns are shown in the animation and space remains between the turns. For a more pleasing appearance, one or more additional turns are added using the same technique. The entire mat is then tightened to eliminate space between the turns.
Uses: Small Celtic Knot mats make excellent tablemats and hot pads. Ashley provides a huge selection of designs, some of which are very elaborate with many crossings. Some of the larger versions make useful stair treads and chair covers.
Finishing the Mat: The two ends can be secured in one of several ways. When the mat is purely decorative, and the material is one that melts, the two ends can be heated in a flame and fused together. However, to do this an end has to be passed across other turns. The mat then has a thicker section and is less suitable as a tablemat. Another way to finish the mat is to attach each end to the neighboring turn using needle and thread, glue, or twine and constrictor knots. Whichever method is chosen, the junction should be concealed under another turn as demonstrated in the animation.