Figure 8 Follow Through Tying
Start by tying a loose Figure 8 knot. Pass the tail around the attachment point. Follow the original Figure 8 around the entire knot in reverse. Exit beside the standing end to complete a two stranded Figure 8 knot.
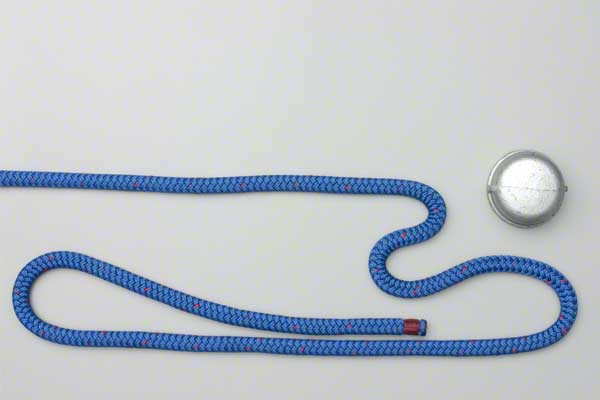
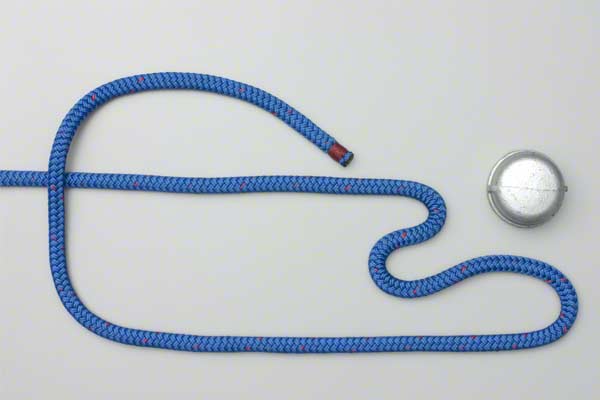
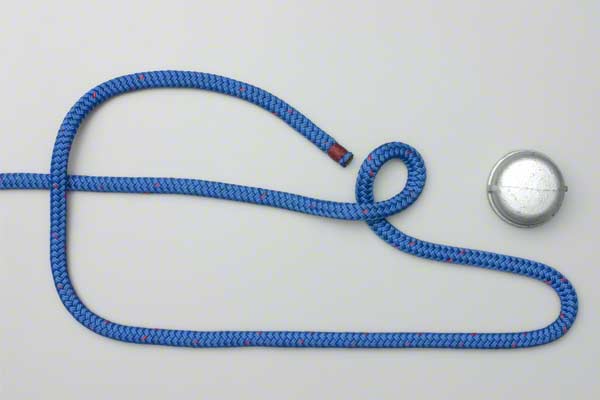
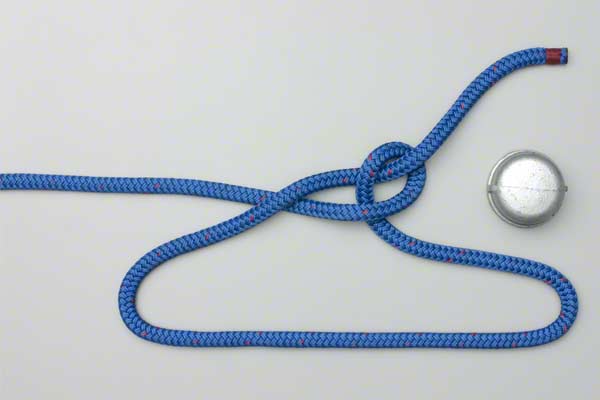
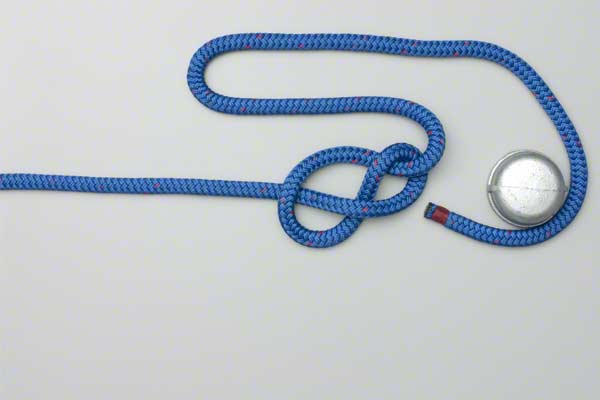
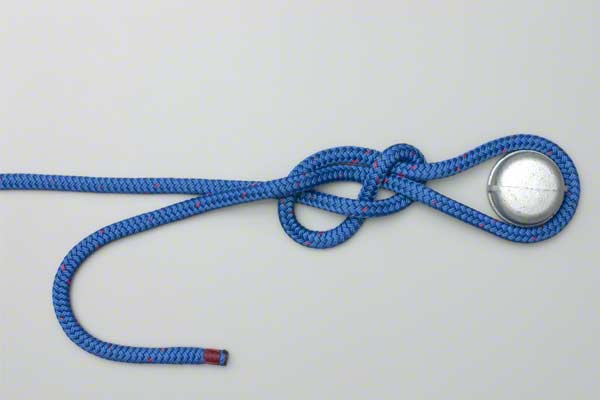
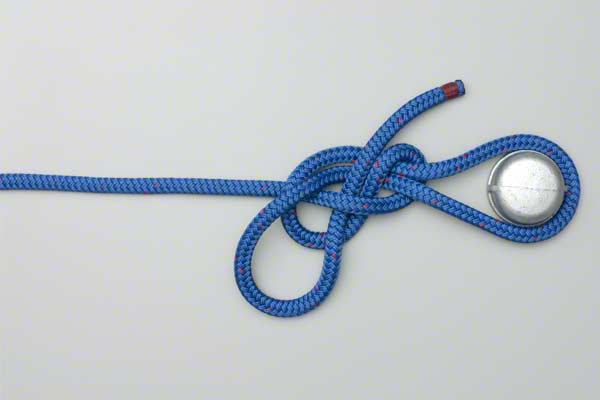
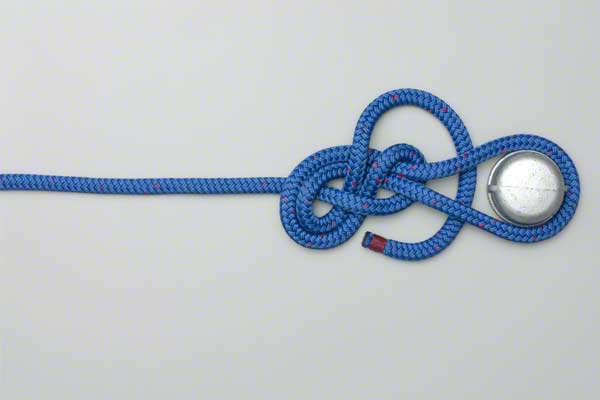
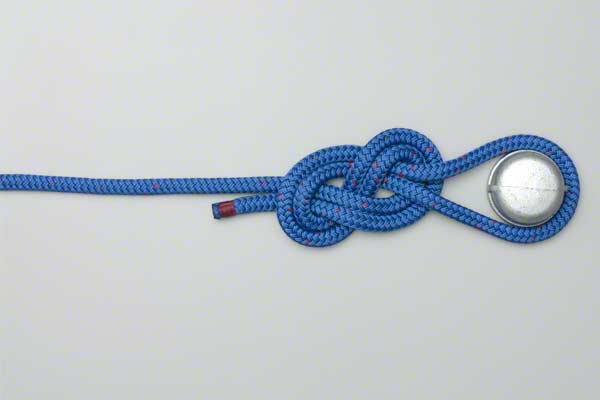
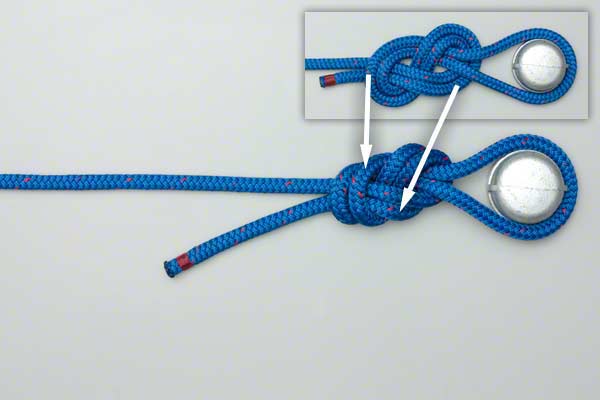
Figure 8 Follow Through Details
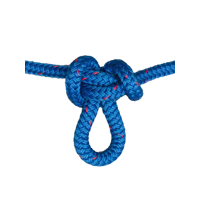
Uses: The Figure 8 Follow Through allows the simple and reliable Figure 8 loop to be tied to a ring, a carabiner, or your own harness. It is reasonably easy to remember, tie, and check. When completed it forms a Figure 8 Loop (ABOK # 1047, p 190).
Safety: For the animation, this knot is shown being tied with a short tail end. For security when climbing, the tail end must be longer and, for load bearing, it should be secured around the standing end using a stopper knot.
Final Dressing: To ensure that the knot is tied correctly, it is sensible to tie it in the "Flat" form shown. However, for taking a load, this knot should be carefully dressed so that the two outermost turns are brought in snug against the ropes they enclose. As a result these turns then finish on the other side of the turns they accompany. Dressed this way the knot withstands a load better.
The Figure On a Bight: When the finished knot can be dropped over a post, it is better to use a bight instead of the end, and then tie the knot as you would if you were tying a Figure 8 knot .
The Directional Figure 8: When a Figure 8 loop is being created to take a load parallel to the rope, the Directional Figure 8 Knot is an excellent alternative.
Inspection: Ensure that there are two strands beside each other at each part of the knot. Dress the knot as described in the animation. Then, pull it and observe that it tightens neatly.