Figure 9 Loop Knot Tying
Form a bight. Wrap the bight around both ends to form a loop. Instead of coming up through the loop to make a Figure 8 Loop, pass the bight around again and then down through the loop to make the Figure 9 Loop. To dress the knot, bring the outer turns in and tighten them.
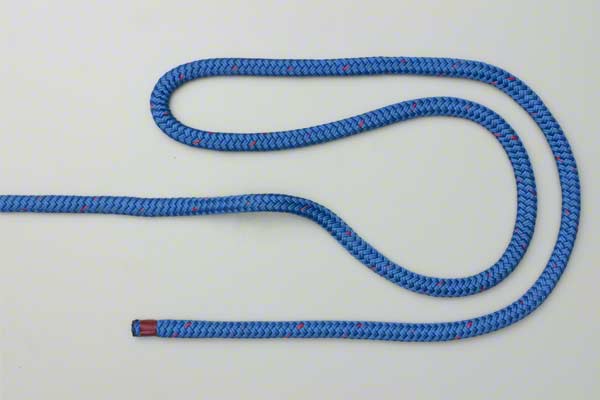
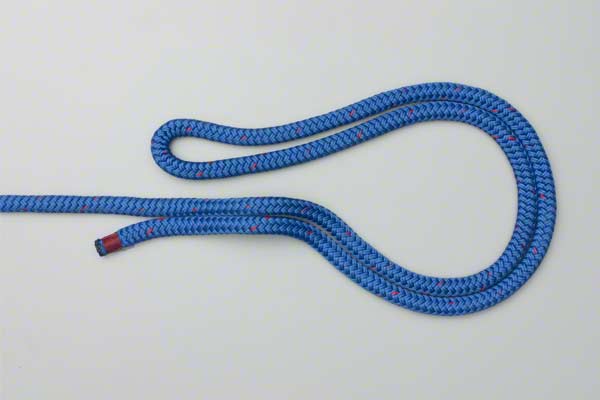
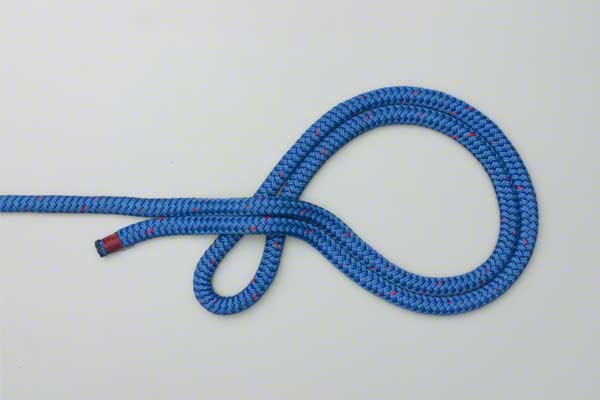
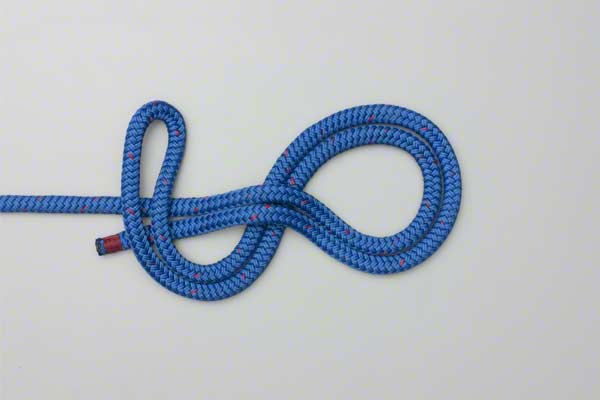
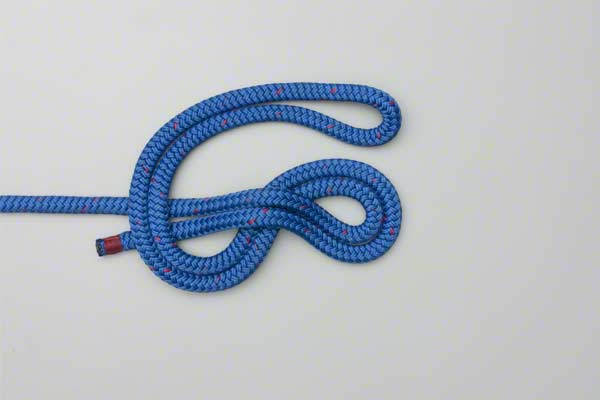

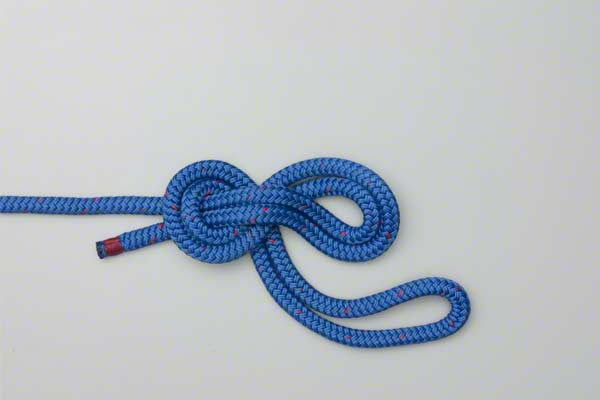
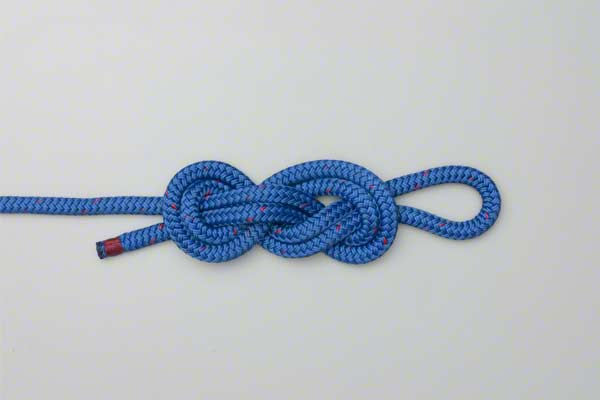
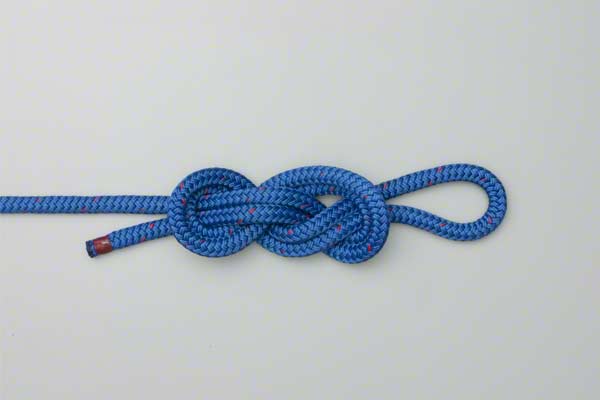
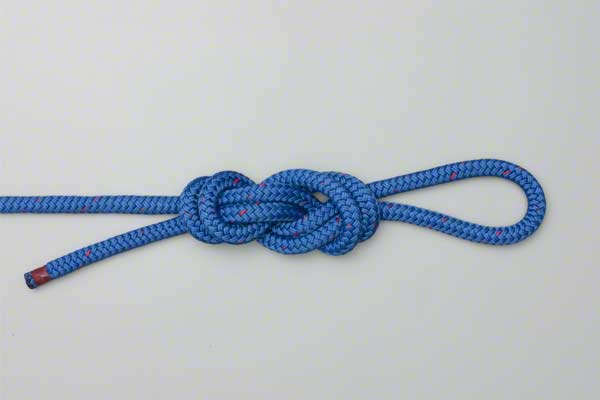
Figure 9 Loop Knot Details
Uses: The Figure 9 Loop resembles the Figure 8 Loop. In climbing it is used as an end knot. It creates a strong loop, reasonably easy to untie, and can be used to attach a rapelling rope to an anchor.
Advantages: The knot avoids sharp bends and, therefore, the rope retains about 70% of its strength. It is particularly suitable for use in smaller, flexible ropes but is somewhat harder to tie in heavier or stiffer ropes.
Disadvantages: It uses more rope than the Figure 8 Loop and is more confusing to tie.
Final Dressing: The animation shows the knot being tied in the elegant "Flat" form that makes structure easier to recognize. Once tied, however, the knot should be dressed and tightened so that the two outermost turns are brought in snug against the ropes they enclose (Frames 9 and 10).
Tying it in practice: The Animation shows how the outer turns are pulled in. When further tightened, it appears as though several coils are encircling a pair of ropes.