Tying the One Handed Surgical Tie, Pulling Technique
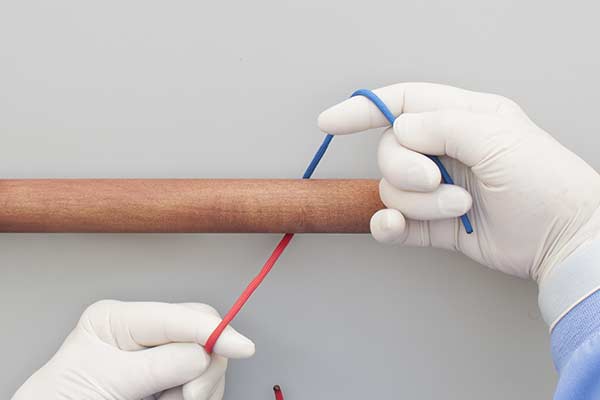
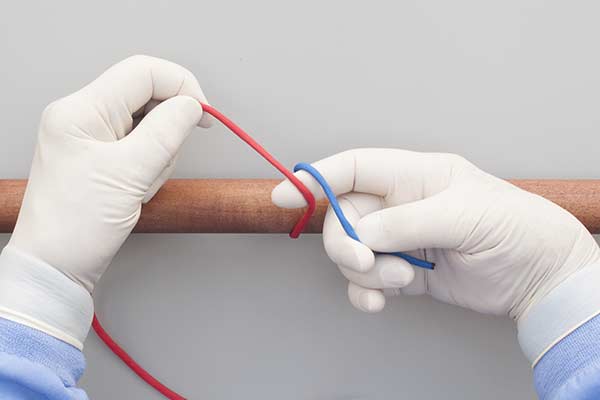
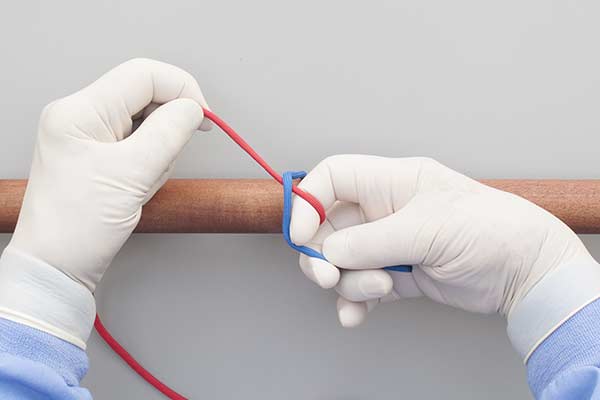
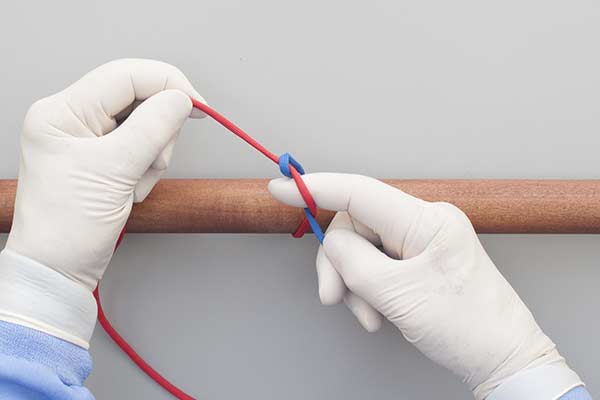
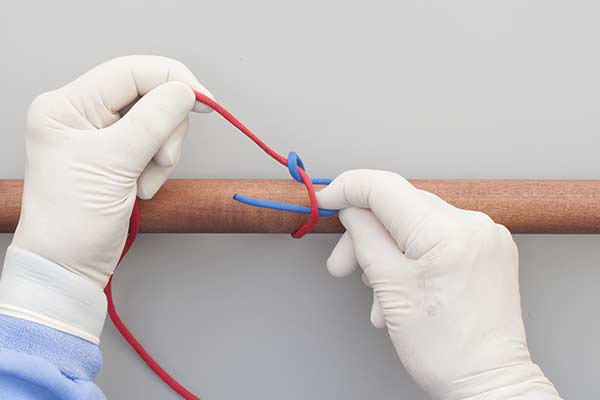
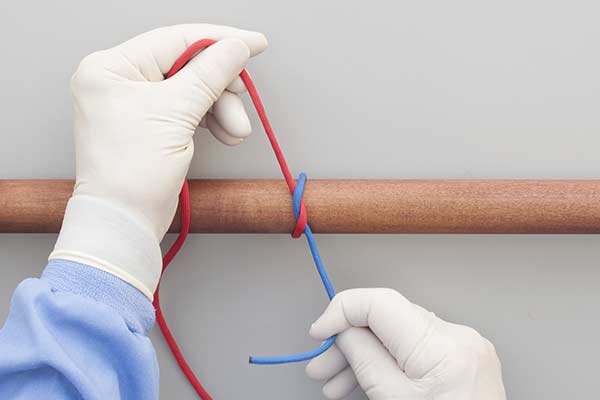
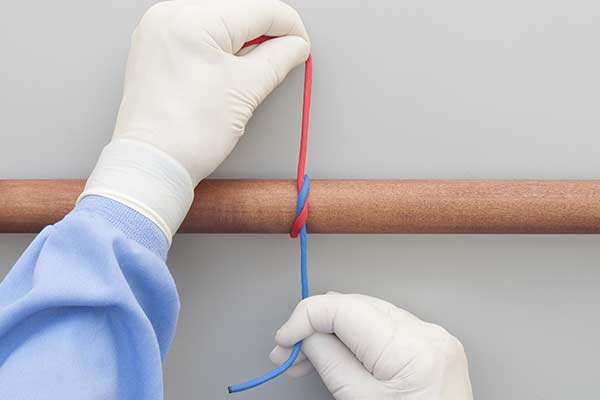
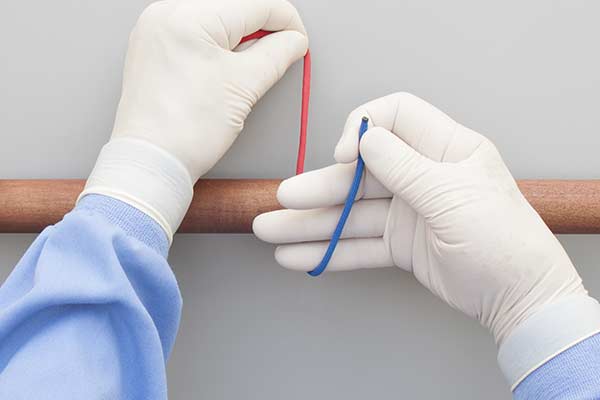
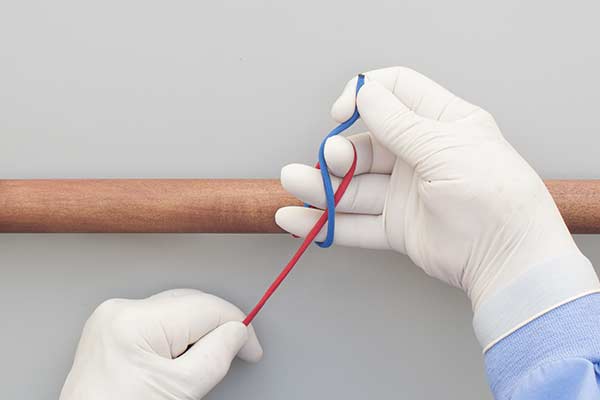
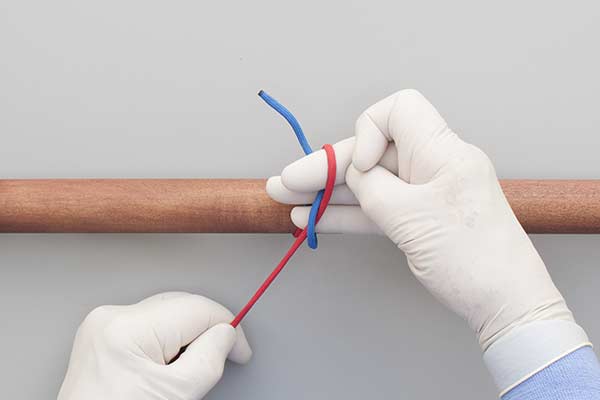
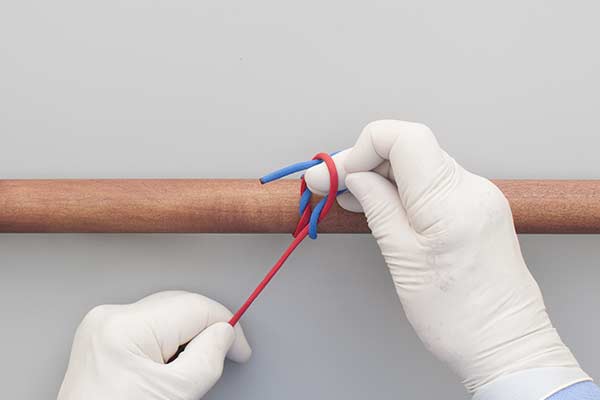
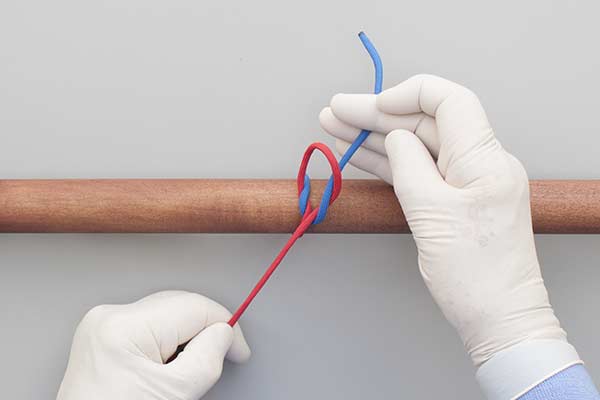
Have the short end away from you. With your index finger hook the long end. Pull the short end under it and through. Tighten the Half Knot. Lay the short end, then the long end, over your hand. With your middle finger hook the long end. Pull the short end under it and through. Pull tight to complete the Square (Reef) Knot.

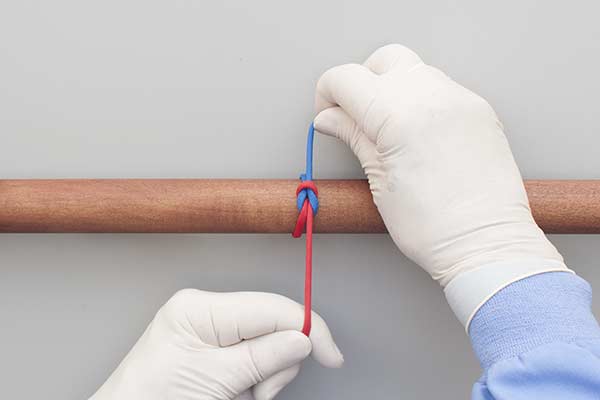
Surgical Tie, One Handed
Uses: The Surgical Tie is a Square (Reef) Knot (ABOK # 460, p 75.) It is widely used in surgery although less secure than the Ligature Knot, which starts with an initial Double Throw Knot.
Techniques: In the One-Hand technique the end of the suture is Pulled through to form the knot. The distinctive feature of a surgical tie is that the technique keeps the ends taut during the tying process. This maintains tension in the first Half Knot while the additional locking half knot is being tied. Alternative techniques include the Two Hand Technique, the Instrument Tie, and the Surgical Slip Tie.
Learning and Teaching: Most right-handed students will prefer the Normal view and left-handed students the Mirror view. An Instructor sitting opposite a student may find it helpful to use the Inverted or Rotated views.
Repetition: The sequence shown in the animation is usually repeated to provide security. This precaution is appropriate because Square Knots are notoriously unreliable and because the completed knot is often hard to see – it could comprise a stack of slippery Half Hitches instead of the intended Square (Reef) Knot.
Reversing the Sequence: The animation shows the short end away from the surgeon with the index finger pulling first in Frames 2 to 6. If the short end is towards the surgeon then use Frames 8 to 13 for the first Half Knot followed by Frames 2 to 6 for the second Half Knot.