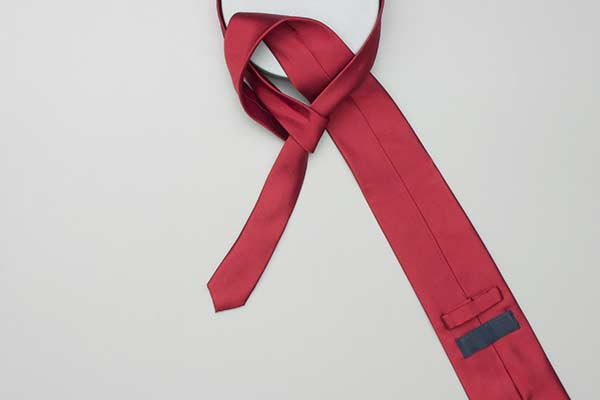
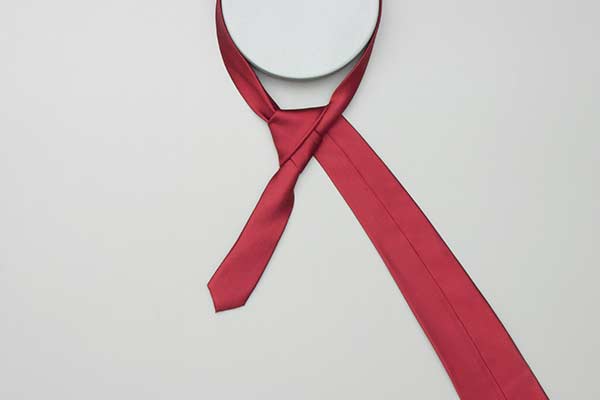
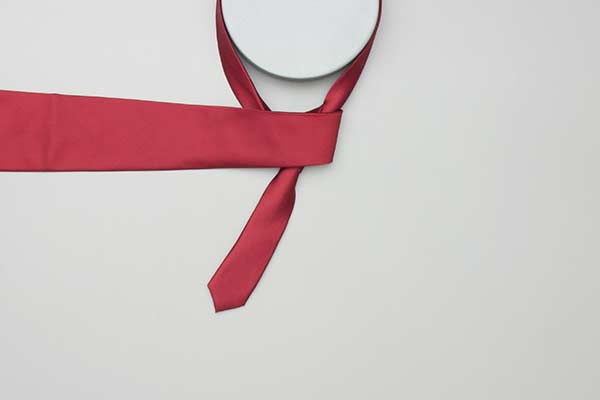
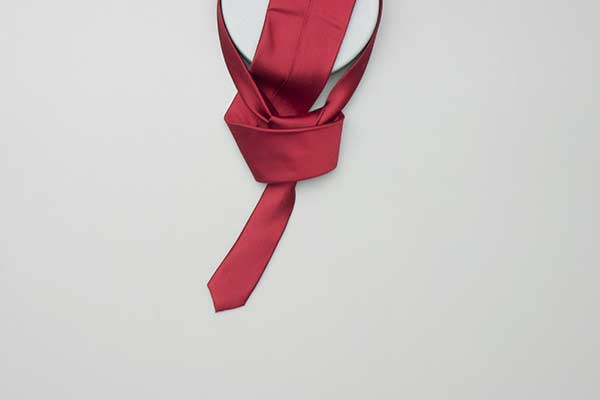
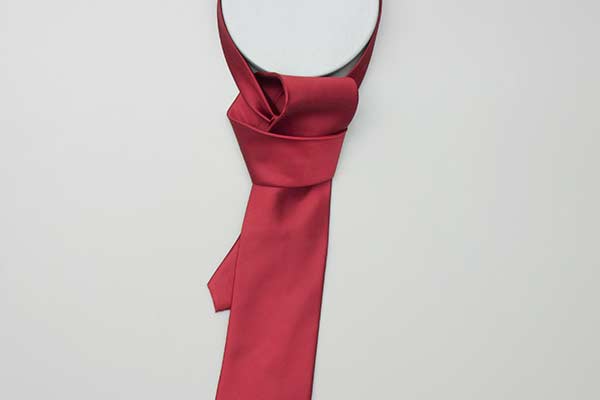
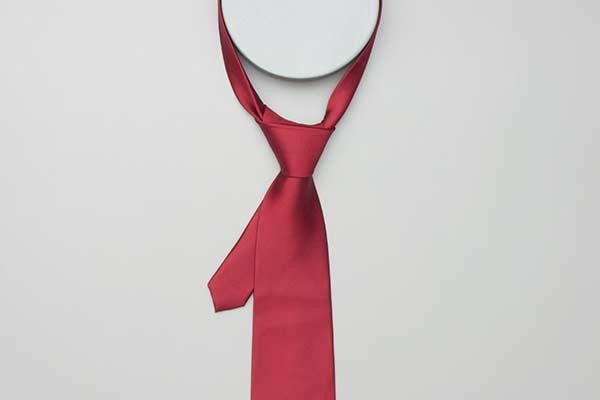
Half Windsor Knot Tying
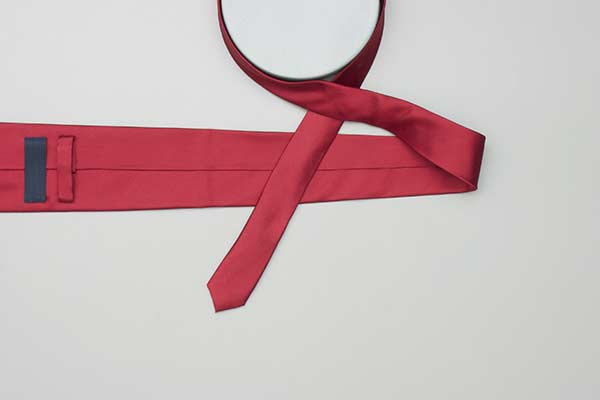
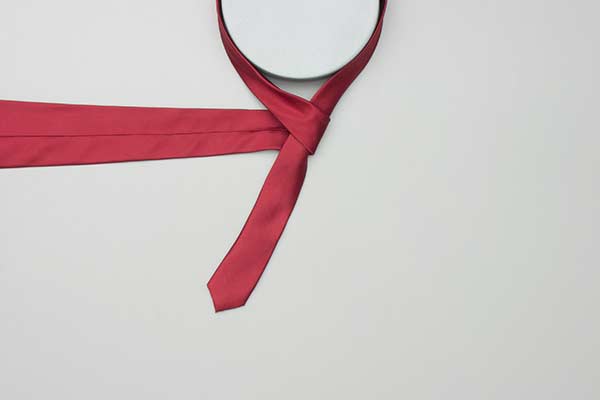
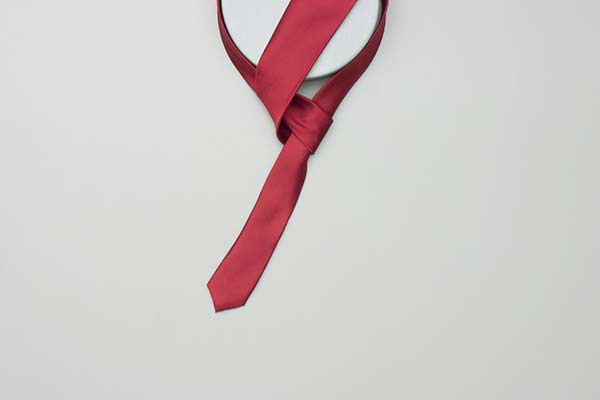
Pass the long end over the short, back under it, and then backwards beside the neck emerging on the other side. Pass the end across, this time in front. Pass the end forwards beside the neck and down through the knot. Pull the long end to tighten the knot, then the short end to make snug against the neck.


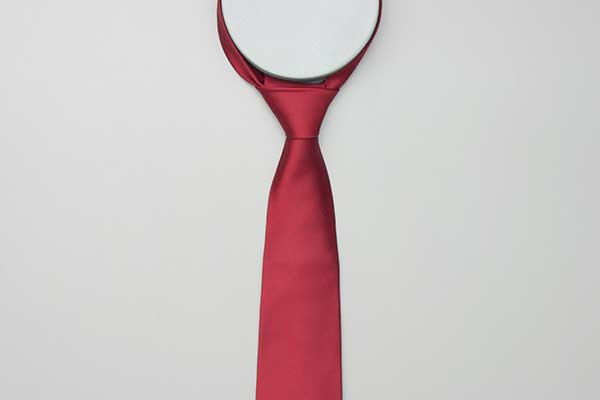
Half Windsor Tie Knot Details
Orientation: The animation is presented as though the wearer were seeing his own reflection.
Origin: Ashley does not describe either of the Windsor Knots. The name was created in honor of the Duke of Windsor although he preferred a Four-in-Hand himself. However, he employed heavier material to obtain a satisfactory appearance.
Variations: The animation demonstrates on of the commonest methods. In an alternative method, at Step 7, the long end emerges on the opposite side and then, in Step 8, crosses in the reverse direction. Both techniques make a moderately bulky and symmetrical knot but neither option matches the symmetry possible with the Pratt (Shelby) or the Windsor.
Advantages: The Half Windsor is fairly easy to learn and makes a reasonably large and symmetrical knot without using as much material as the Windsor.
Disadvantages: Uses a little more material than the Four-in-Hand, which therefore means the Half Windsor may be less suitable for a short tie. Also, when the short end is removed to untie the tie, a knot remains in the long end which has to be untied separately.