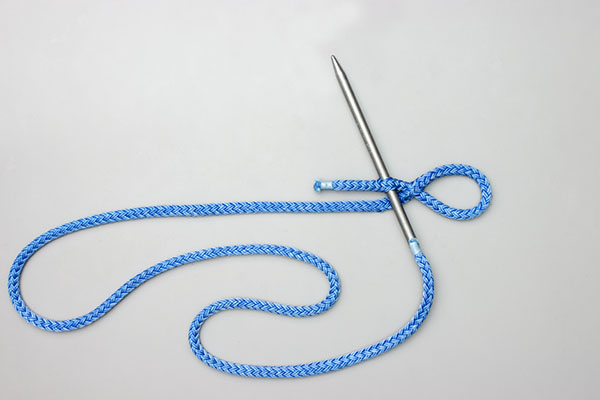
Whoopie Sling Tying
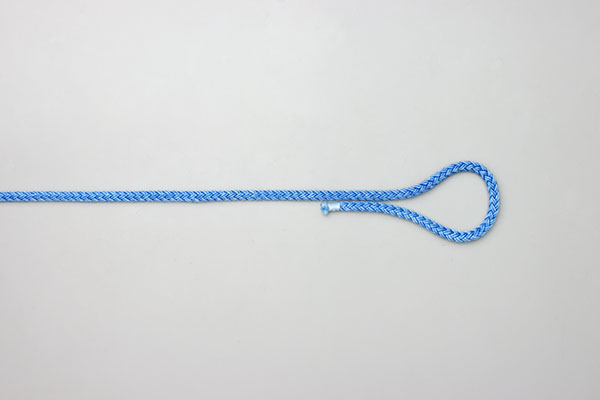
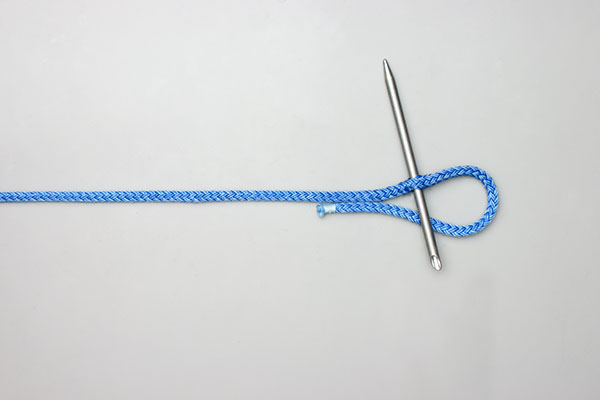
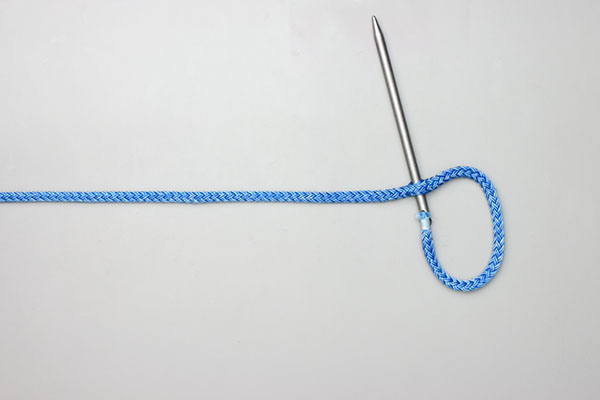
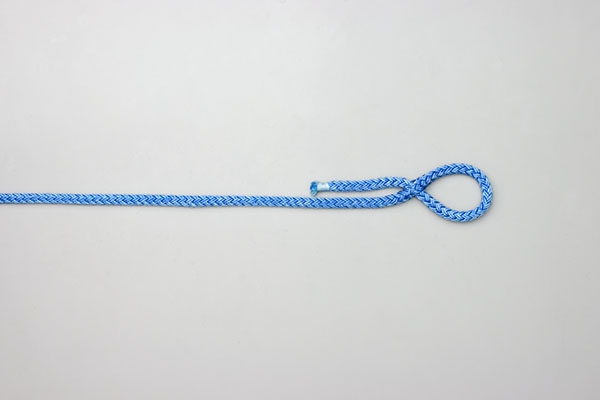
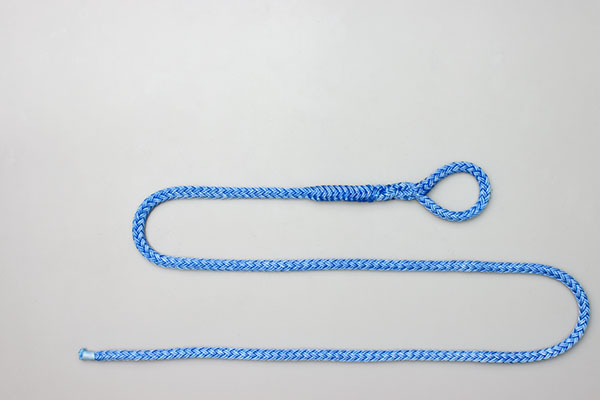
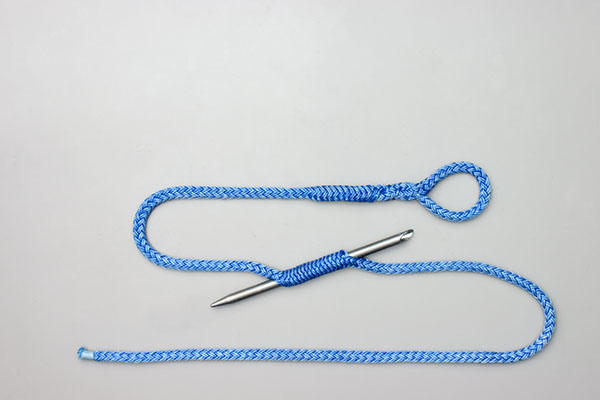
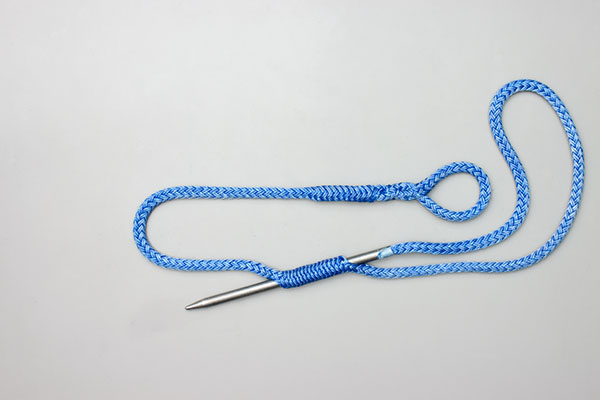
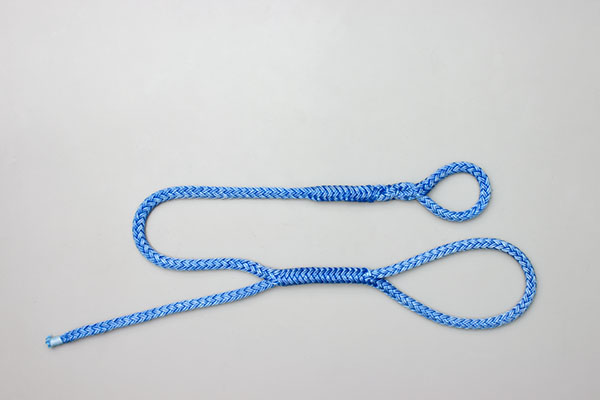
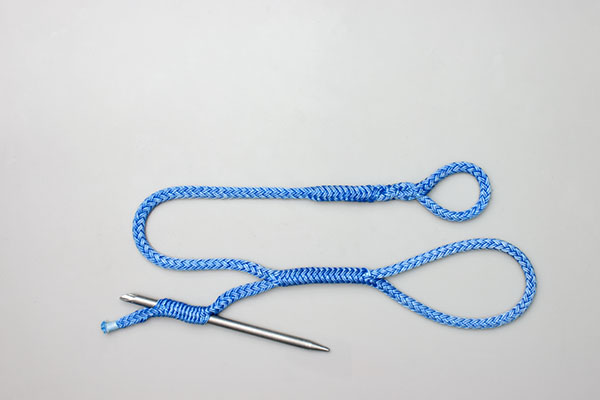
Make a Loop using a Locked Brummel Splice and then thread the fid to bury the short end. Next, thread the fid along the middle of the rope to make the adjustable loop. Finally, use the fid to bury the short end as a back splice. Pull to adjust.

Whoopie Sling Details
Origin: The name Whoopie Sling was apparently first recorded in Tree Care Industry, Volume 11 (2000). The description makes it clear that the Sling was developed by and for Arborists and it also describes the use of a pulley block on the Sling. The Whoopie Sling is still widely used by Arborists.
Other uses: Today the Whoppie Sling is used in camping to tension a hammock. The sling is usually tied in material with minimal elasticity. Once tightenend, the hammock is more likely to sag due to stretch in the hammock itself or a bend in a supporting tree. These slings are also used in Marine Yards where the adjustable length facilitates balancing a load.
Name: There appears to be no authoritative source for the "Whoopie" name despite its creation within fairly recent memory. Please write to me if you think you know the source.
Material: Whoopie Slings are typically made in 12-strand braided rope. Ropes differ in the tightness of their braid and, therefore, in the ease with which an end can be threaded along inside. A wire pusher is often useful.
Preliminary Measurements: These measurements are approximations for high modulus fibers such as Dyneema®, Tenex®, Vectran®, Technora® or Kevlar® based on: Atlantic Braids. In summary, where "D" = the rope diameter, make six Marks:
- 1 at about 10xD from the end.
- 2 at about 40xD from the end.
- 3 at about 90xD from the end.
- 4 at about 165xD from the end.
- 5 at about 10xD from the other end.
- 6 at about 15xD from the other end.
Other Fibers: For less slippery fibers such as polyester, nylon, or polyolefins, Mark 2 can be at 25xD, Mark 3 can be at 55xD and Mark 4 can be at 95xD.
Technique: For photography this Sling is very short, the length of each bury is very short, and the Short end was not tapered.
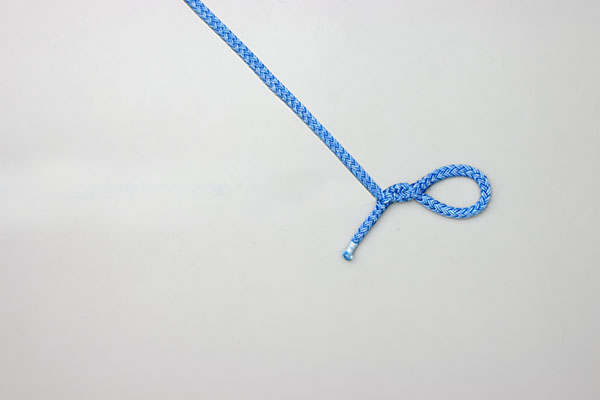
- Align Marks 1 and 2 and make the Brummel Eye Splice.
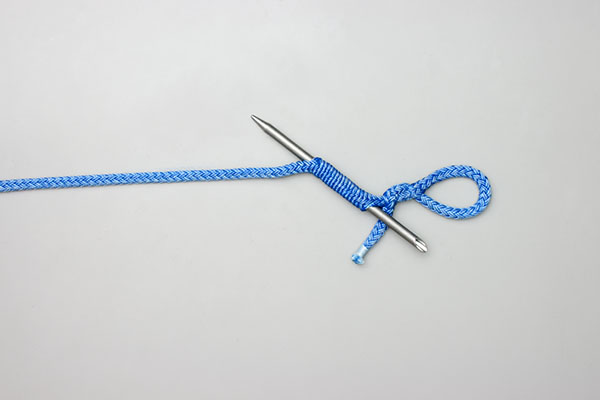
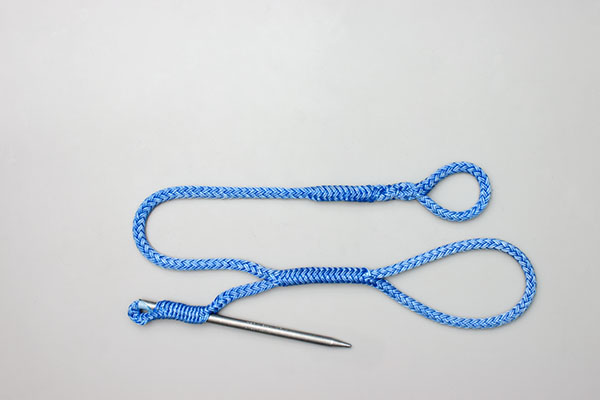
- Thread the short end through to Mark 3, taper the end and smooth it back inside.
- Thread the Long end from Mark 4 to 3. (in the animation it exits well short of Mark 3.)
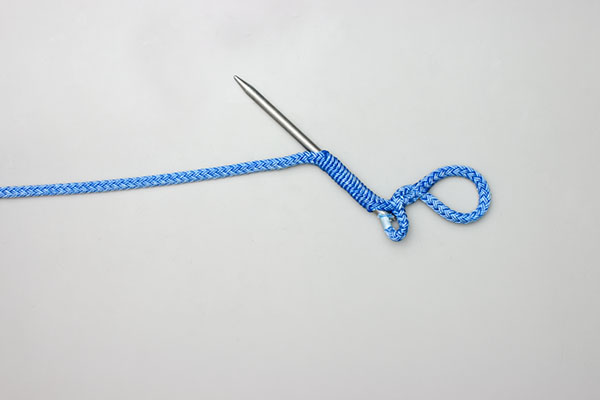
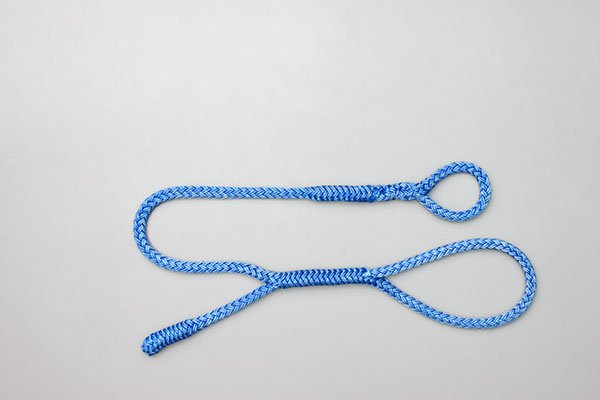
- Thread the Long end from Mark 5 to 6 and pull tight.
- Leave the Long end untrimmed and smooth it back inside.
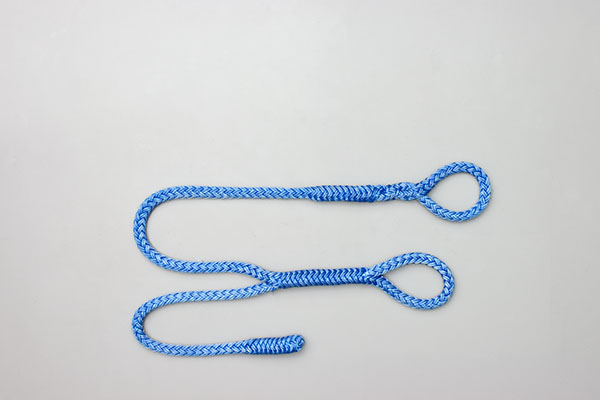
Details: The Short end is tapered to minimize stress on the fibers of the Brummel Eye Splice. For the Long end there is no benefit in a taper. In fact the absence of a taper makes the end a better stopper and reduces the chance that it might get pulled into the adjustable section. The size of the eye splice can be varied and the size of the adjustable loop will depend on how much rope is used.