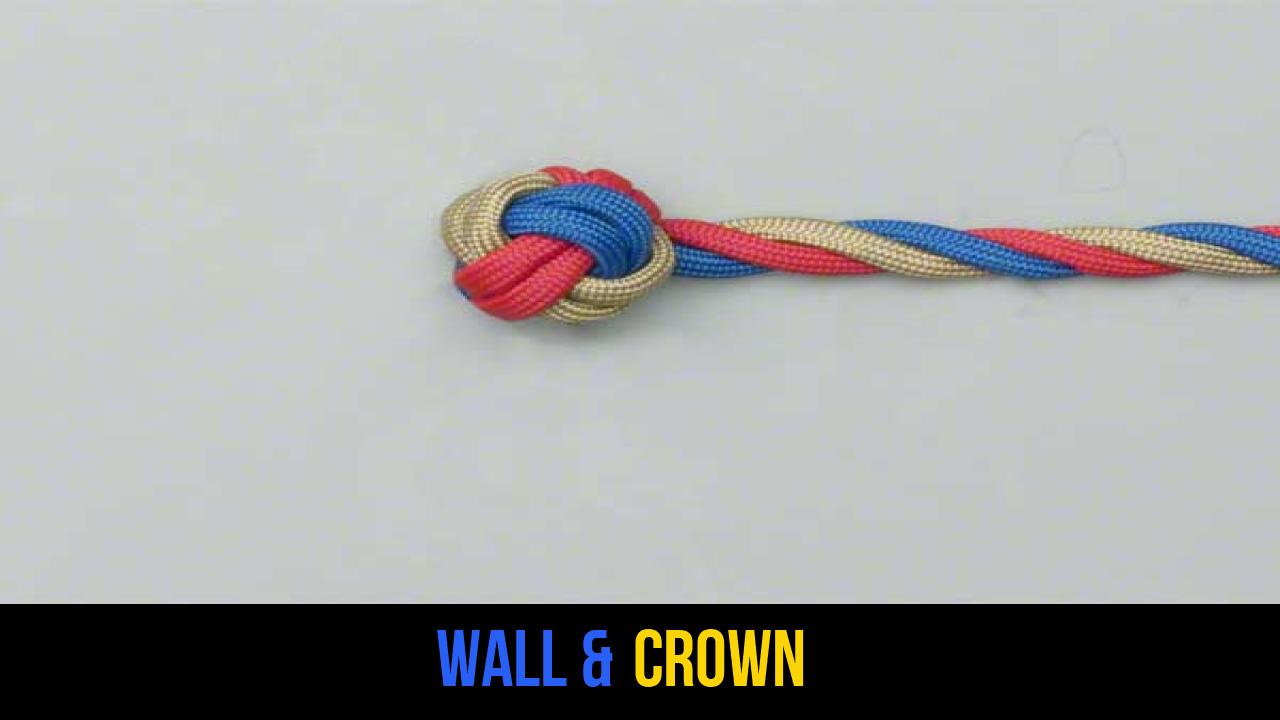
In the world of marlingspike seamanship and outdoor rope techniques, few structures are as visually striking and fundamentally satisfying as the Wall & Crown knot. Often considered a cornerstone of decorative knotting, this combination knot serves as the foundation for more complex terminal knots, such as the Manrope knot or the Double Wall and Crown.
Whether you are a seasoned sailor, an outdoor gear enthusiast, or a hobbyist looking to add a professional finish to a lanyard, understanding the mechanics of the Wall & Crown knot is an essential skill. This article provides a deep dive into the history, utility, and technical execution of this classic knot, ensuring you can replicate it with precision and confidence.
Alternative Names: Wall and Crown, Crown and Wall, Manrope Knot (when doubled), Stopper Knot, Pineapple Knot Base.
What Is a Wall & Crown?
The Wall & Crown is a composite knot formed by combining two simpler multi-strand knots: the Wall knot and the Crown knot. It is traditionally tied using three-strand laid rope, though it can be adapted for four or more strands.
Practical and Decorative Uses
Historically, this knot served as a permanent stopper at the end of a rope to prevent it from unreeving through a block or a hole. Today, its applications have expanded into various fields:
- Marine Utility: Used on the ends of grab-ropes, gangway ropes, and bucket handles to provide a secure grip and prevent fraying.
- Outdoor Gear: Excellent for creating high-friction grips on knife lanyards, zipper pulls, and flashlight cords.
- Architectural Decor: Frequently seen in nautical-themed railings, where the knot provides a decorative terminal point for heavy manila or hemp ropes.
- Foundation for Splicing: The Crown component is the standard starting point for a backsplice, which allows a rope to be finished without the use of whipping or heat-sealing.
By combining the "upward" structure of the Wall knot with the "downward" cap of the Crown knot, the resulting Wall & Crown knot creates a bulbous, symmetrical stopper that is both aesthetically pleasing and structurally sound.
Materials and Tools Needed
To achieve a professional-grade Wall & Crown knot, you must select the right materials. While you can tie this knot in almost any cordage, certain types highlight the knot’s geometry better than others.
Recommended Rope Types
- Three-Strand Twisted Nylon: Offers excellent durability and a "shiny" finish that looks great on lanyards.
- Manila or Hemp: The traditional choice. These natural fibers provide the best friction and a classic "old-world" maritime appearance.
- Paracord (550 Cord): While paracord is braided, you can tie a version of the Wall & Crown by using three or four separate lengths of cord or by gutting the paracord and using the inner strands (though this is difficult).
- Cotton Sash Cord: Ideal for practice because it is soft on the hands and holds its shape well.
Essential Tools
- Sharp Knife or Scissors: For a clean finish when trimming the ends.
- Marlinspike or Fid: A pointed tool used to open the lay of the rope, making it easier to tuck the strands.
- Whipping Twine or Tape: To temporarily secure the rope below where you are working to prevent the entire rope from unravelling.
- Lighter: For heat-sealing the ends if using synthetic materials like nylon or polyester.
How to Tie Wall & Crown?
To ensure the highest level of accuracy, we follow the traditional technical instructions for this knot. Follow these steps carefully to achieve a perfect balance of tension and form.
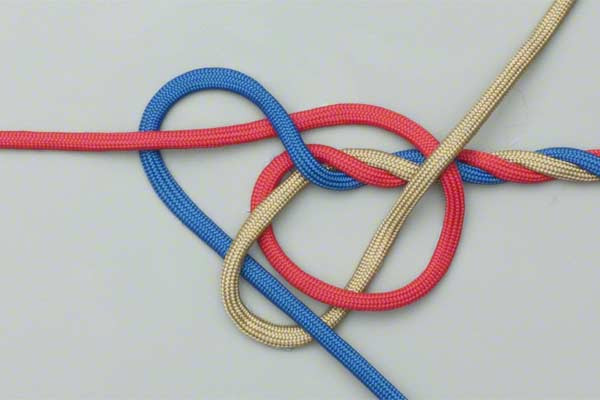
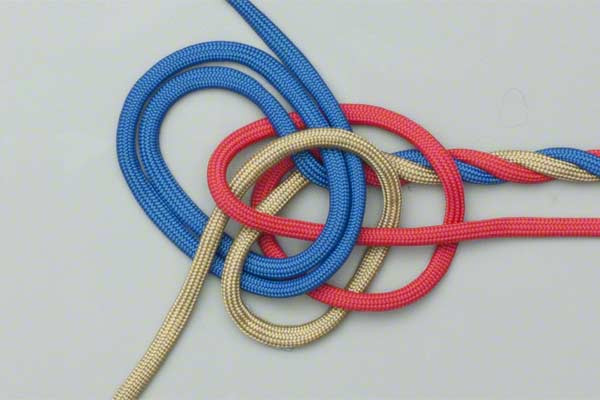
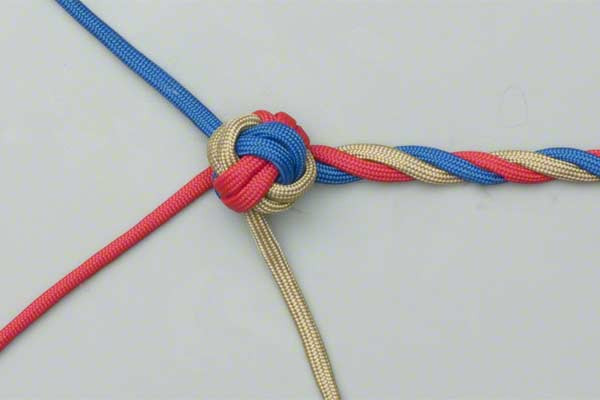
- Unravel the strands of the rope and tie a Wall knot.
- Then take each strand across its neighbor to make a Crown.
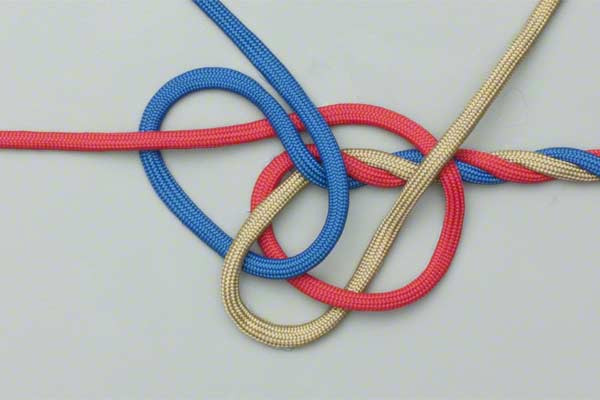
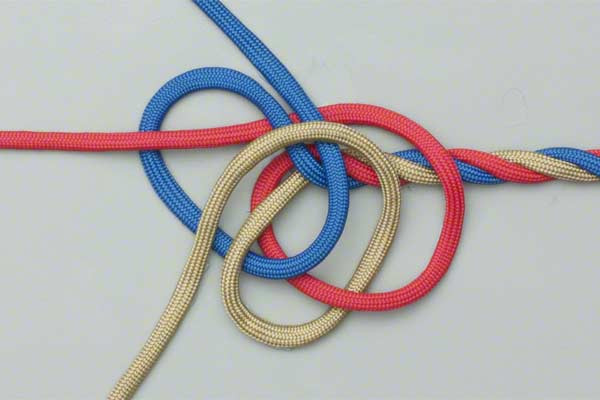
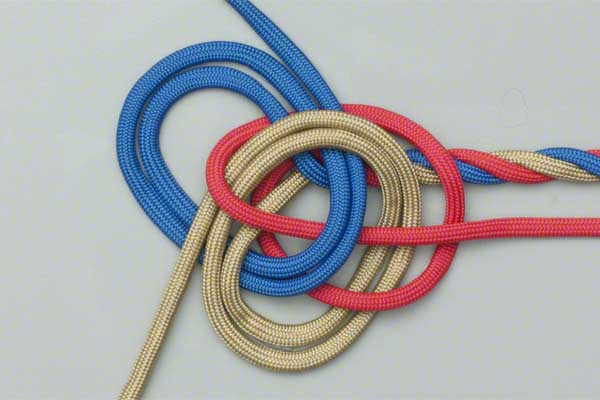
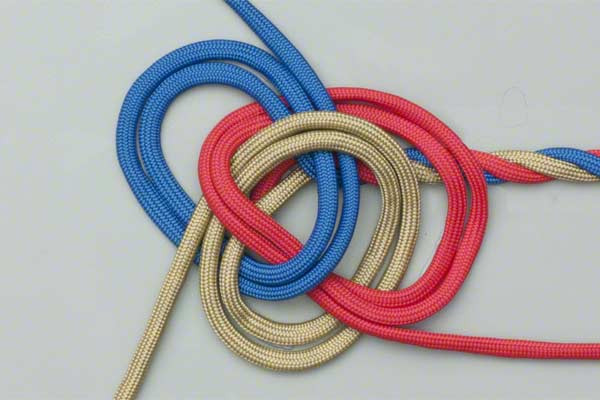
- Tuck each strand round so that it follows itself.
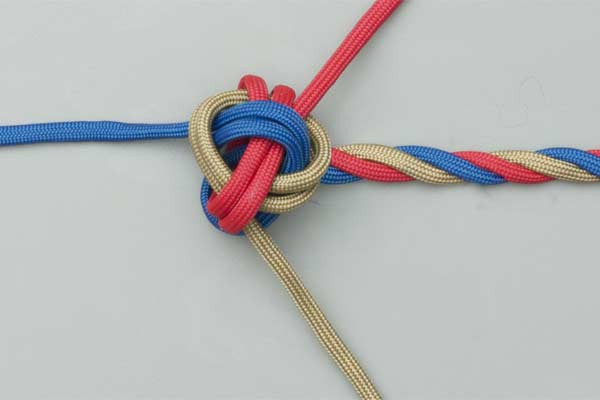
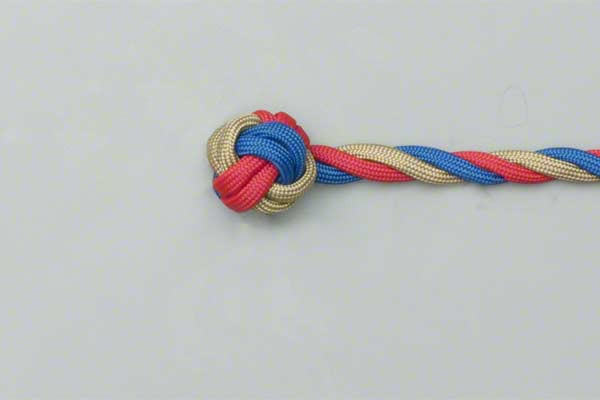
- Carefully tighten each stand in turn to achieve a neat appearance.
- Trim the ends.
Technical Breakdown of the Steps
While the instructions above are the definitive guide, beginners may benefit from a deeper understanding of the "Wall" and "Crown" components mentioned in the steps.
The Wall Knot (Step 1)
The Wall knot is tied by taking each strand and passing it under its neighbor in a circular sequence. This creates a "cup" or a base that supports the rest of the knot. It is vital that the Wall knot is snug before moving to the Crown.
The Crown Knot (Step 2)
The Crown knot is essentially the inverse of the Wall. Instead of going under the neighbor, each strand goes over the neighbor. This creates a "cap" that sits on top of the Wall base.
The "Follow Itself" Technique (Step 3)
When the instructions say to "tuck each strand round so that it follows itself," this is the process of doubling the knot. By following the path of the original strand, you increase the bulk and strength of the knot. This is what transforms a simple stopper into a robust, professional Wall & Crown knot.
Tensioning (Step 4)
Tightening is the most critical phase. If one strand is tighter than the others, the knot will look lopsided. Work in a circle, pulling each strand incrementally until the knot is firm and the symmetry is perfect.

Common Mistakes to Avoid
Even experienced riggers can run into trouble with multi-strand rope knots. Here are the most common pitfalls:
- Uneven Unraveling: If you do not unravel enough rope at the start, you will run out of "working end" before you can finish the tucks. A good rule of thumb is to unravel at least 6-8 inches for a standard 1/2-inch rope.
- Crossing Strands Out of Order: In Step 2, you must ensure you are crossing the strands in the same direction (clockwise or counter-clockwise) as the Wall knot. Mixing directions will result in a chaotic, unstable structure.
- Overtightening Too Fast: If you yank on one strand with maximum force, you lock the other strands in place, making it impossible to adjust them. Use "incremental tensioning."
- Neglecting the "Base" Whipping: If you don’t tape or whip the rope where the unravelling should stop, the rope will continue to untwist down its entire length as you work.
Related Knots and Splicing
Expanding your knowledge of outdoor rope techniques involves learning how the Wall & Crown knot relates to other maritime splices and stoppers.
- Crown Knot: A basic knot where strands are tucked over each other; it is the primary method for starting a backsplice.
- Wall Knot: A foundational multi-strand knot where strands are tucked under each other, creating a supportive base for larger knots.
- Matthew Walker Knot: A more complex stopper knot where the strands are intertwined before being tightened, resulting in a very secure, permanent bulb.
- Backsplice: A method of finishing a rope end by crowning the strands and then tucking them back into the standing part of the rope.
- Footrope Knot: Similar to a Wall & Crown but usually doubled and used historically on the footropes of sailing ships for secure footing.
Final Words
The Wall & Crown knot is a testament to the functional beauty of traditional rope work. By mastering this technique, you gain the ability to finish ropes with a professional touch that far exceeds a simple overhand knot or a piece of plastic tape.
Whether you are securing gear for a rugged outdoor expedition or crafting a custom lanyard for your favorite tool, the Wall & Crown provides a blend of security and elegance. Remember that practice is key—don’t be discouraged if your first few attempts are loose or asymmetrical. With patience and a focus on even tensioning, you will soon be able to tie this classic knot with the speed and precision of a master rigger.
Explore the versatility of rope knots and continue building your library of outdoor rope techniques to ensure you are prepared for any challenge the wilderness or the sea may throw your way.
